MySQL, a robust open-source relational database management system (RDBMS), is a cornerstone for countless applications. Whether you’re a budding developer, a seasoned database administrator, or simply someone looking to manage data efficiently, MySQL is a powerful tool at your disposal. This guide will walk you through the process of installing MySQL 8.0.37 on your Windows 10 or 11 machine. Here are the step by step instructions with screenshots.
Let’s get started!
Installing MySQL 8.0.37 on Windows 10 and 11: Complete Guide for Beginners
Before you embark on the MySQL installation journey, it’s crucial to ensure your system meets the necessary requirements. Here’s a general overview of what you’ll need:
Minimum System Requirements:
Operating System: Windows Server 2012 or later, Windows 10 or later.
Processor: Intel or AMD processor with a minimum clock speed of 1 GHz: x86, x86_64, AMD64, Intel EM64T
RAM: At least 1 GB of RAM recommended for data storage.
User Permissions: Administrative privileges to install and configure MySQL.
Step-by-Step Installation Guide for MySQL 8.0.37 on Windows 10 and 11:
Follow these steps to download MySQL .
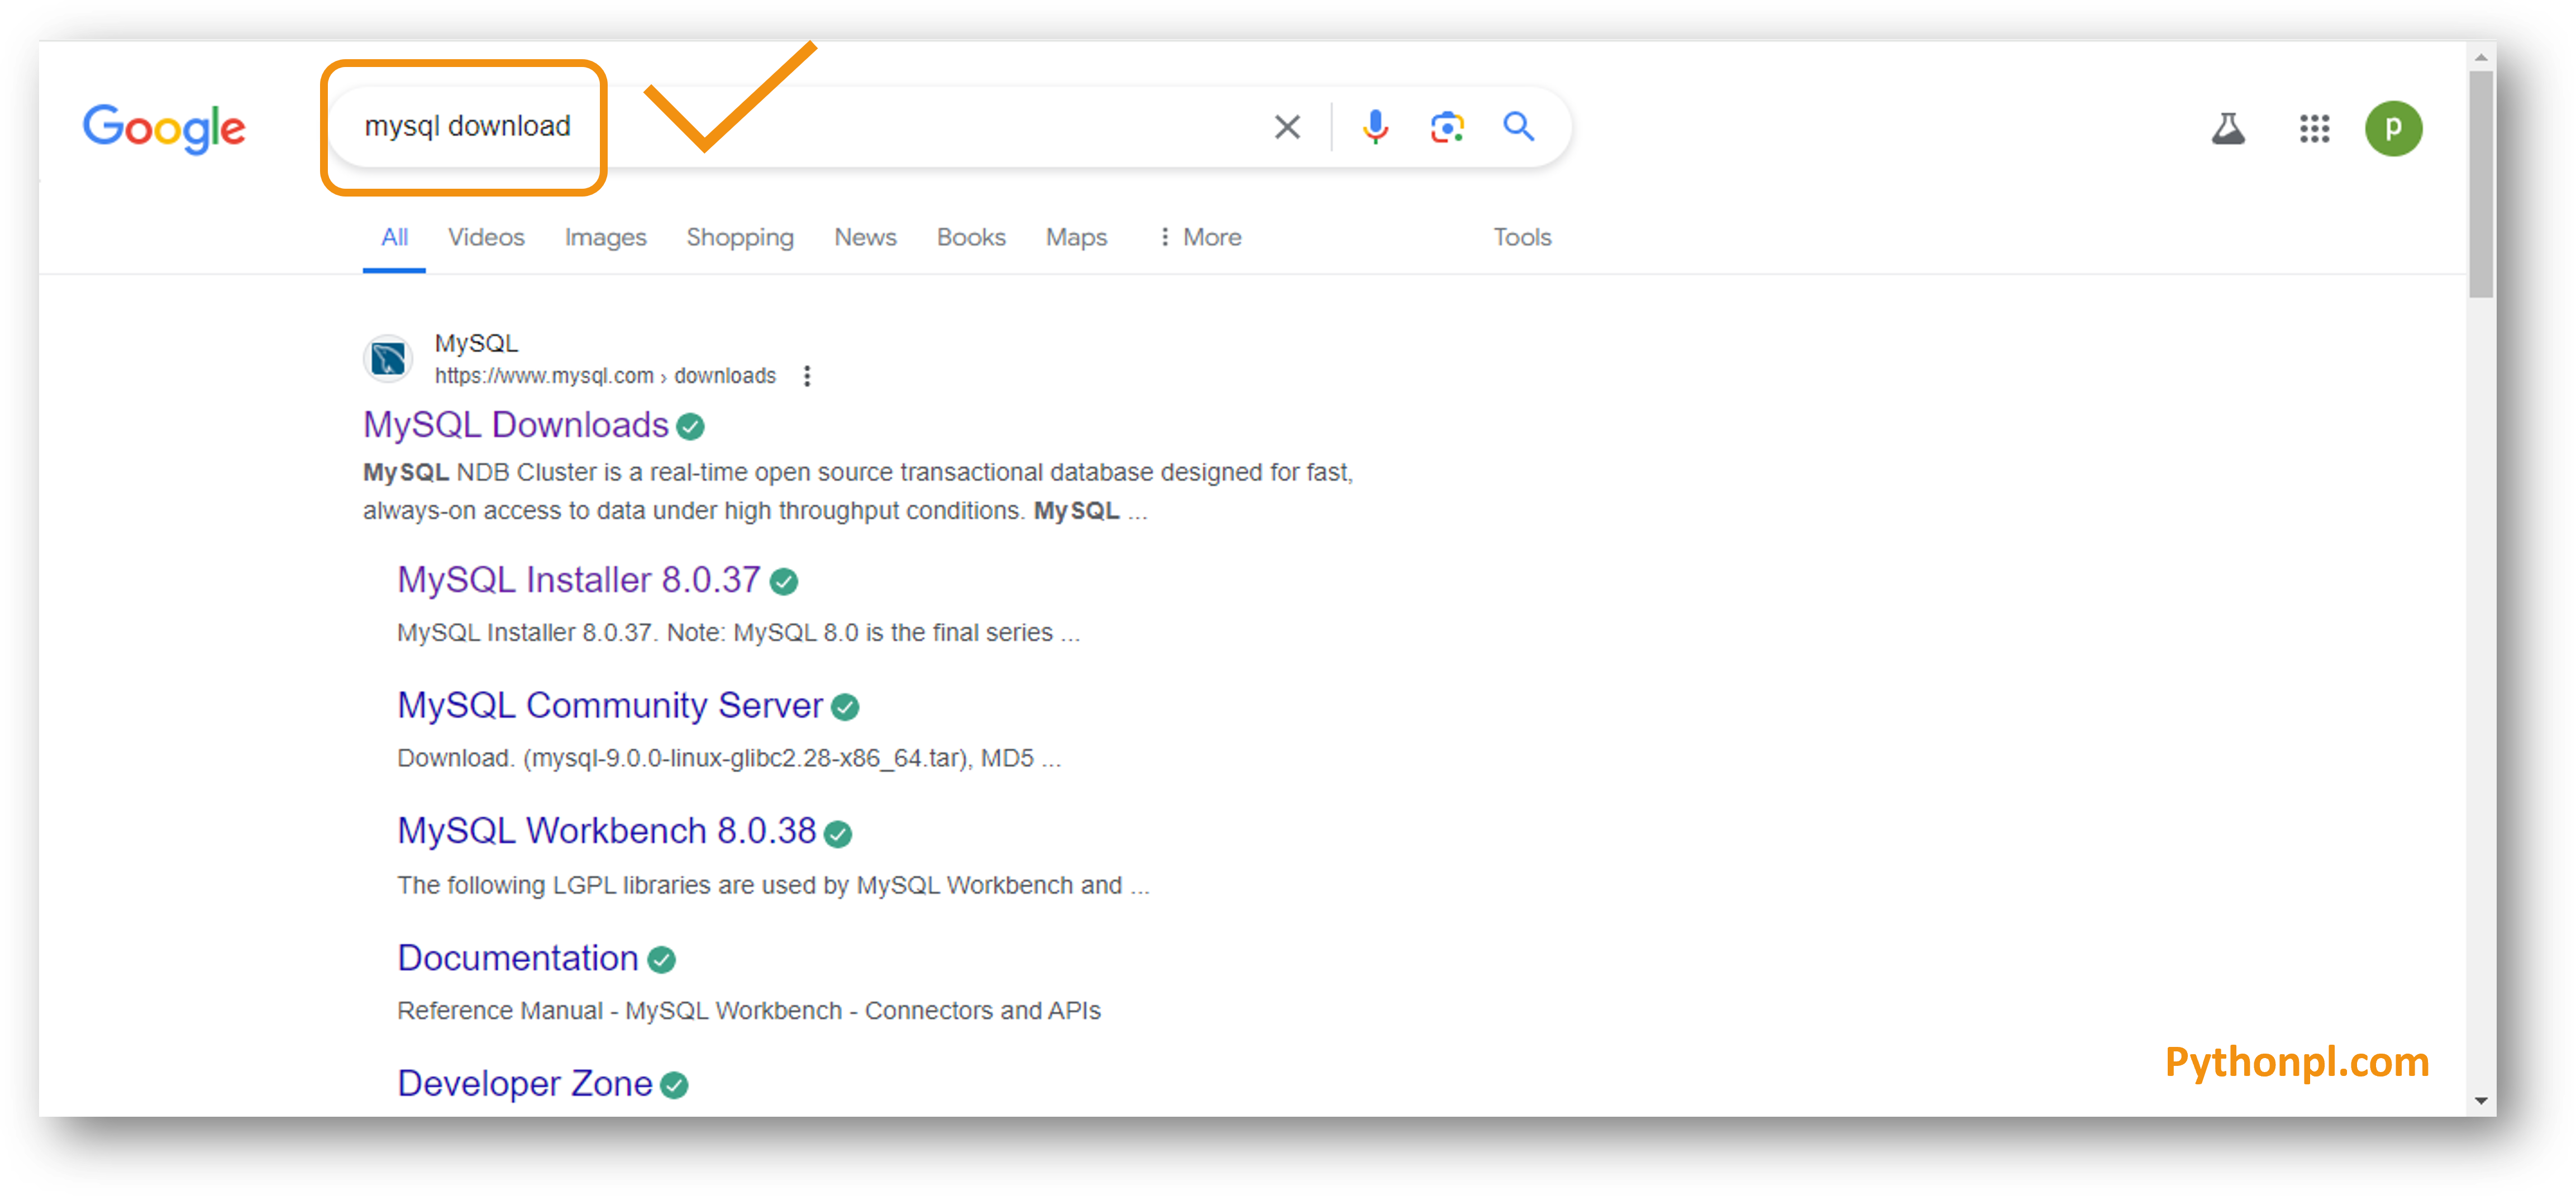
- Search for ‘MySQL Download’ in search engine(Google, Yahoo, Bing, etc..) or you can directly go to MySQL Website by using the following link.
Link: https://www.mysql.com/
- Click on the MySQL Downloads as shown in the below screenshot.
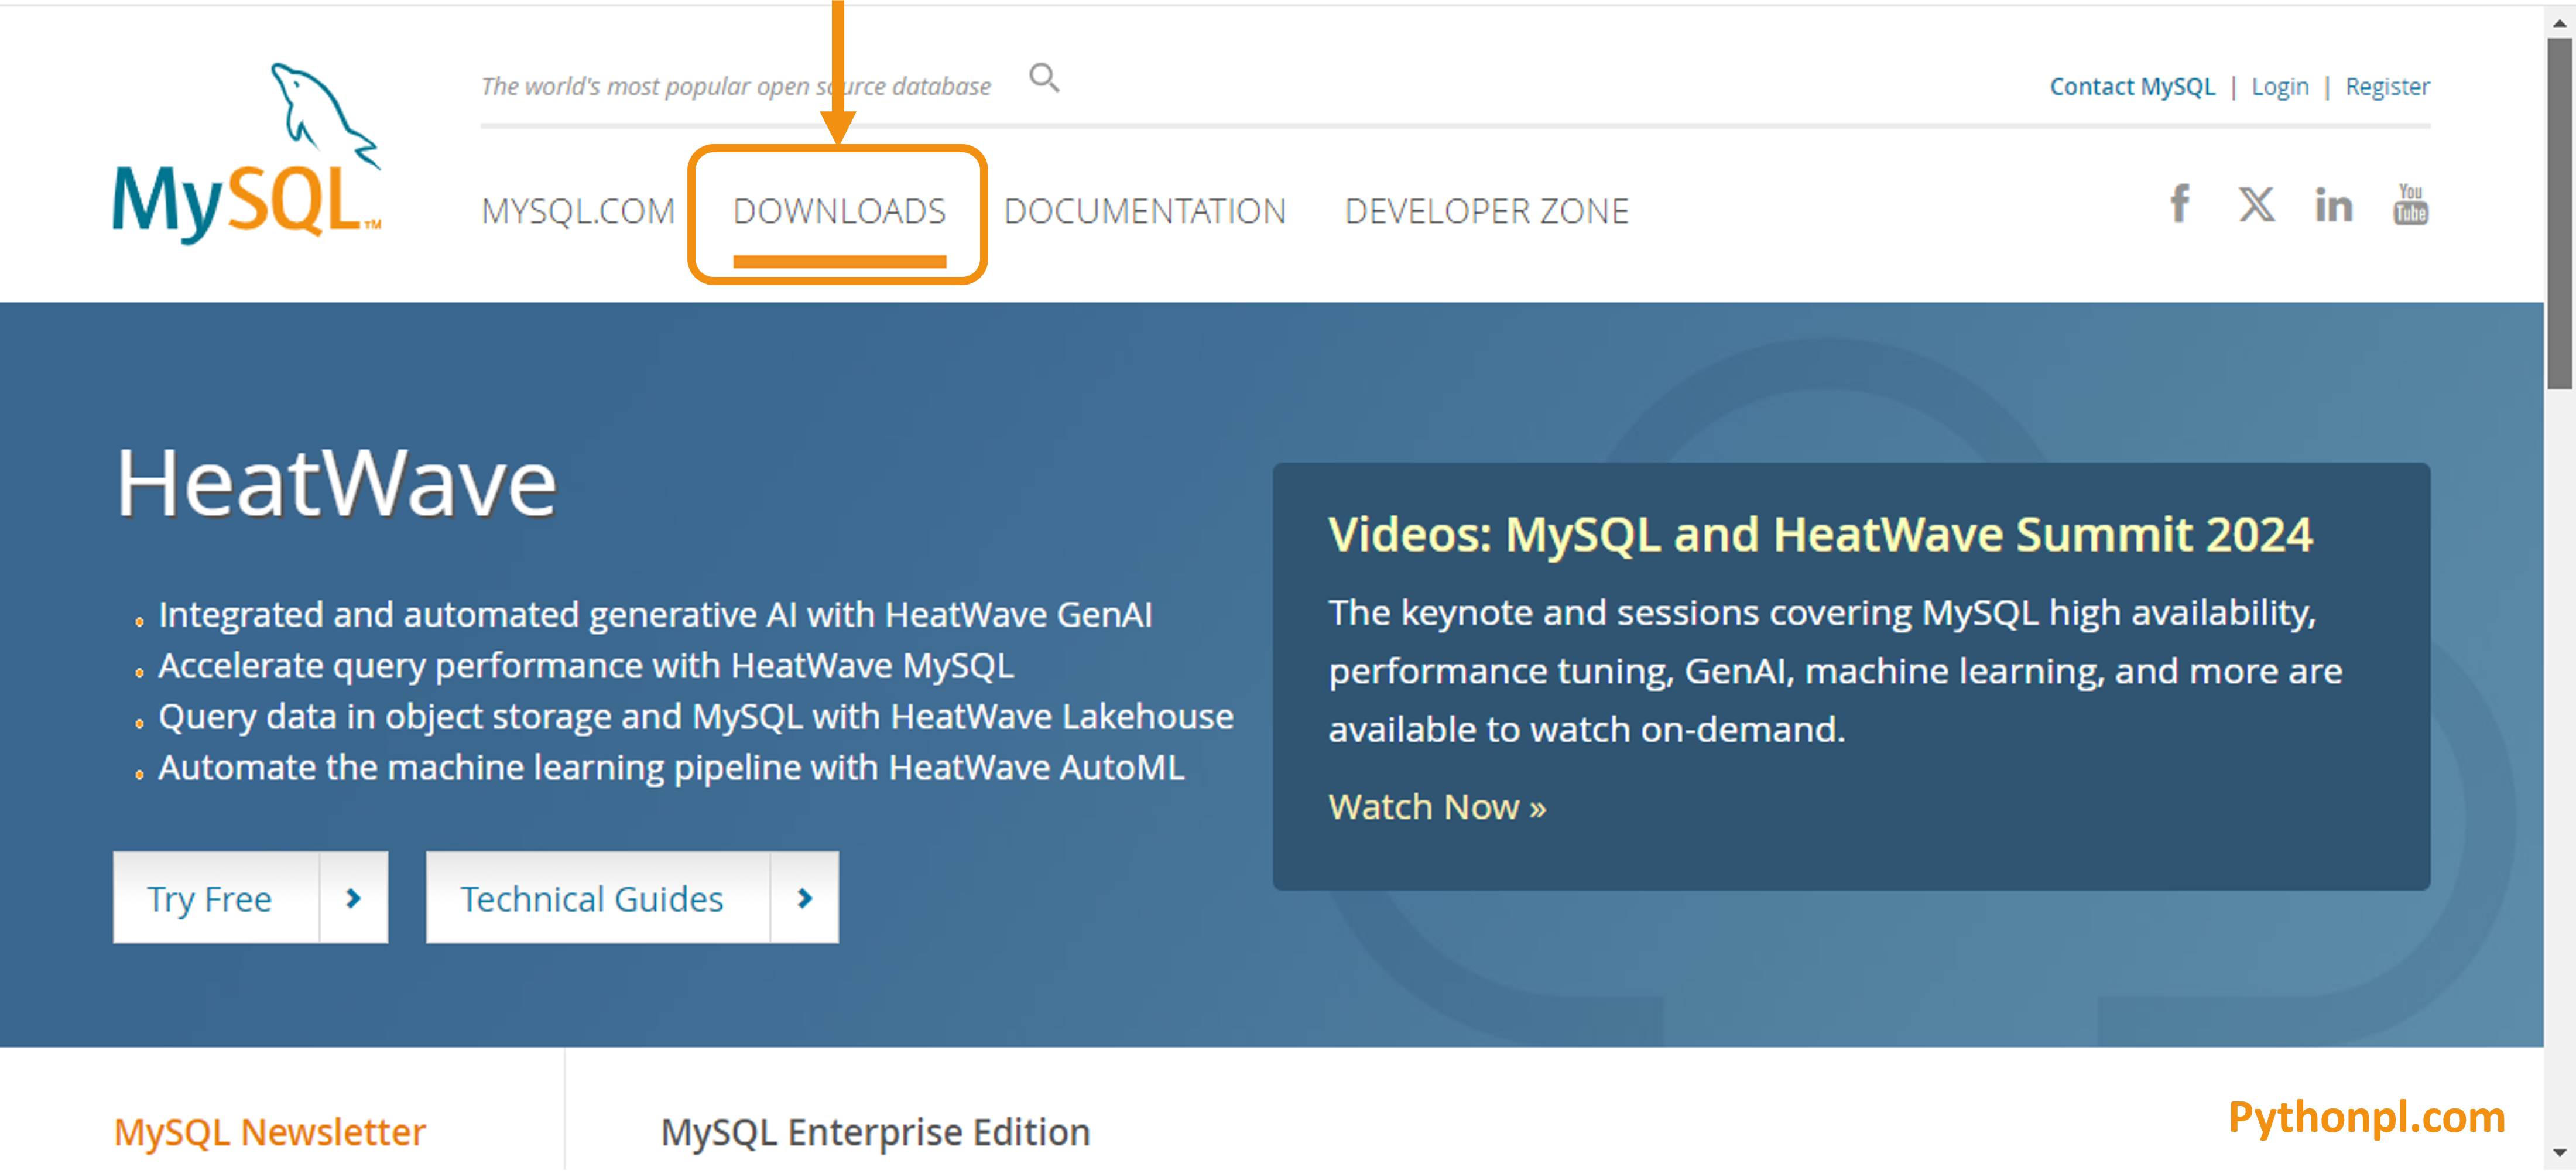
- Now Click on the Downloads from the menu or you can go directly visit by using the following Link.
Link: https://www.mysql.com/downloads/
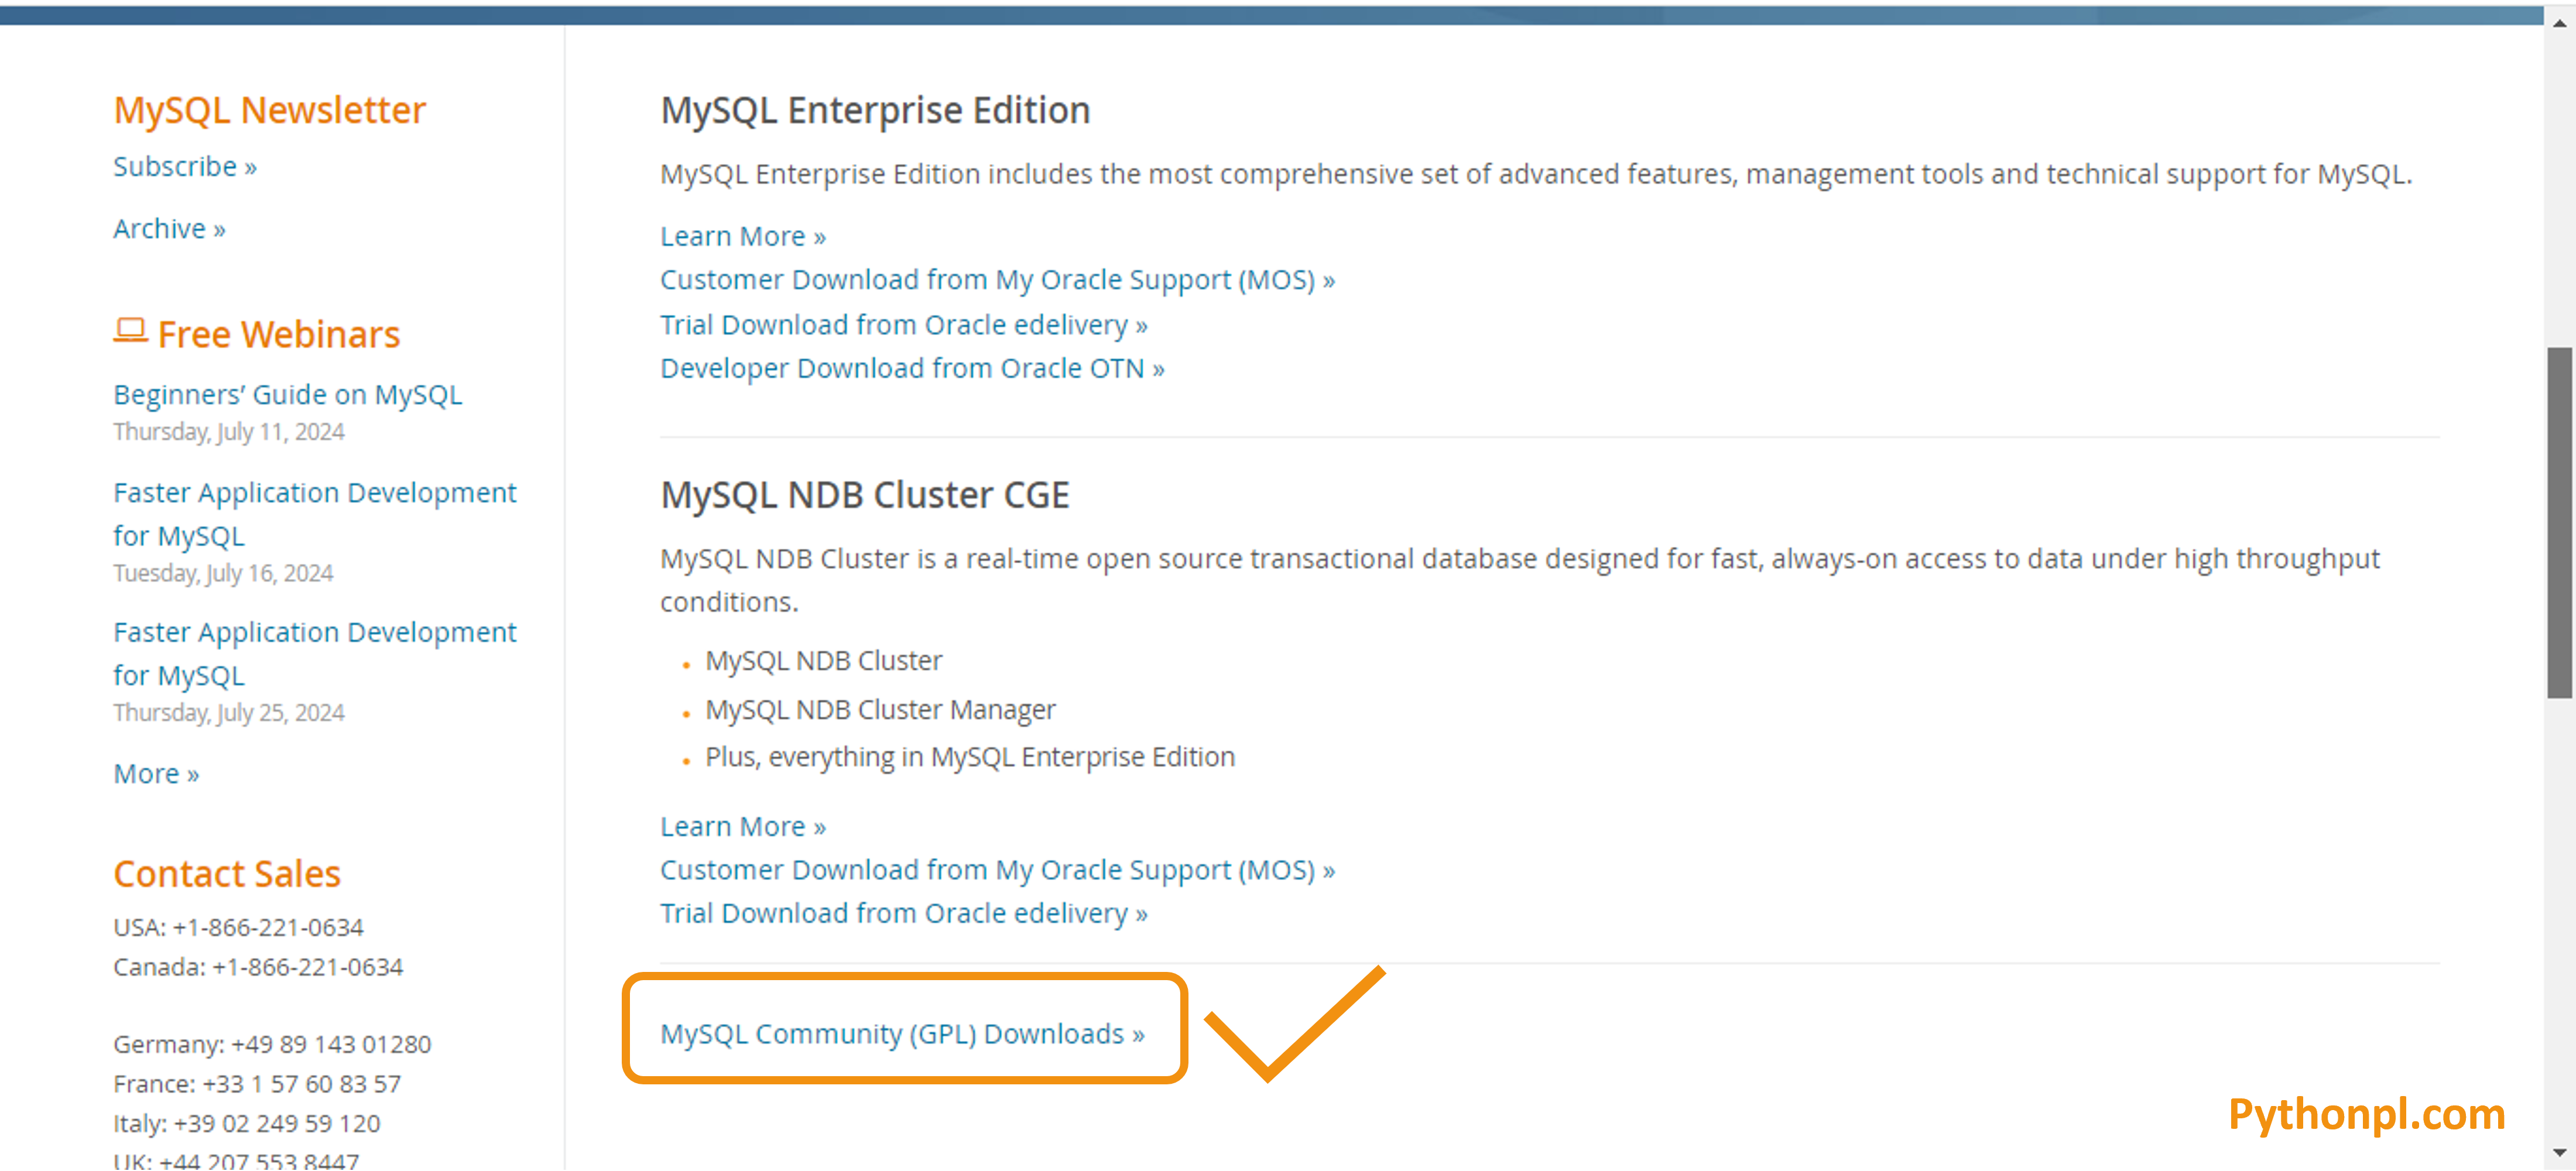
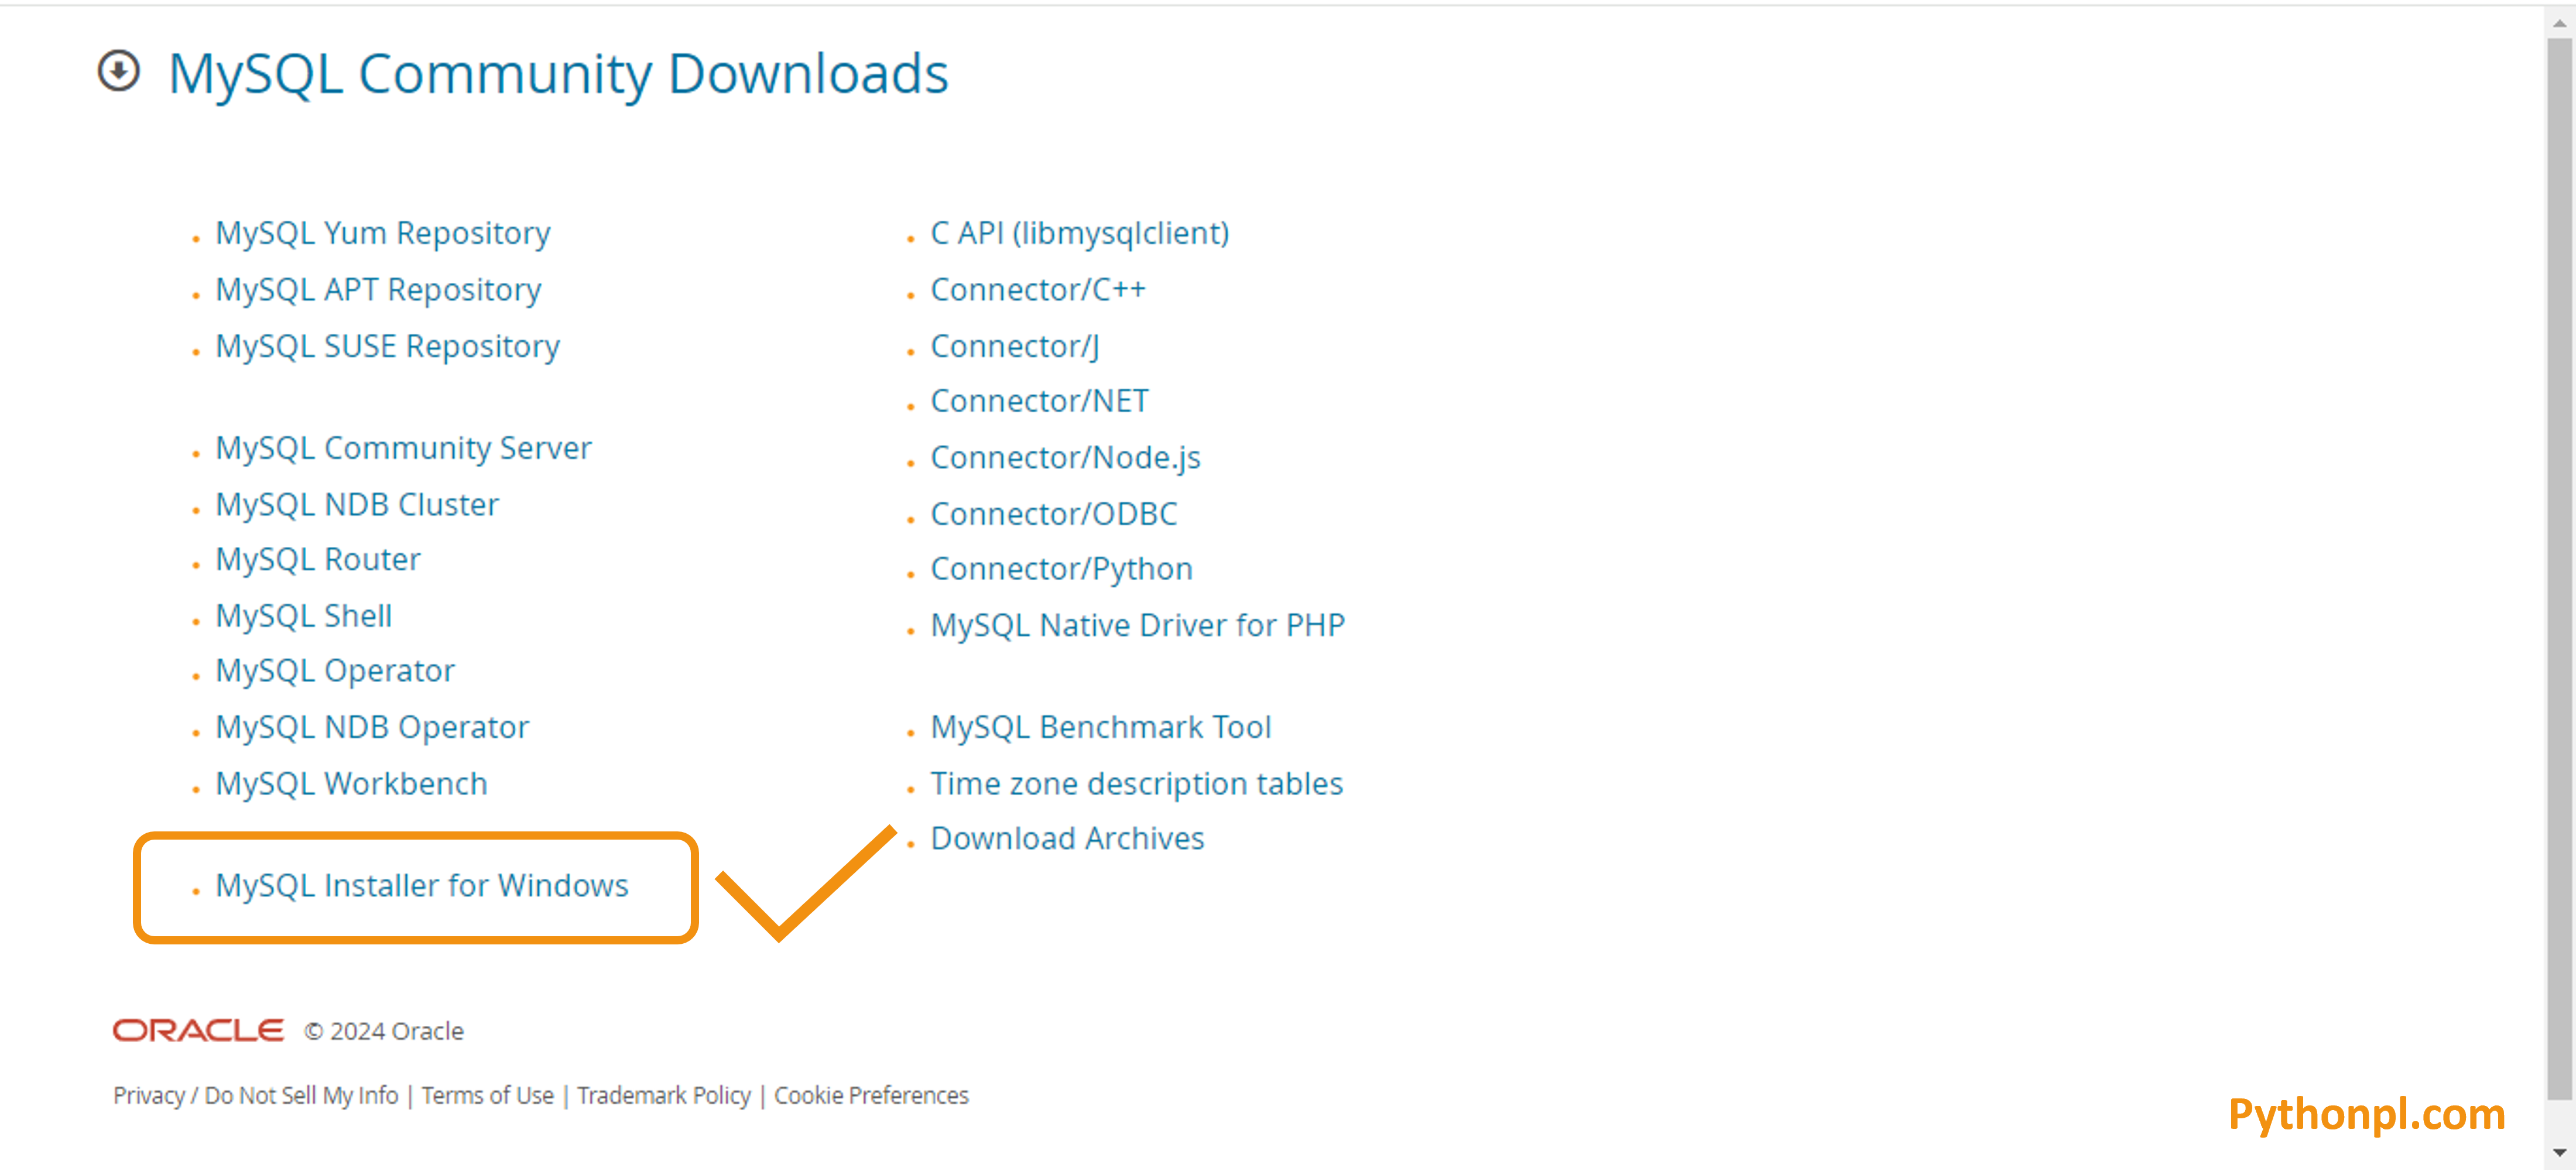
- You can find ‘MySQL Community (GPL) Downloads »’ at the bottom of the page.
- Now click on the ‘MySQL Installer for Windows’ under MySQL Community Downloads
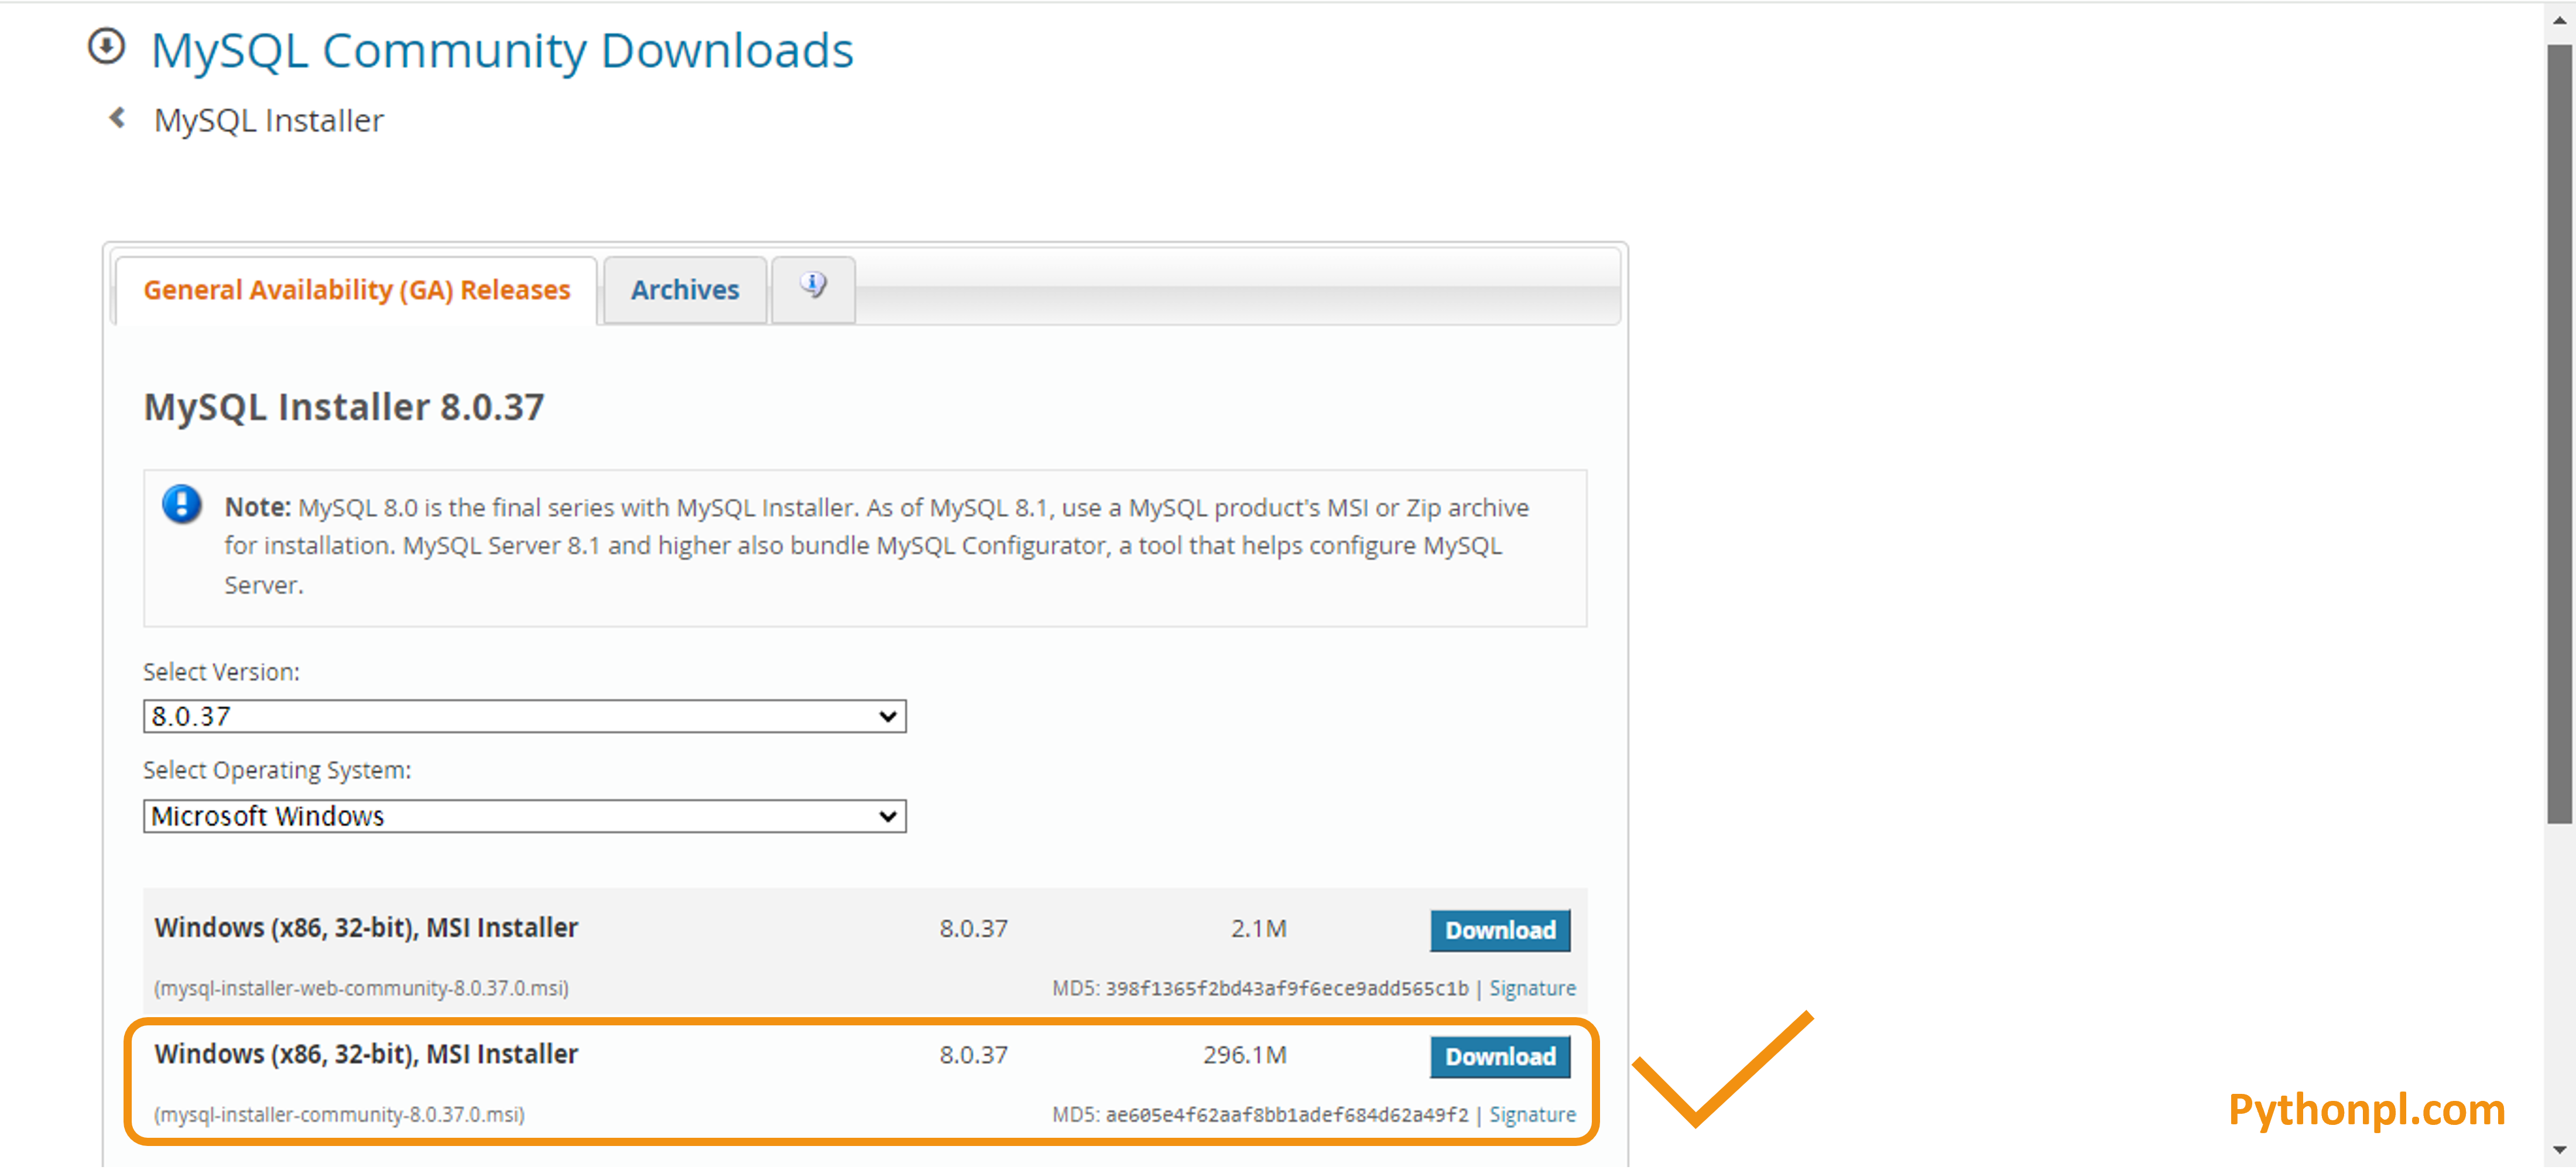
- Select Version from the drop down list: ‘8.0.37’ and then select Operating system as ‘Microsoft Windows’ and then click on the Download button as shown in the below screenshot.
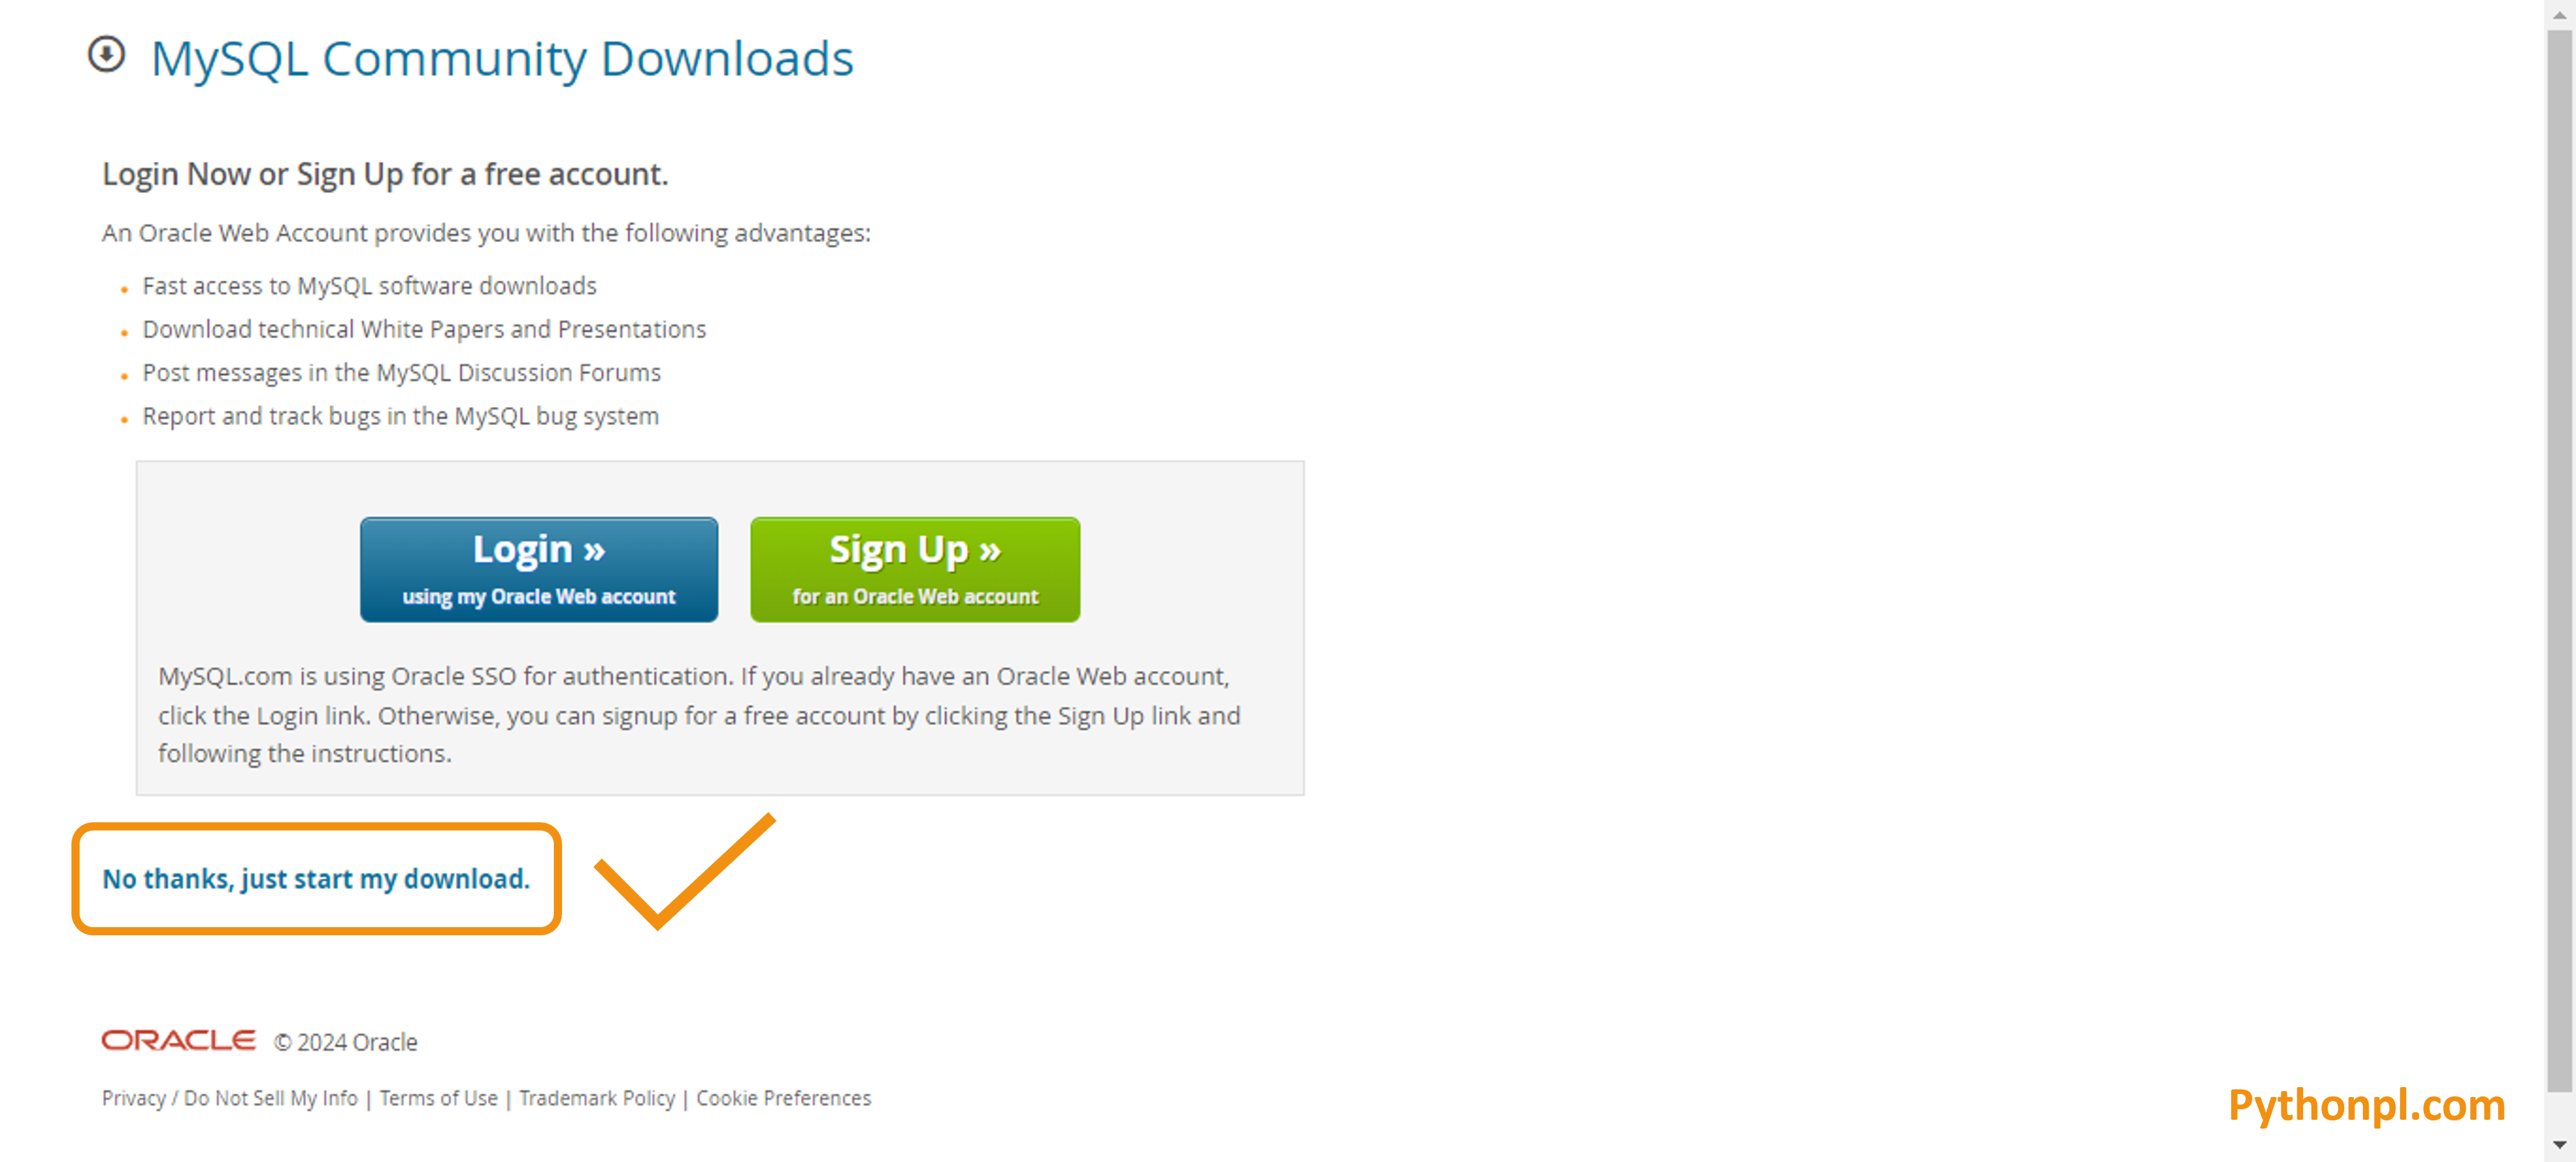
- Now Click on No thanks, just start my download as shown below.
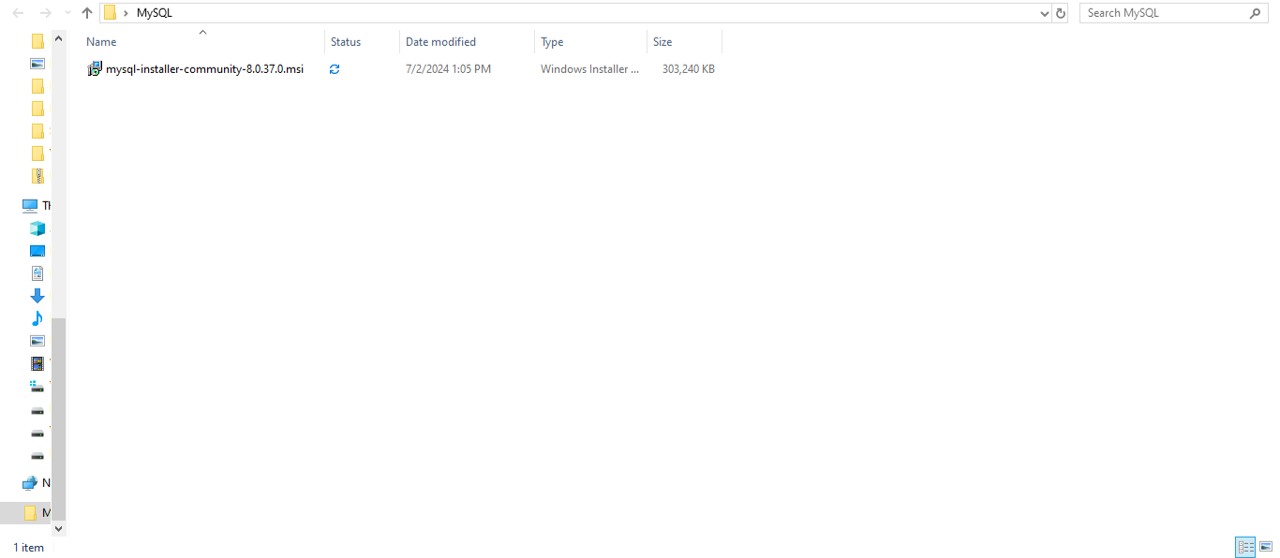
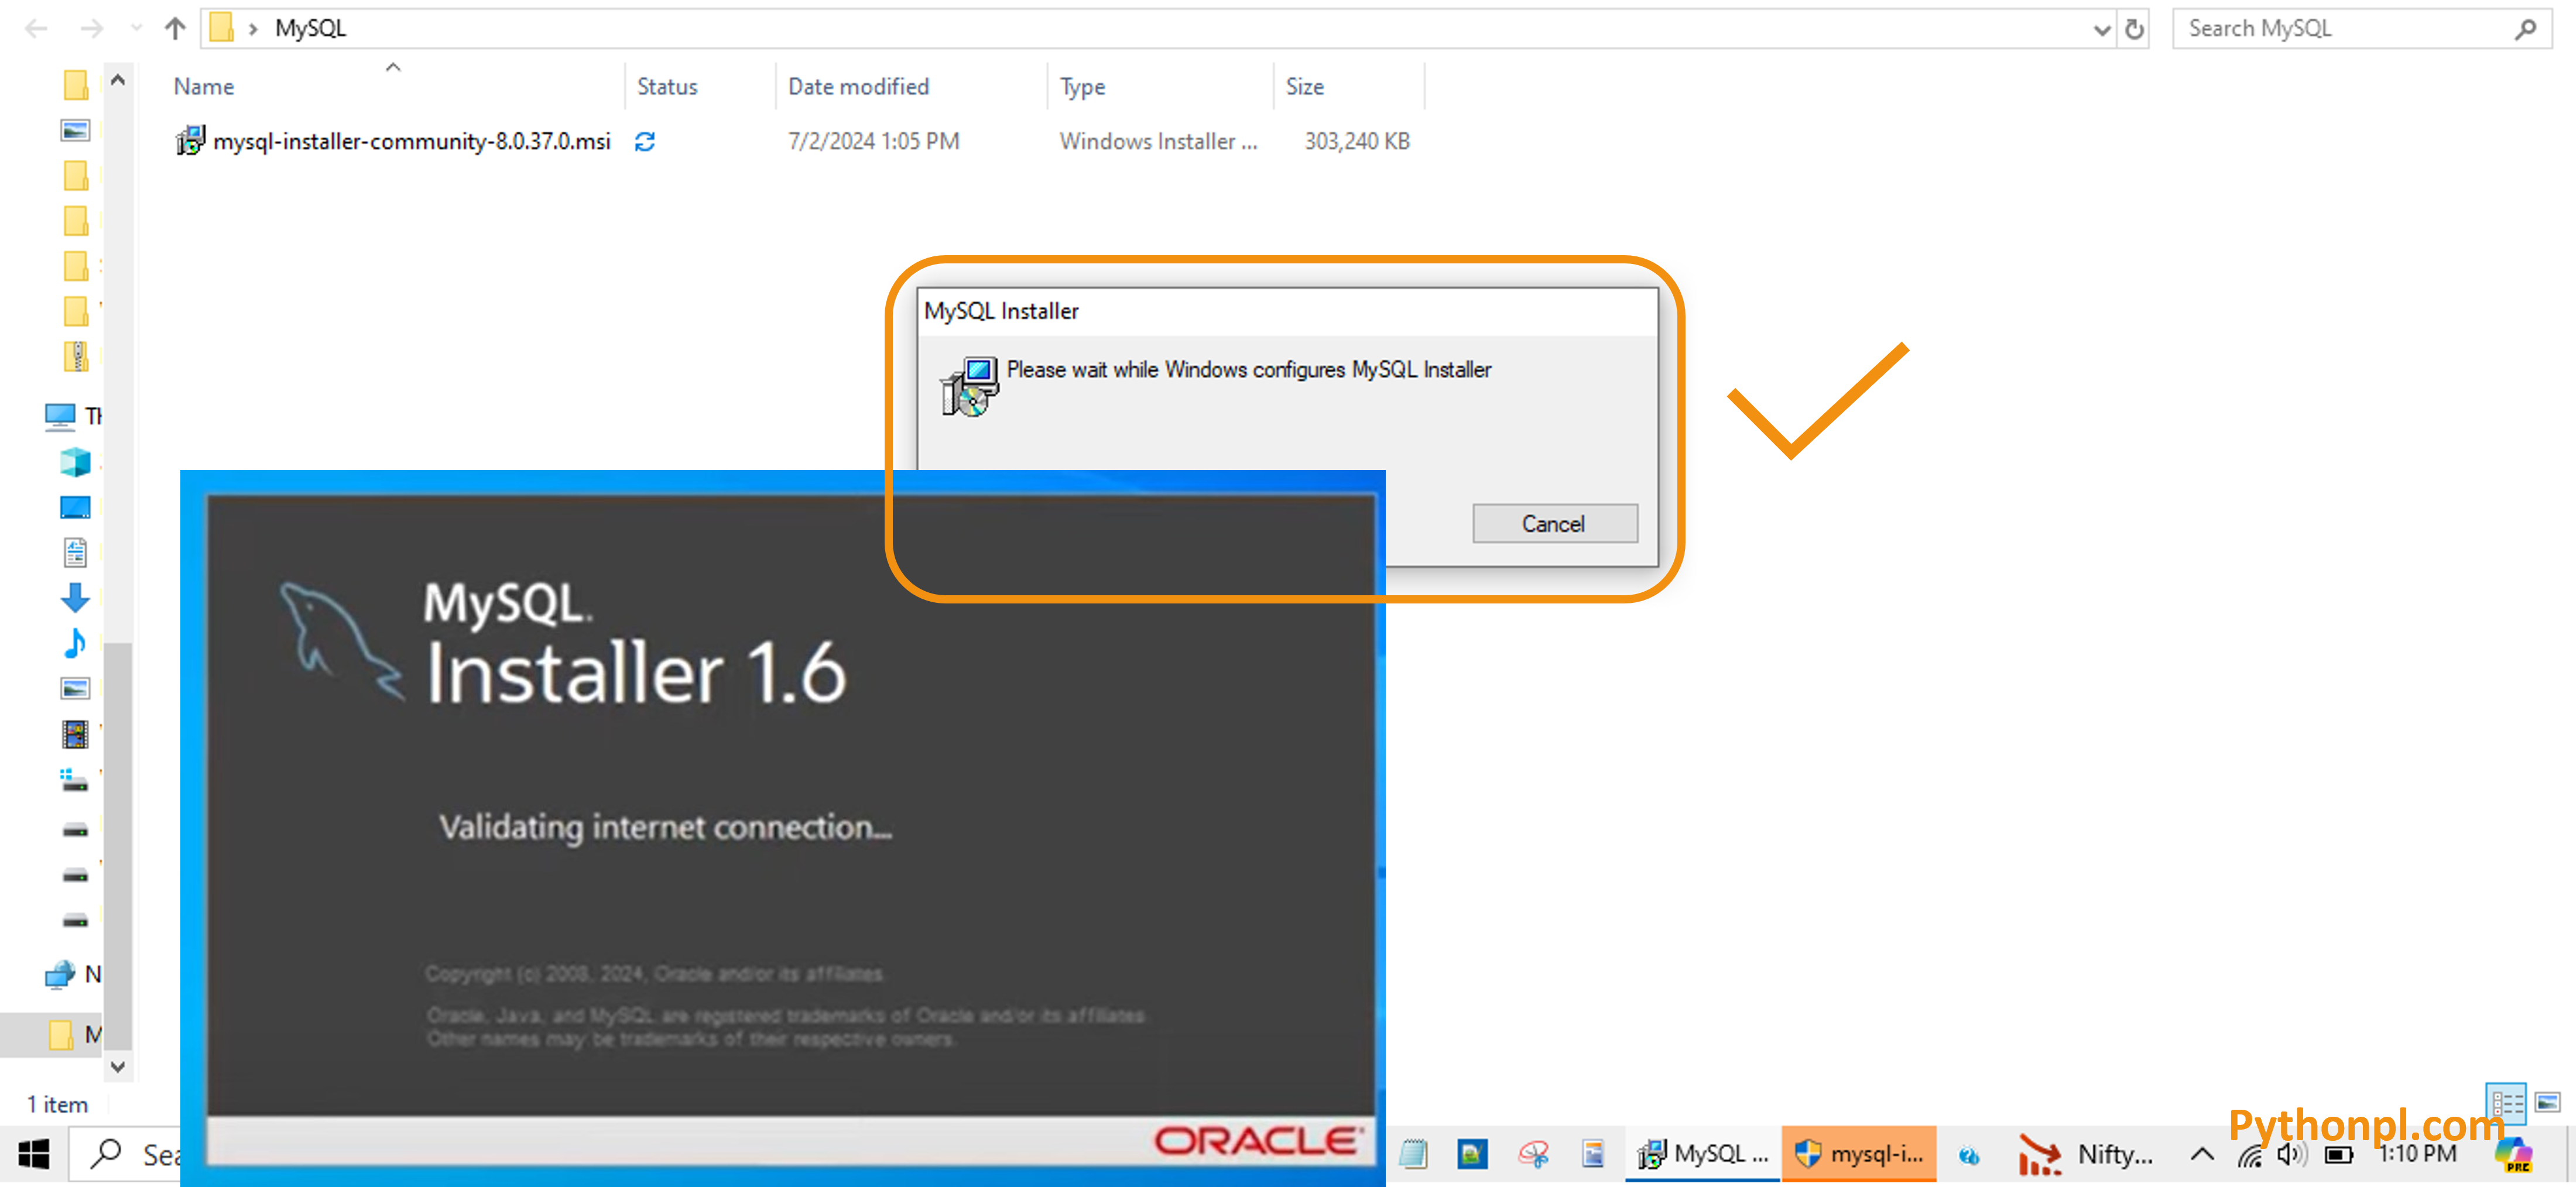
- Now click on the downloaded MySQL Installer to install ‘MySQL’ in the devise.
- Now Started Installing MySQL..
- Choosing a Setup Type as ‘Custom’ and then click on the ‘Next’ button.

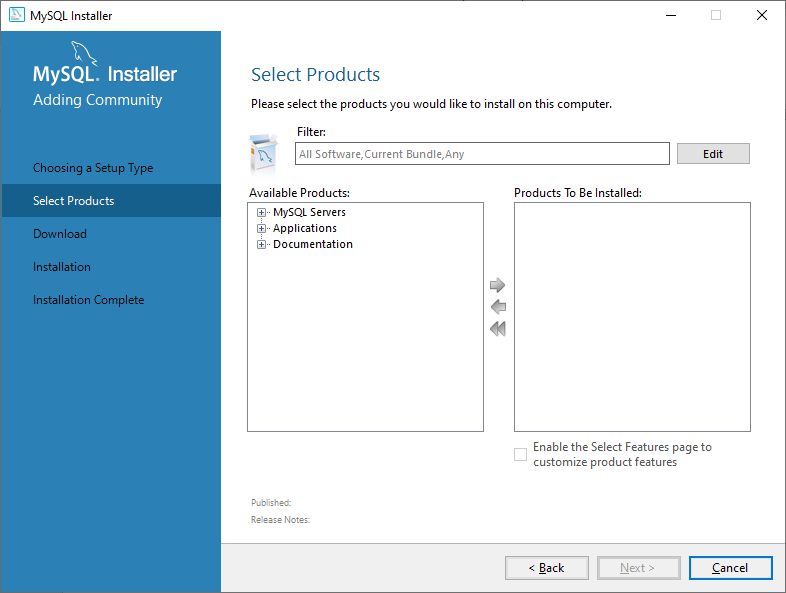
- Now it shows following screen with available products.
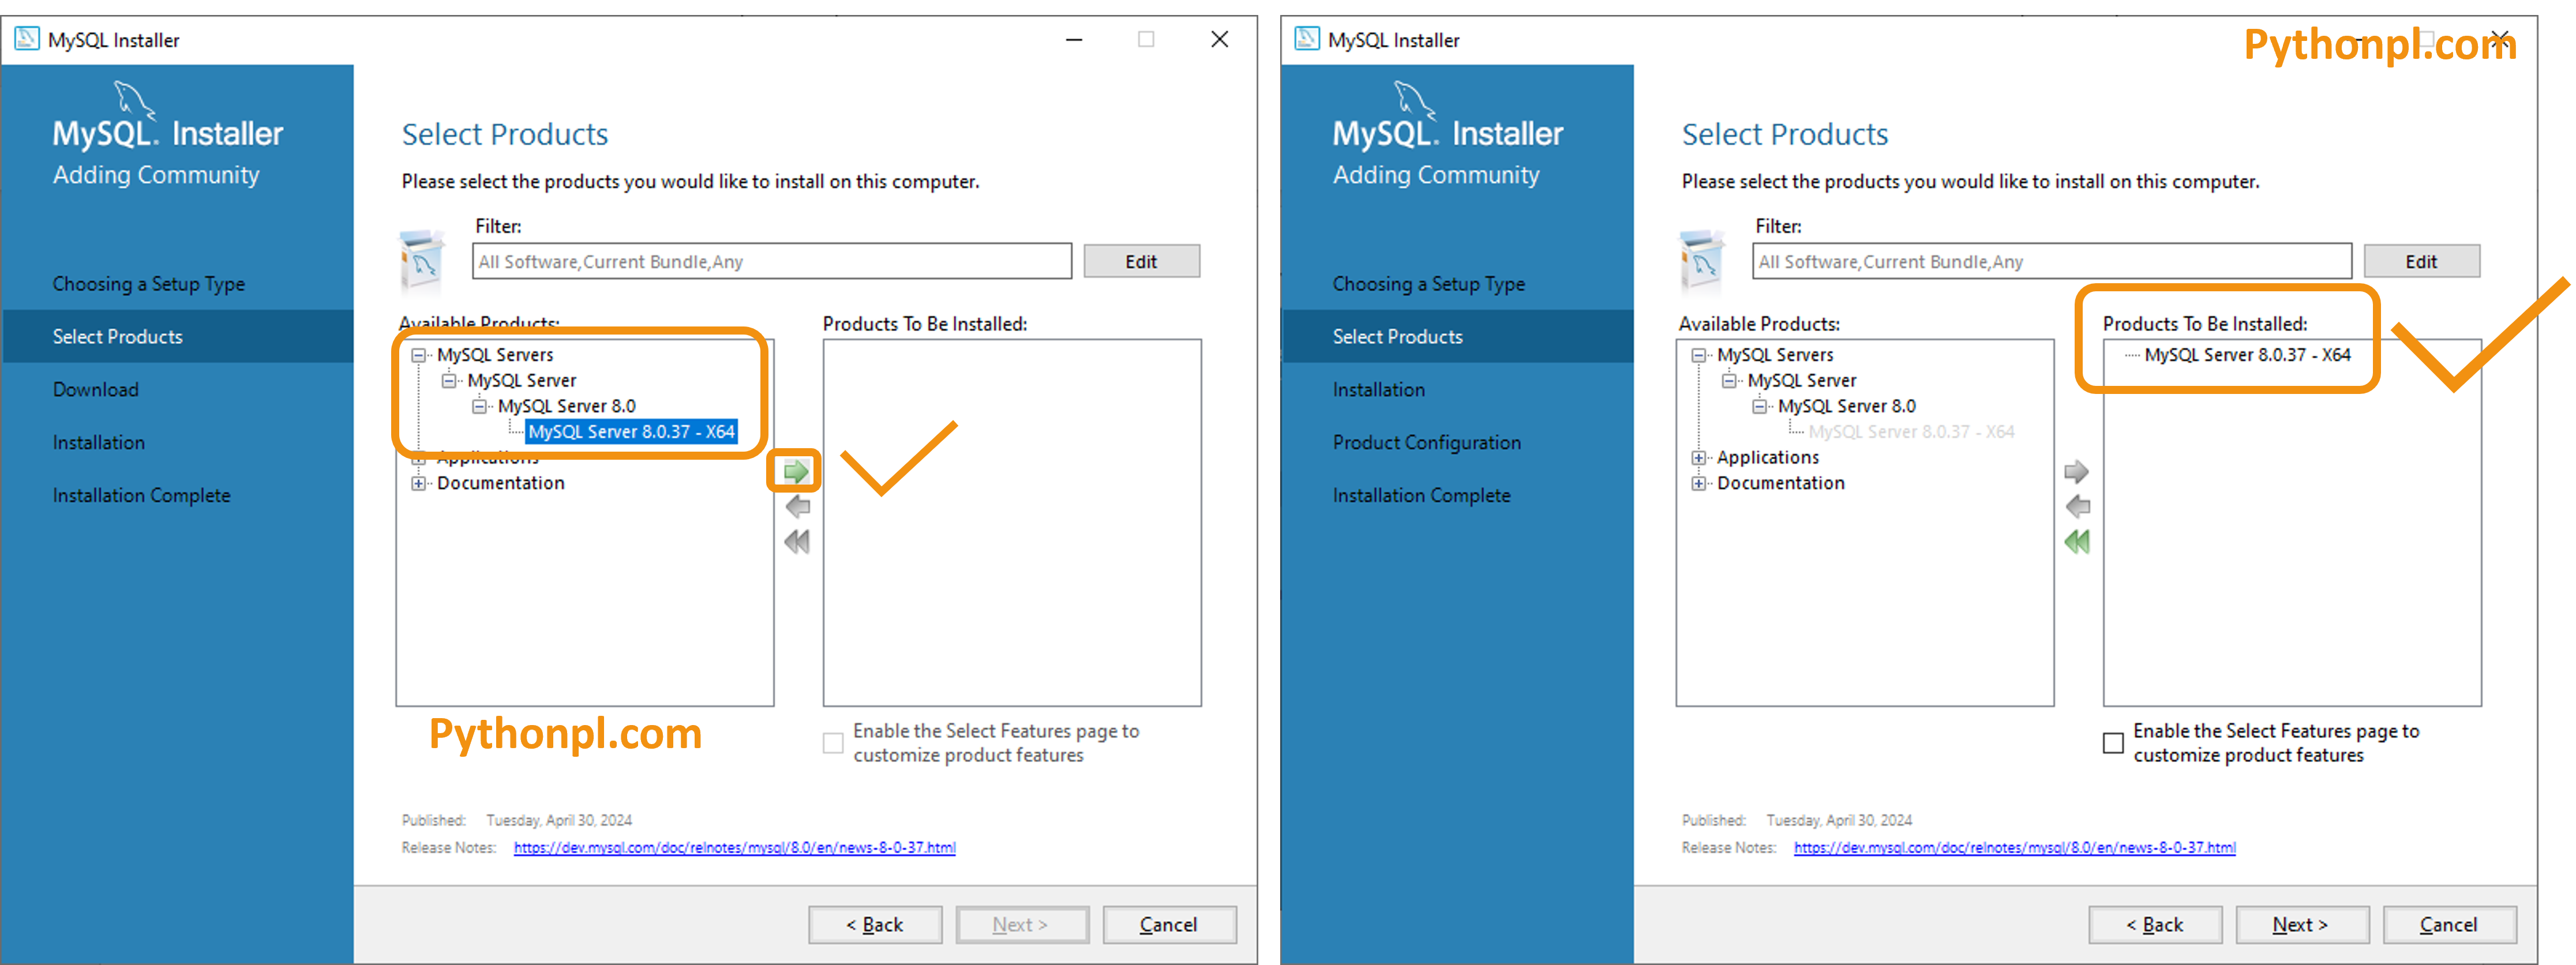
- Expand MySQL Servers as shown in the below screenshot and then select ‘MySQL Server 8.0.37- x64’ and click on Right side Green Arrow. Now it is moved to ‘Products to be Installed’ section.
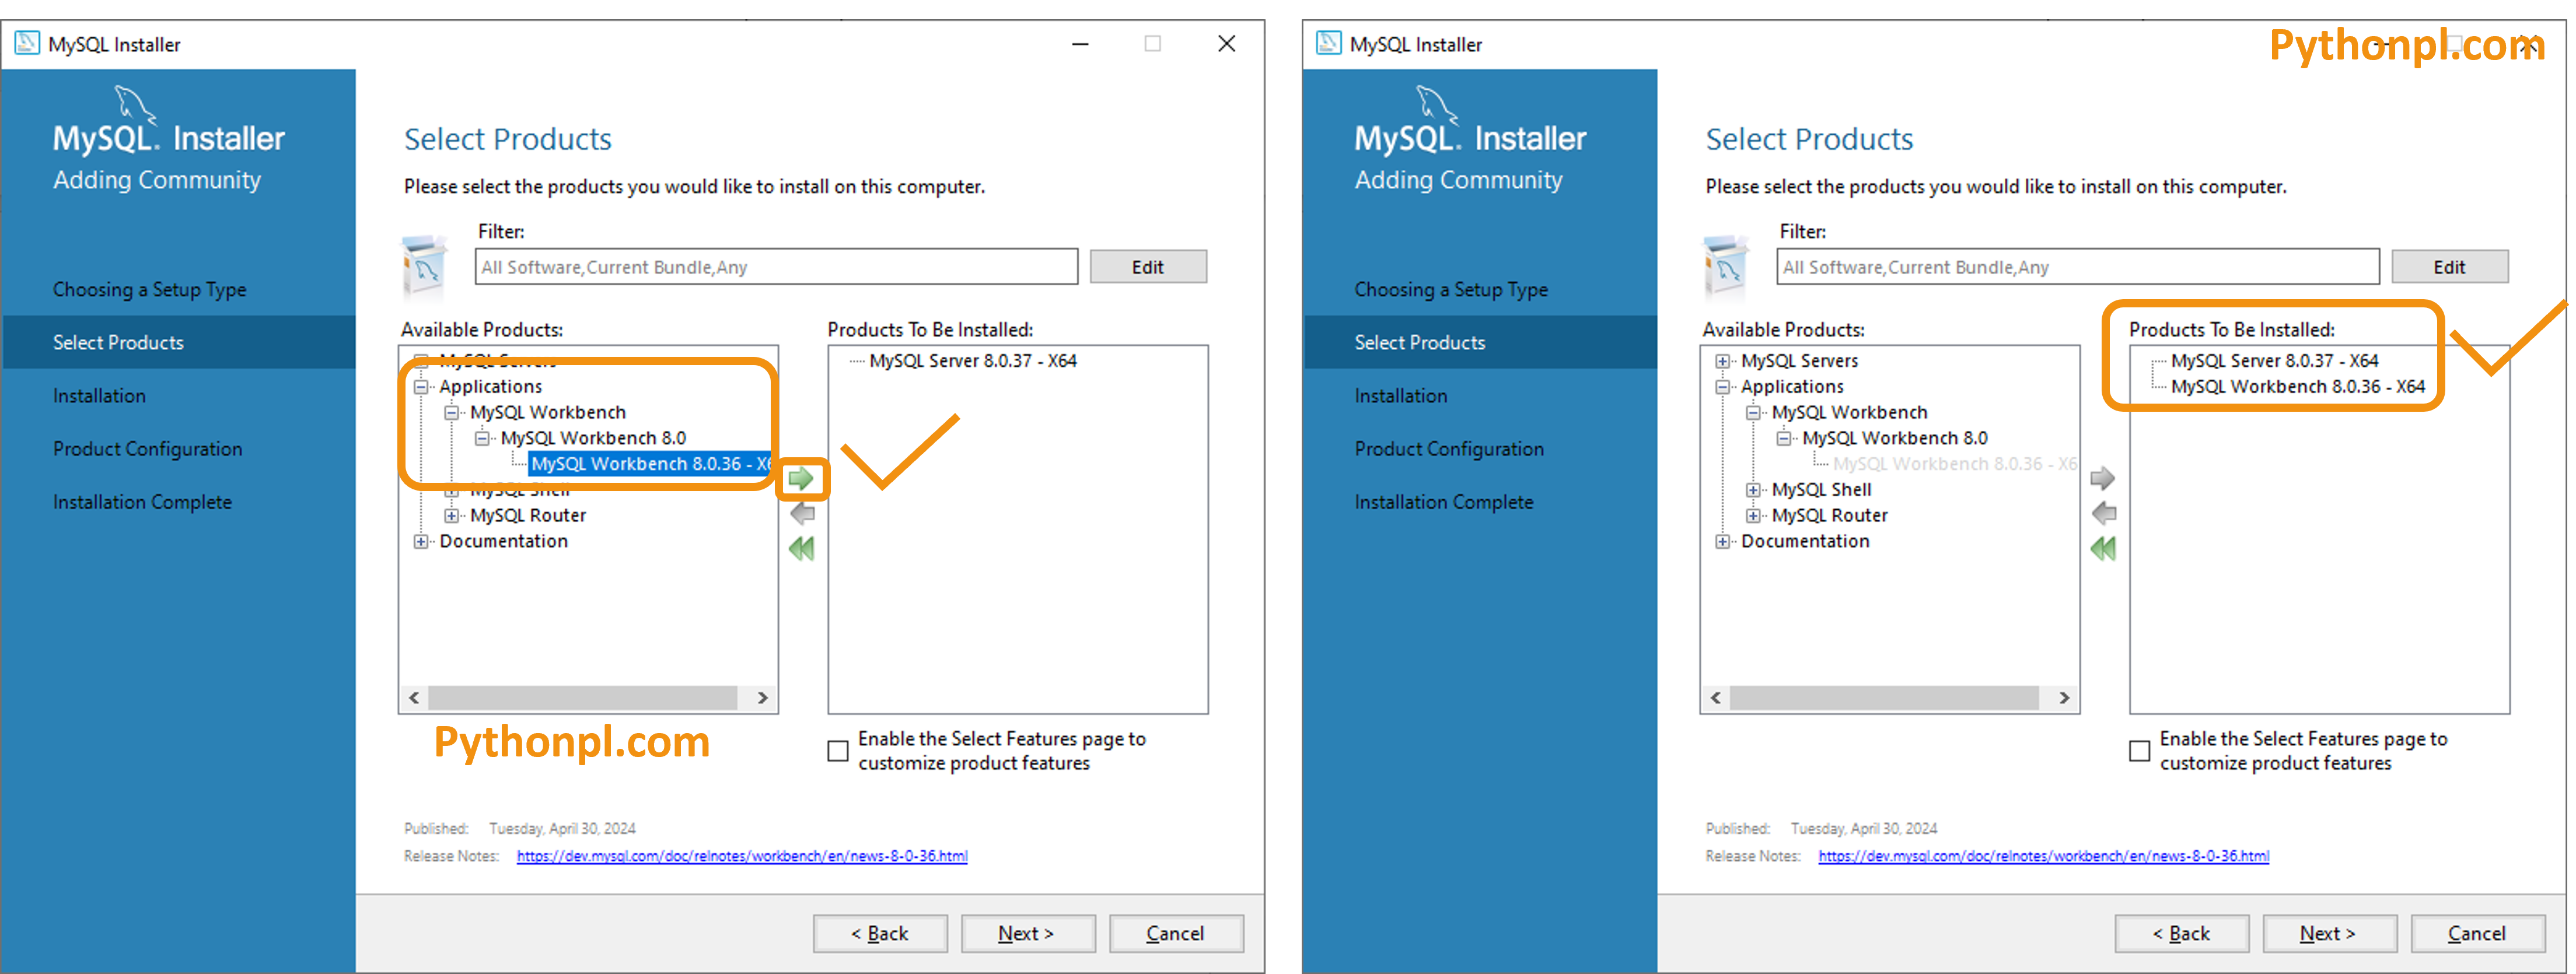
- Similarly expand Applications from the available products and then select ‘MySQL Workbench 8.0.36- x64’ and click on Green Arrow. Now you can observe that, it is moved to ‘Products to be Installed’ section.
- Now expand MySQL Shell from the available products and then select ‘MySQL Shell 8.0.37- x64’ and click on Green Arrow. Now you can observe that, it is moved to ‘Products to be Installed’ section.
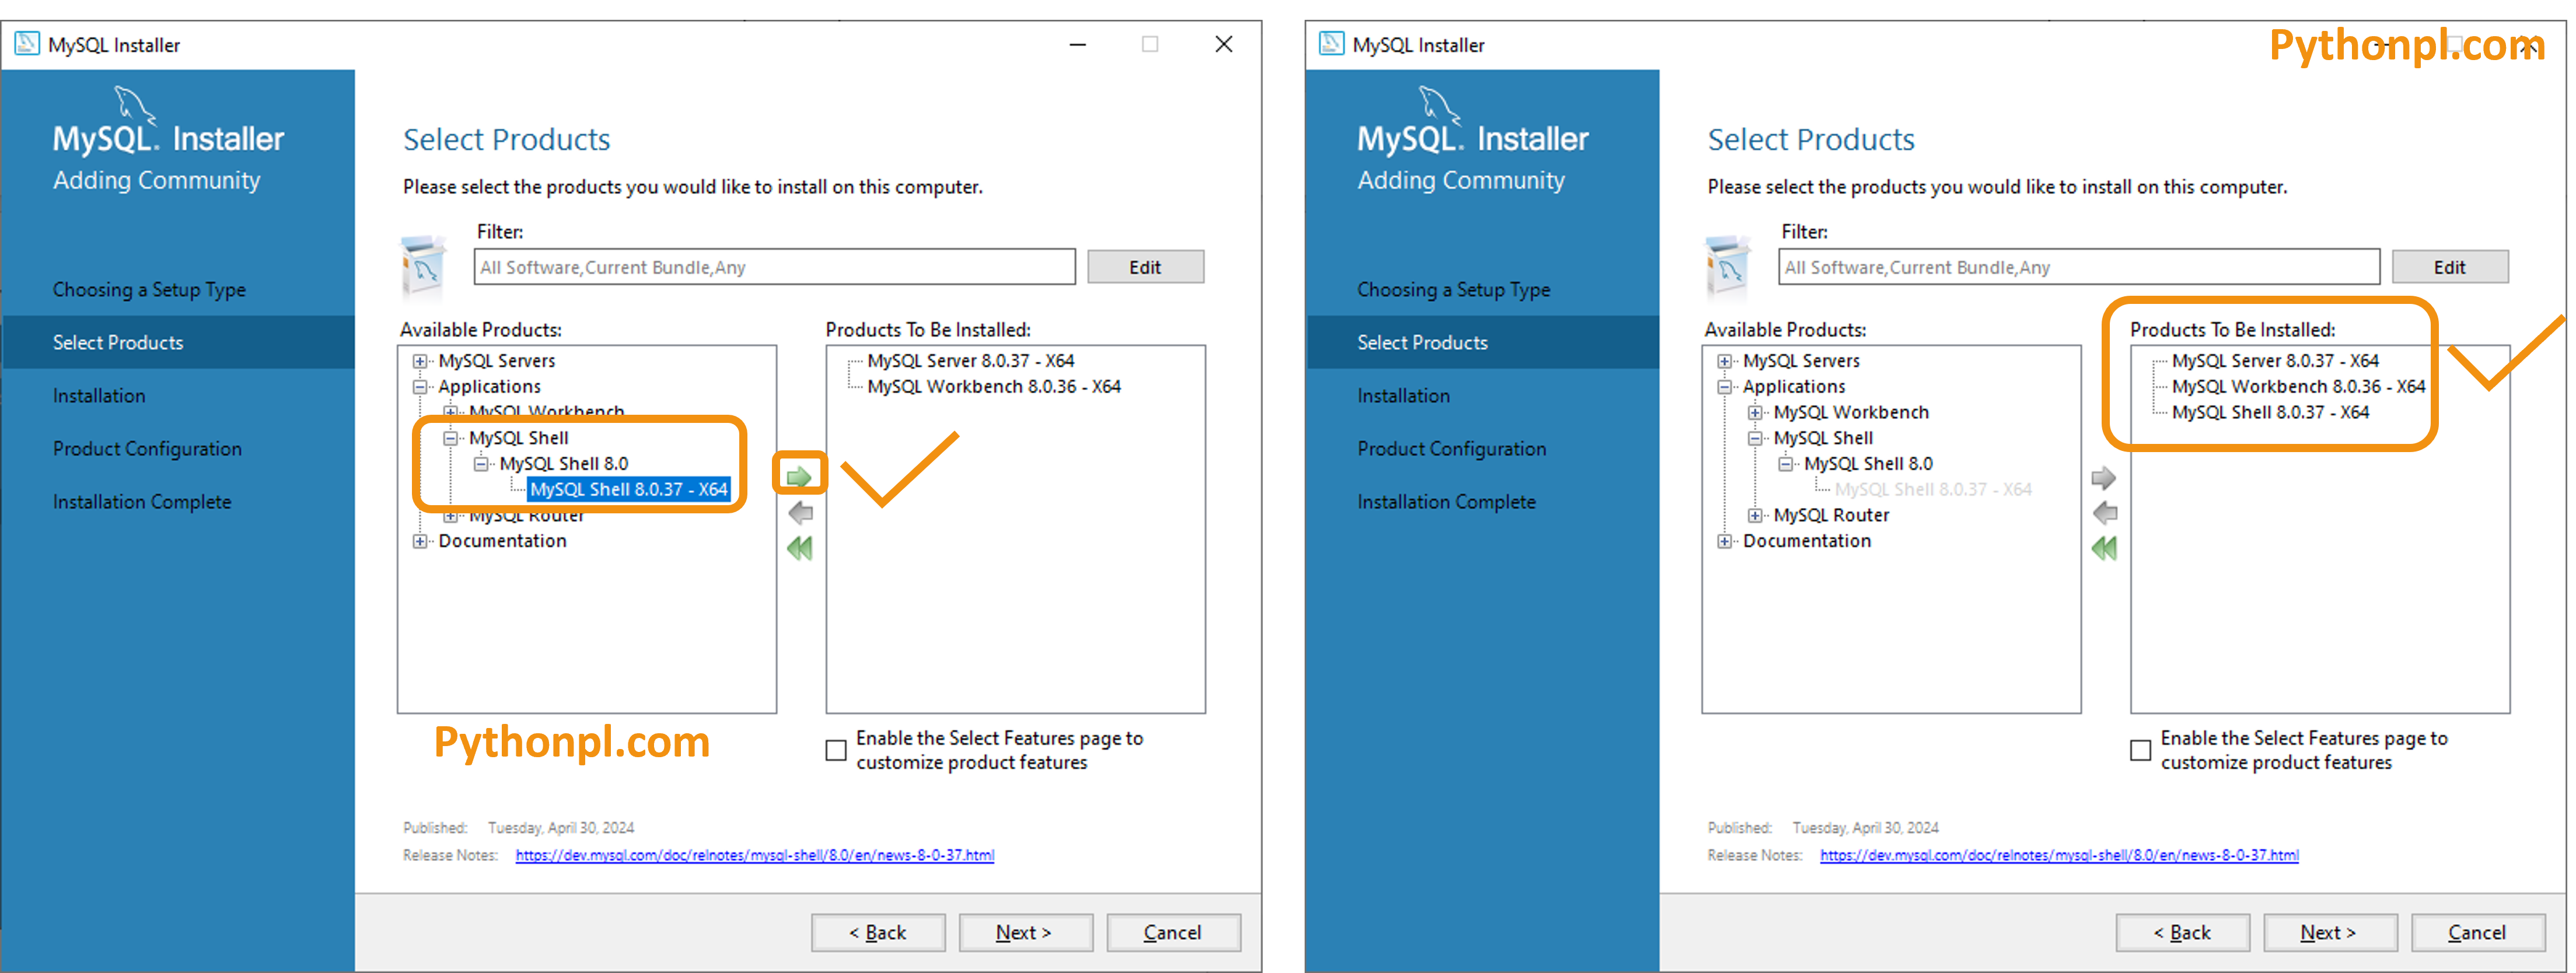
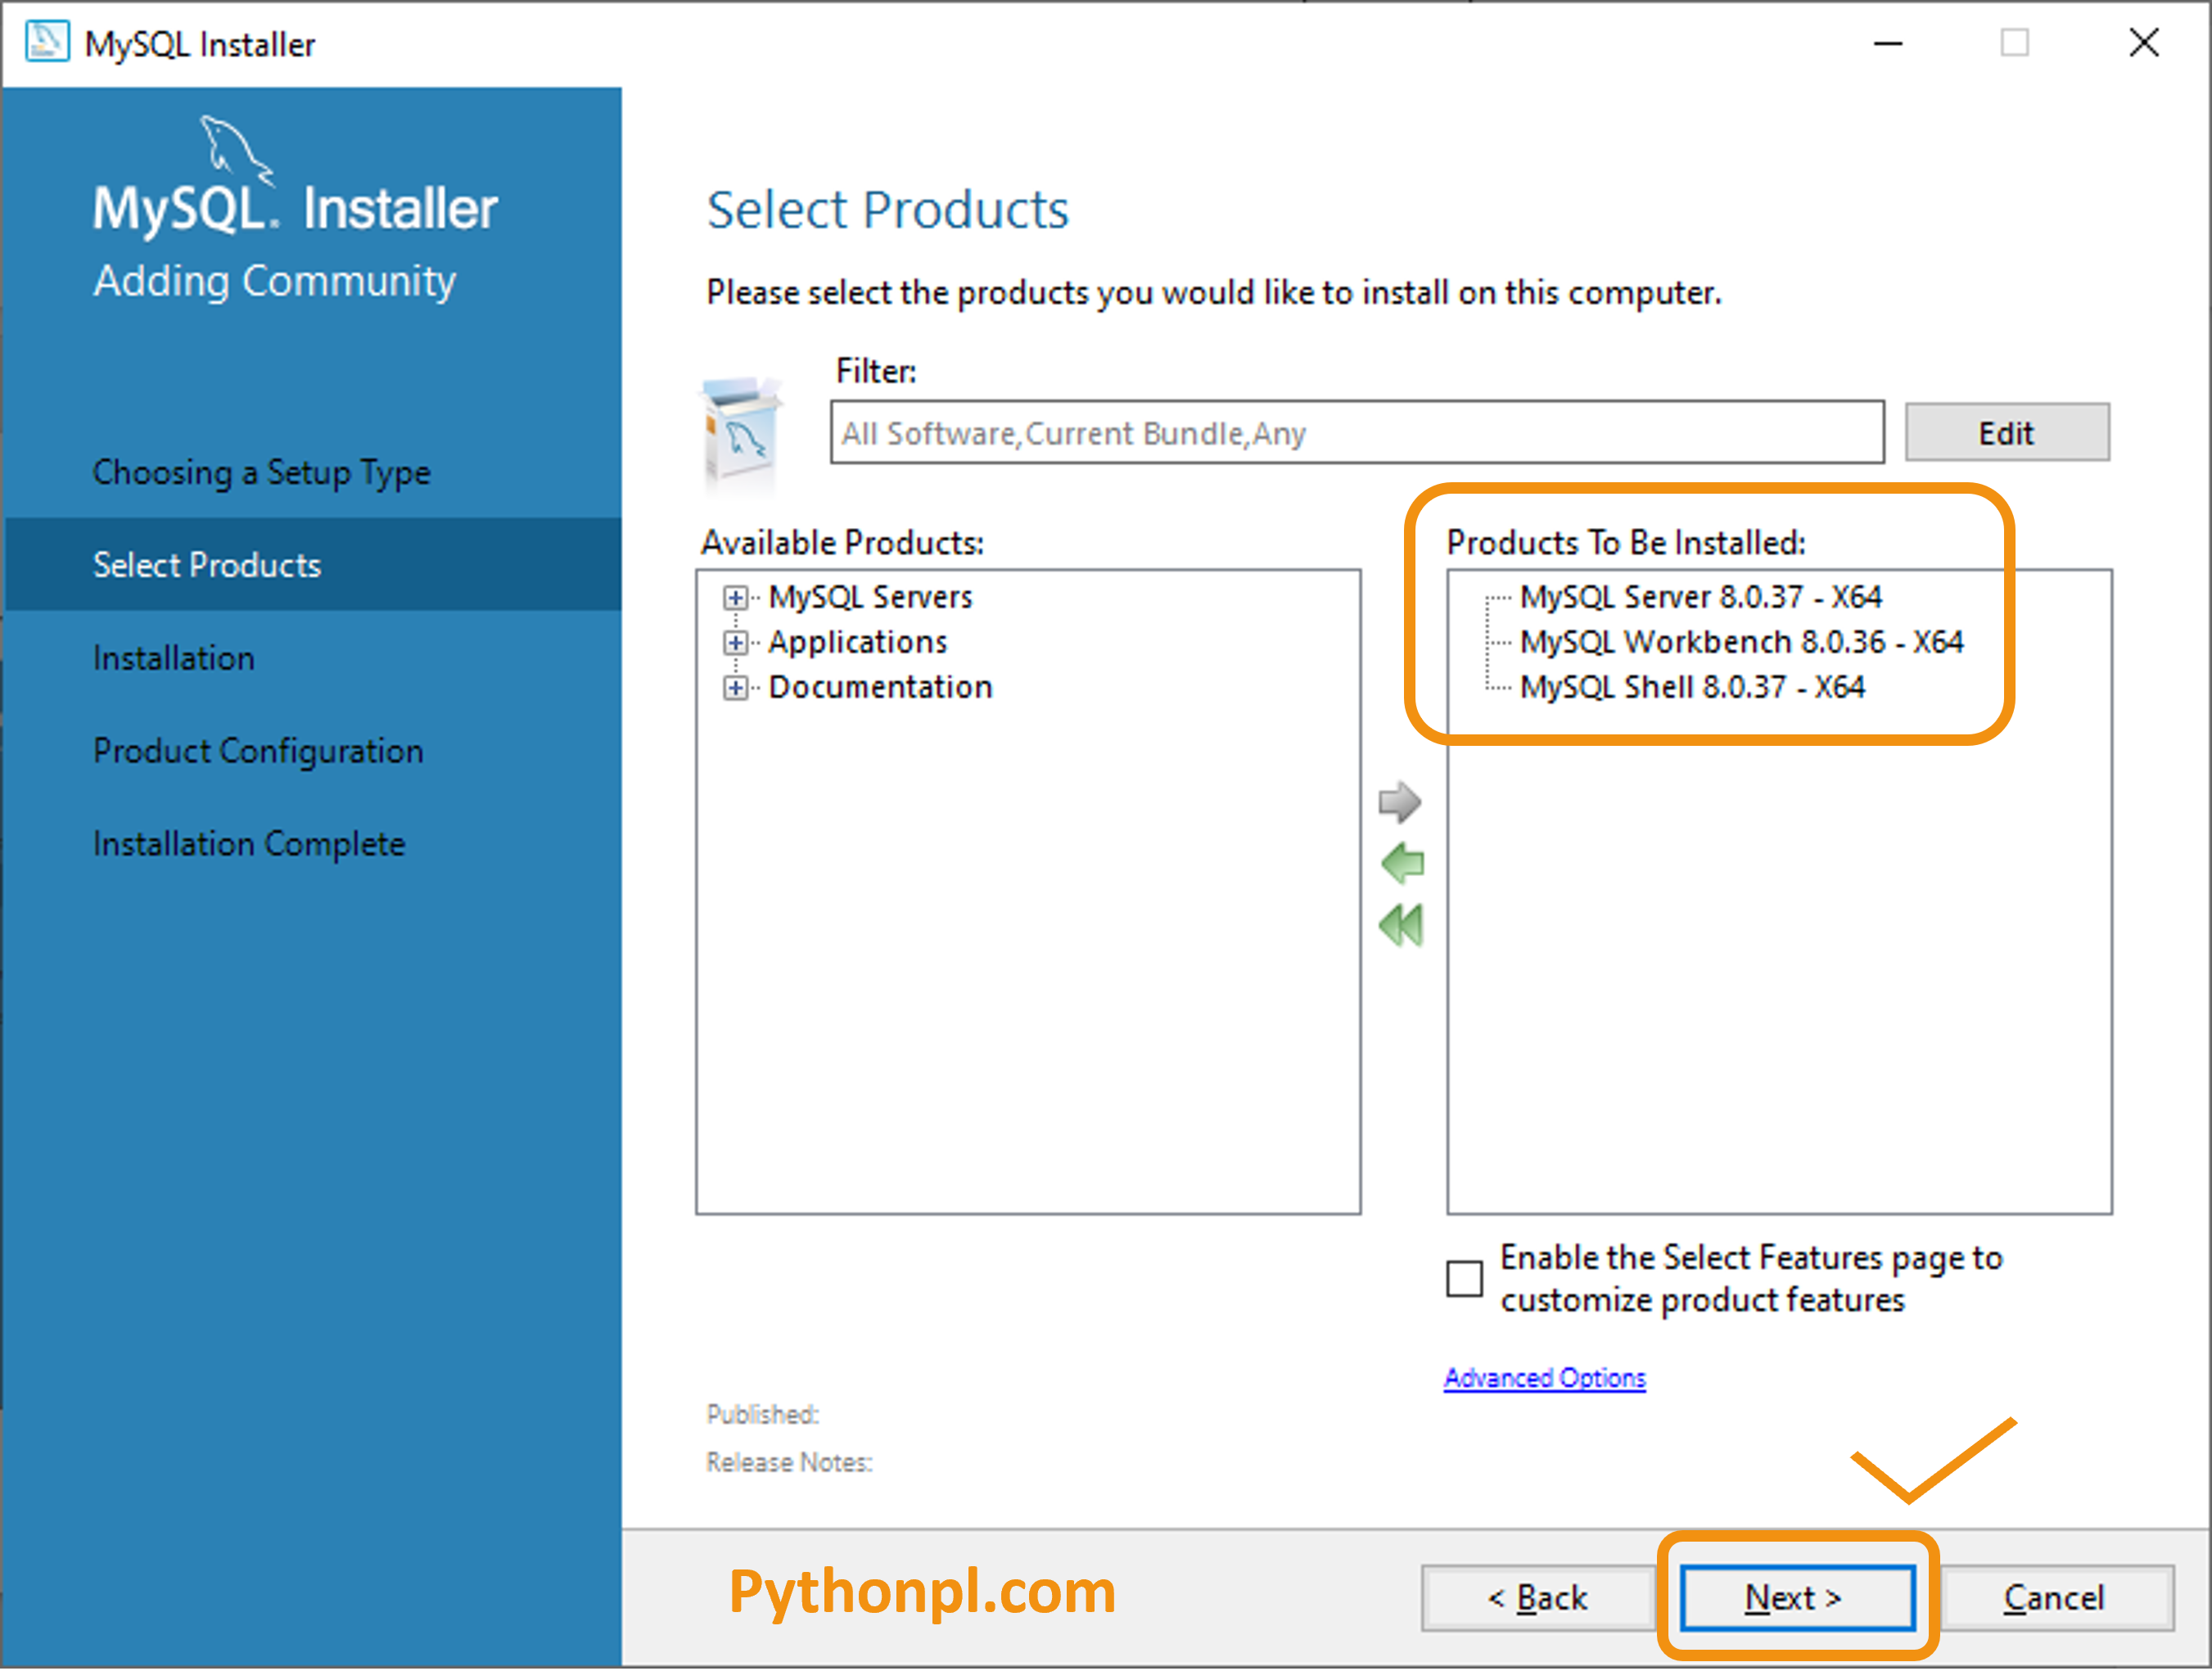
- Selected Products to be Installed and click on the ‘Next’ button.
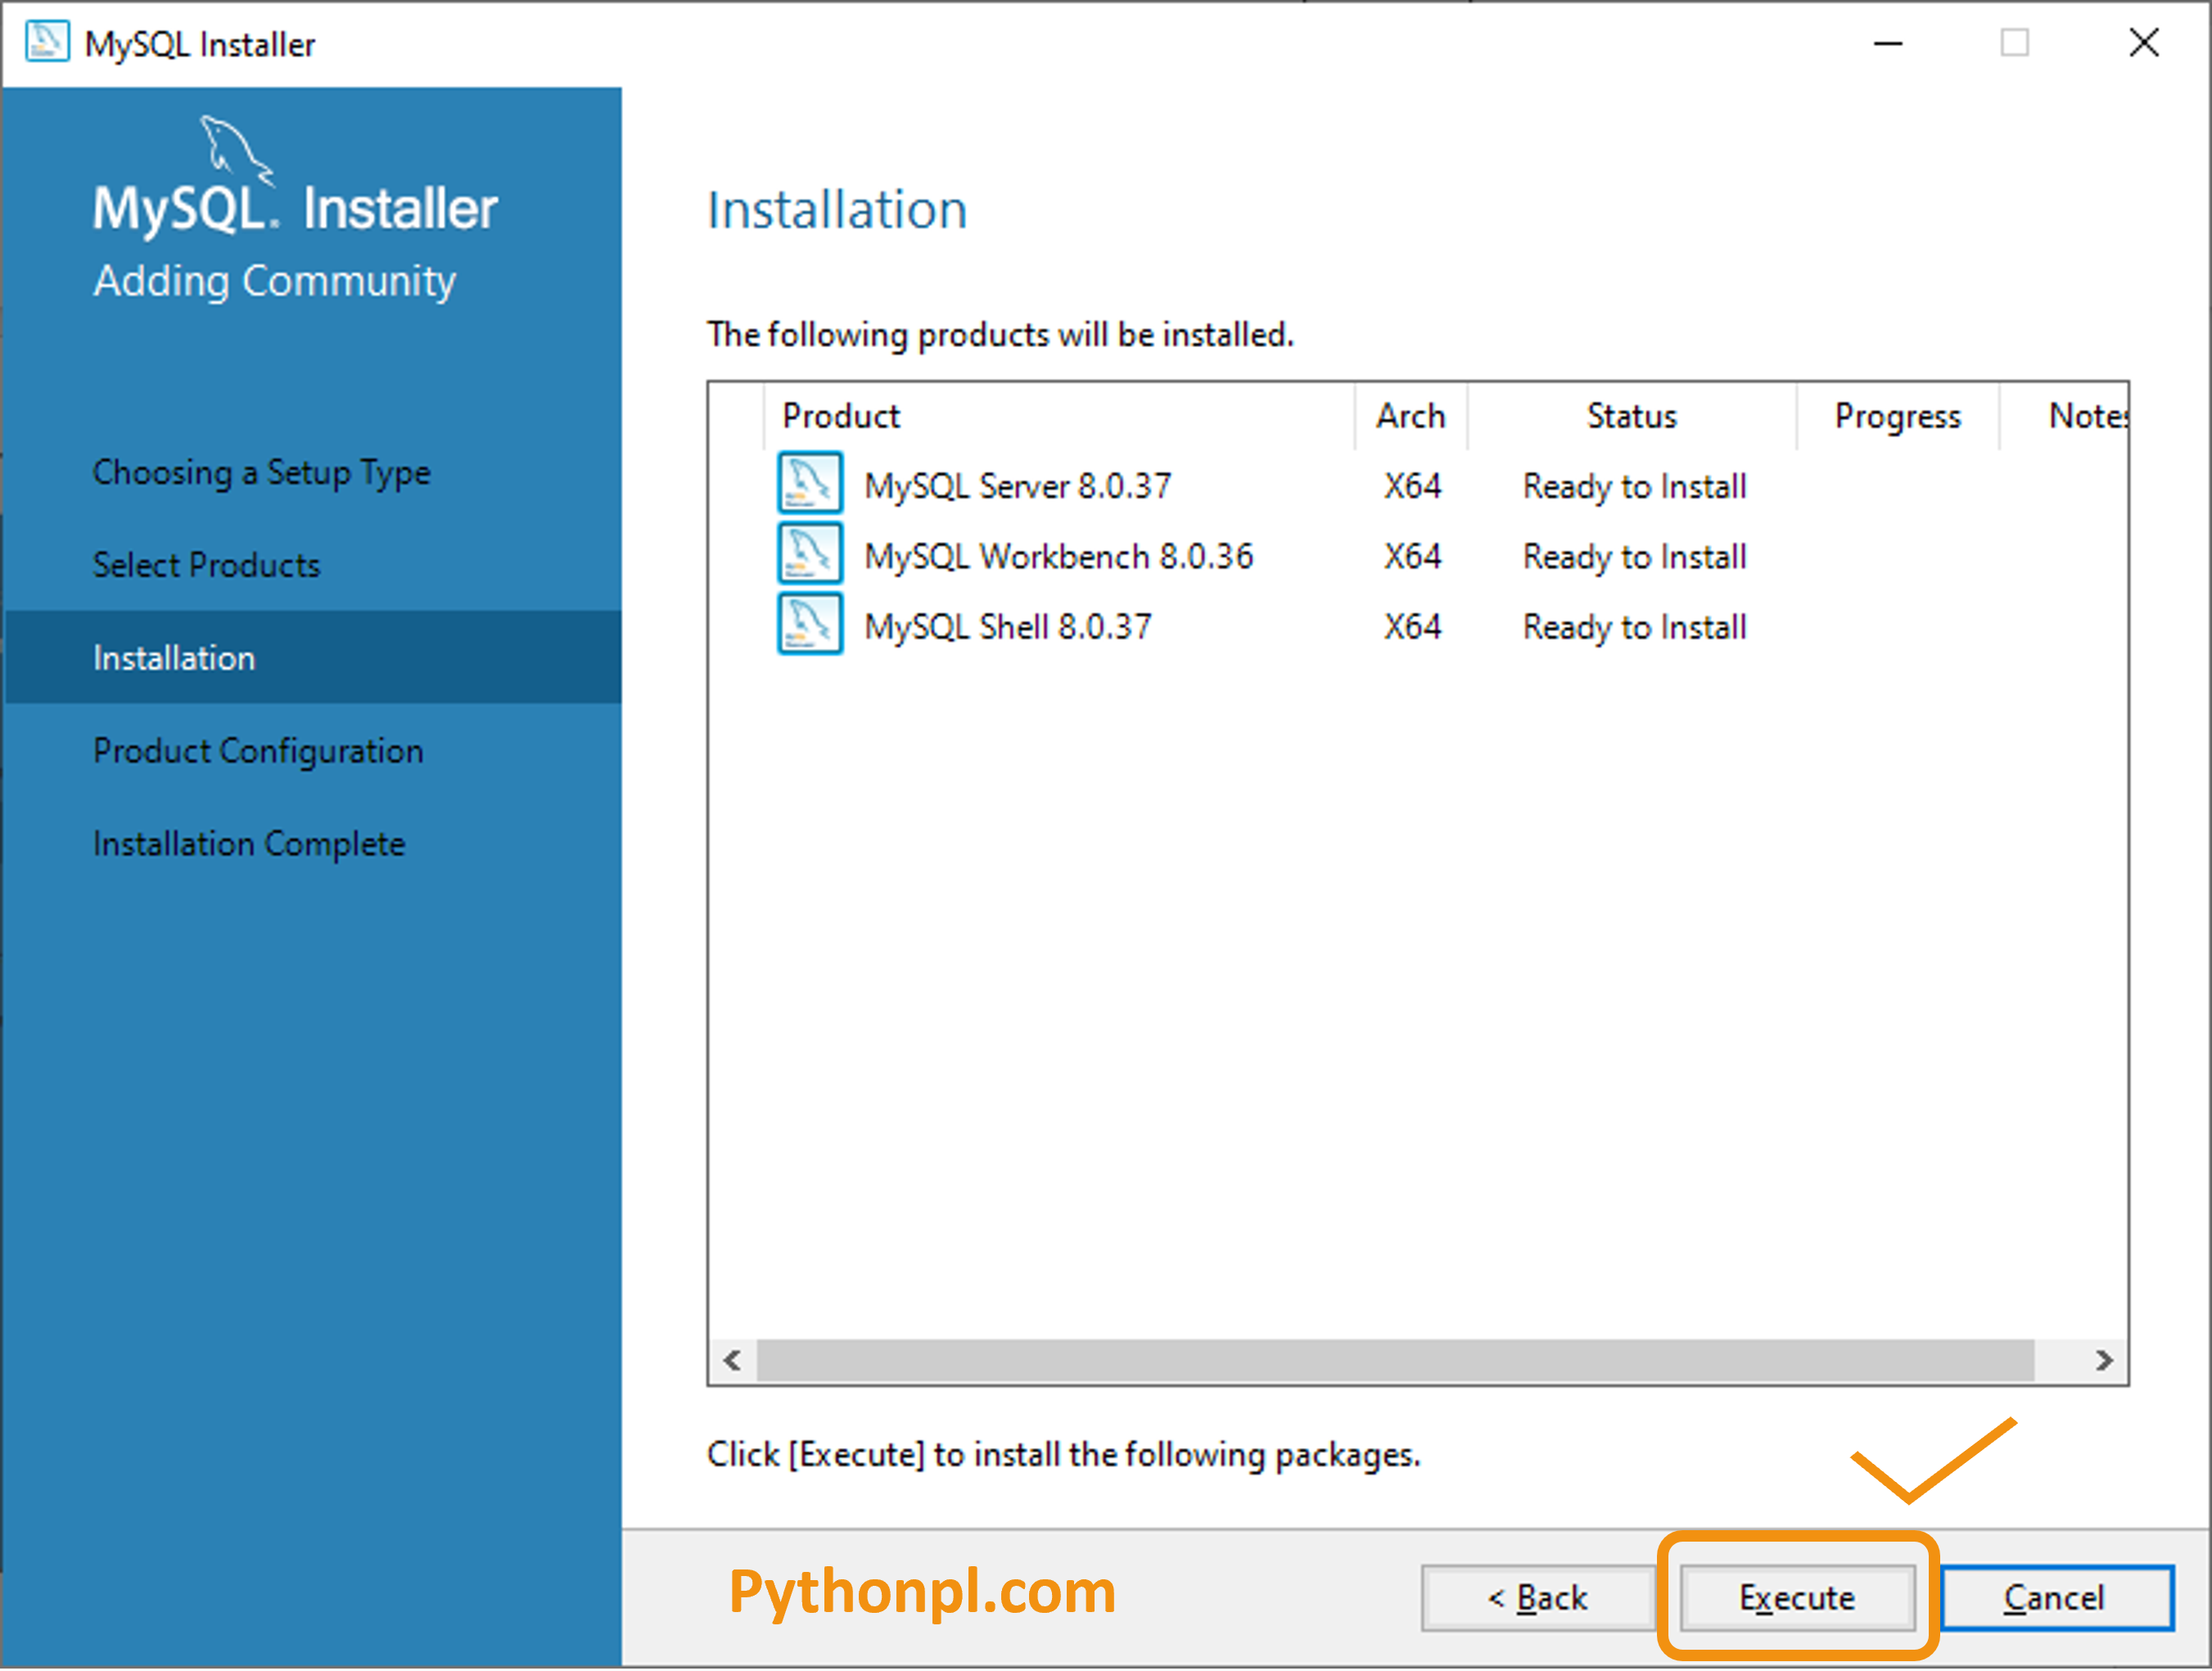
- Click on the ‘Execute’ button.
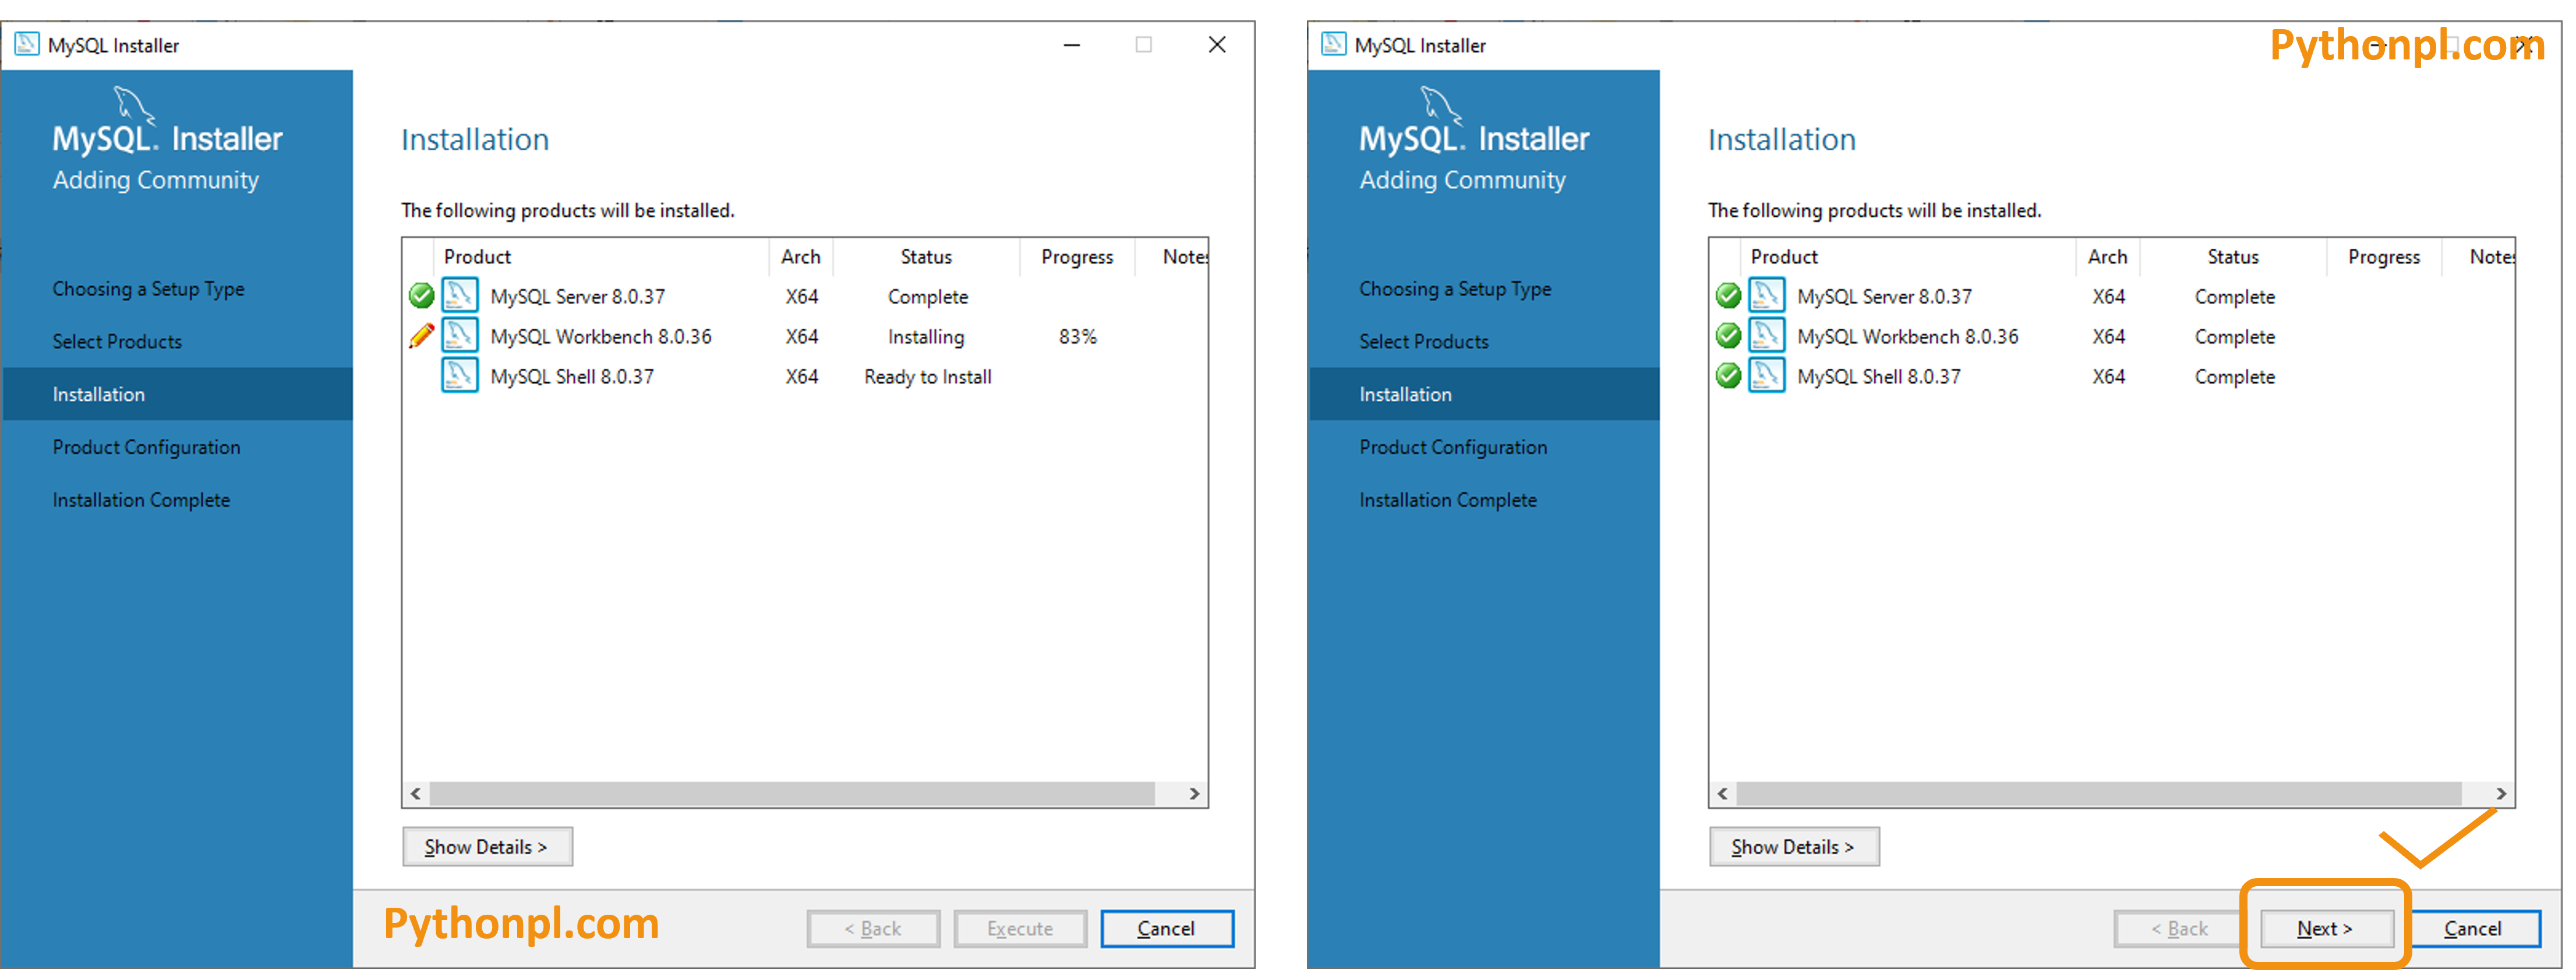
- You can see the progress as shown below. Click on the ‘Next’ button.
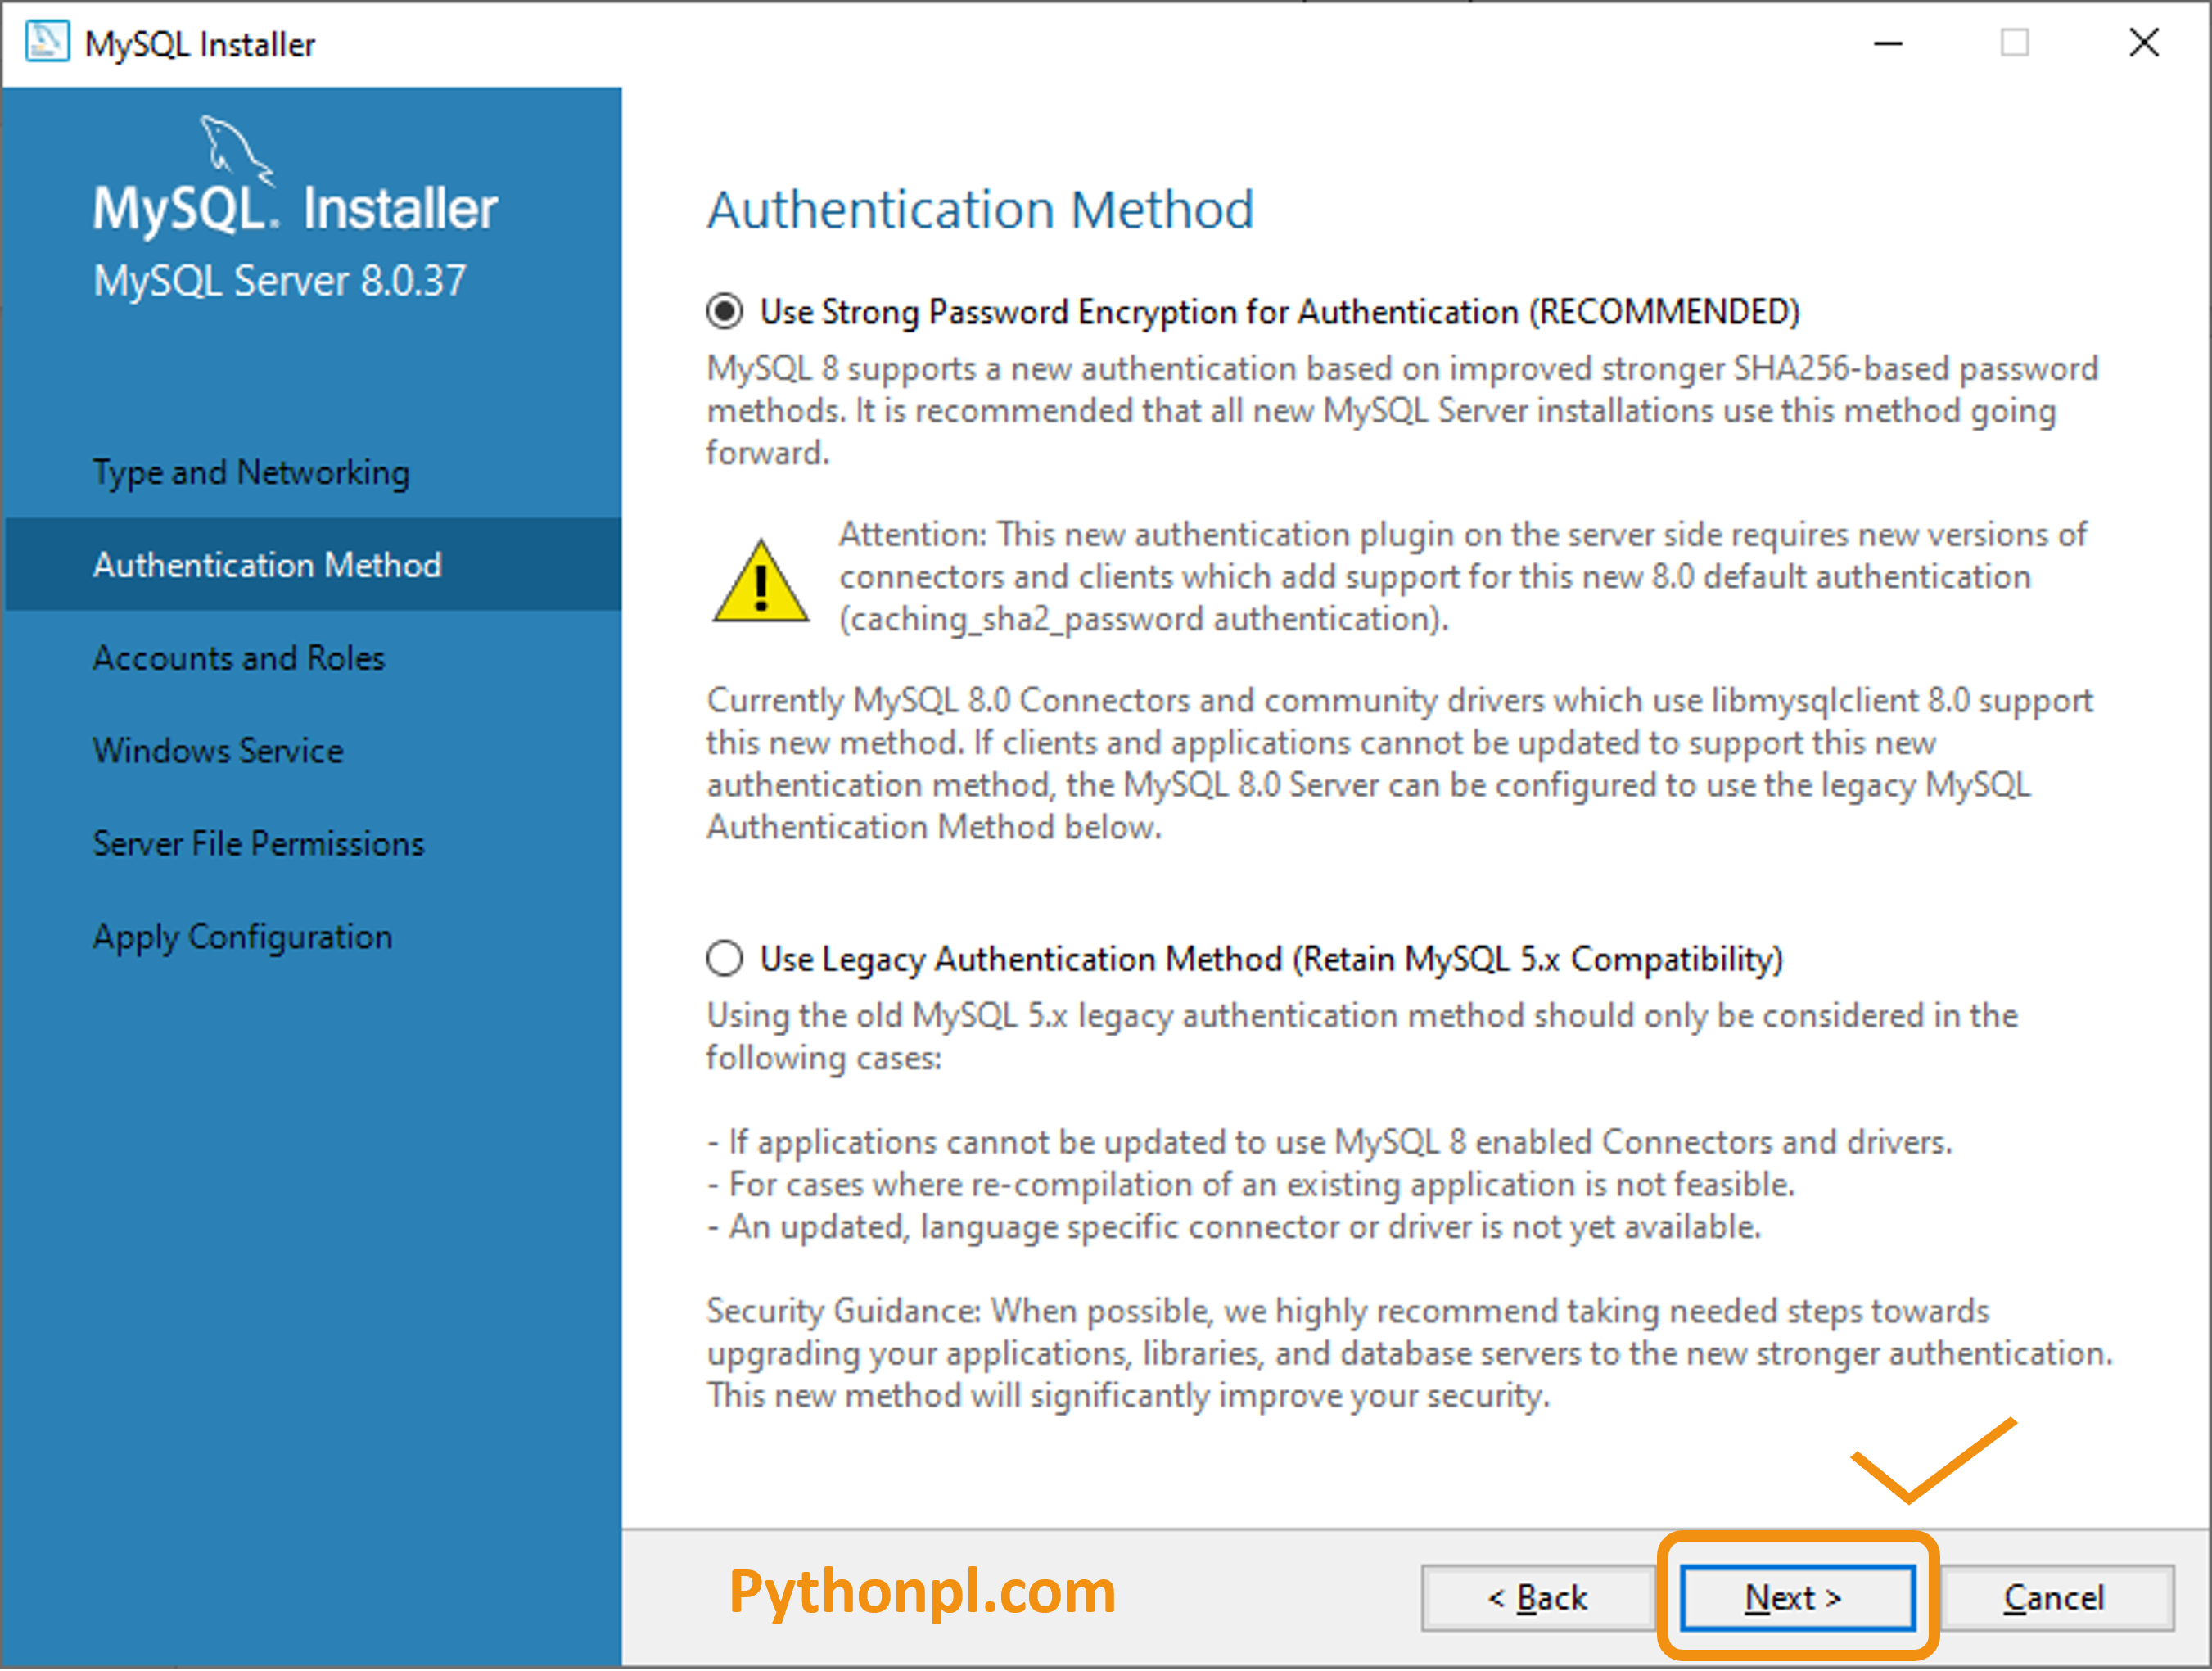
- Click on the Next button.
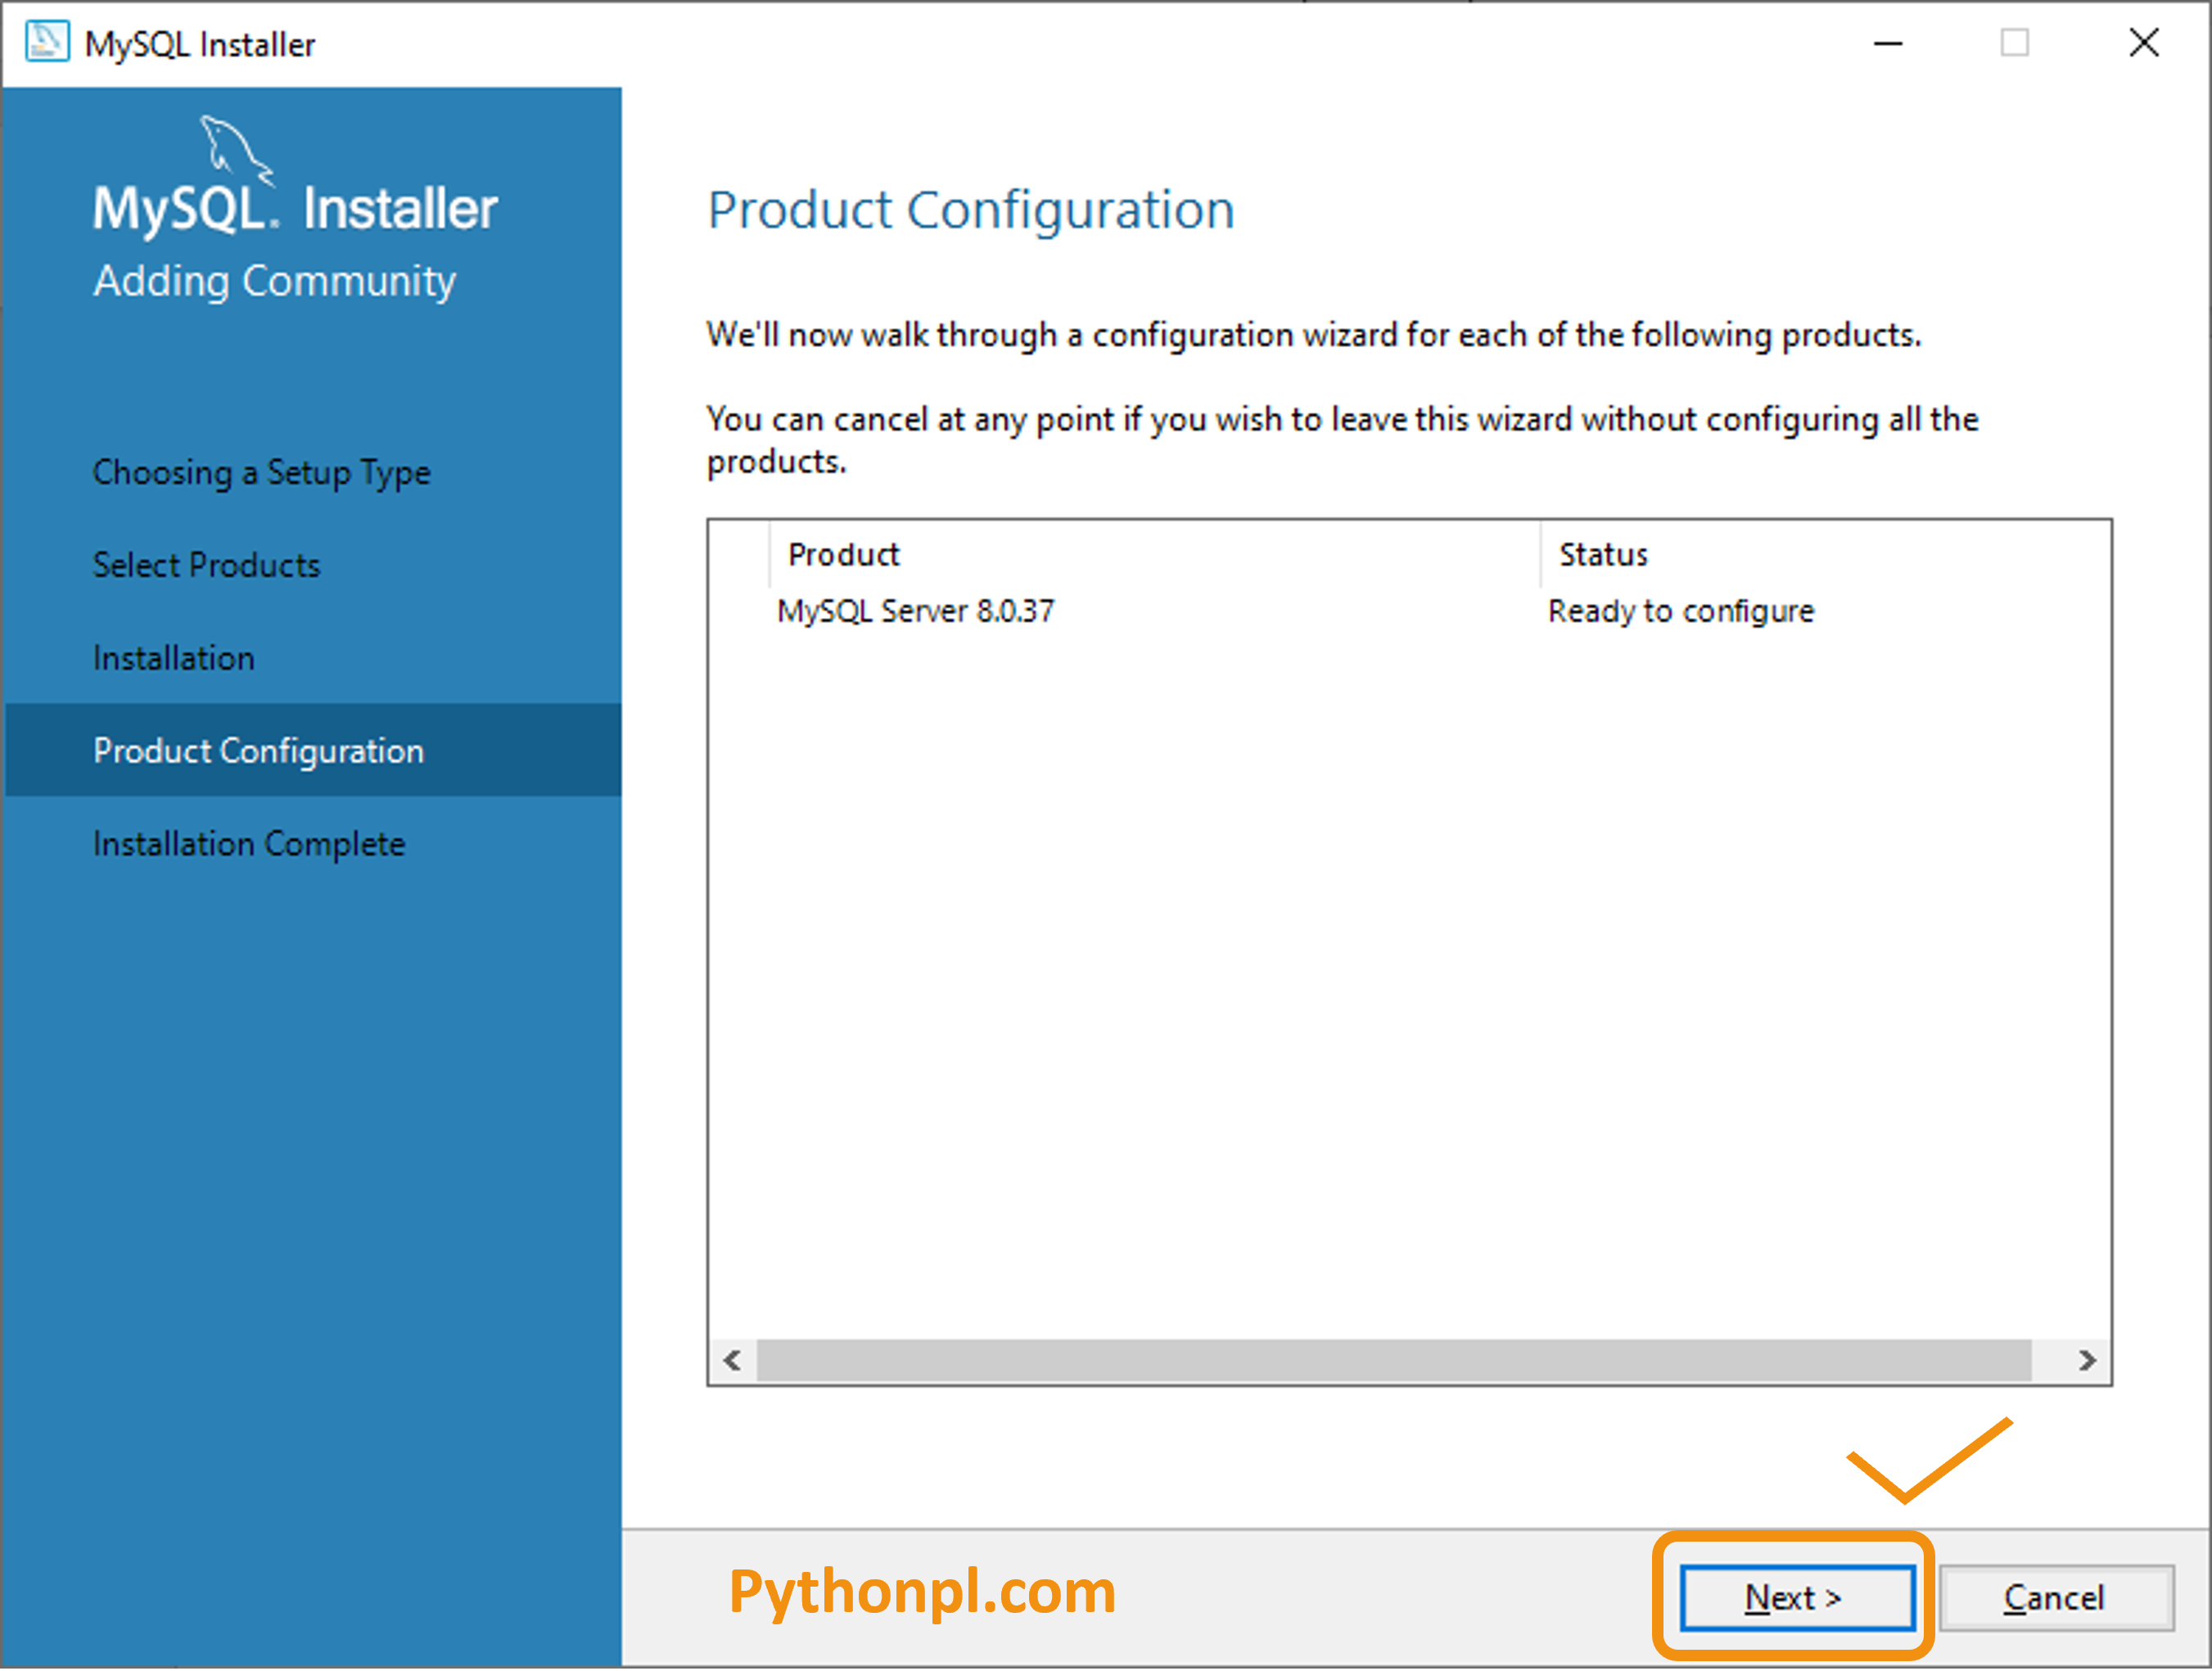
- Click on the Next button.
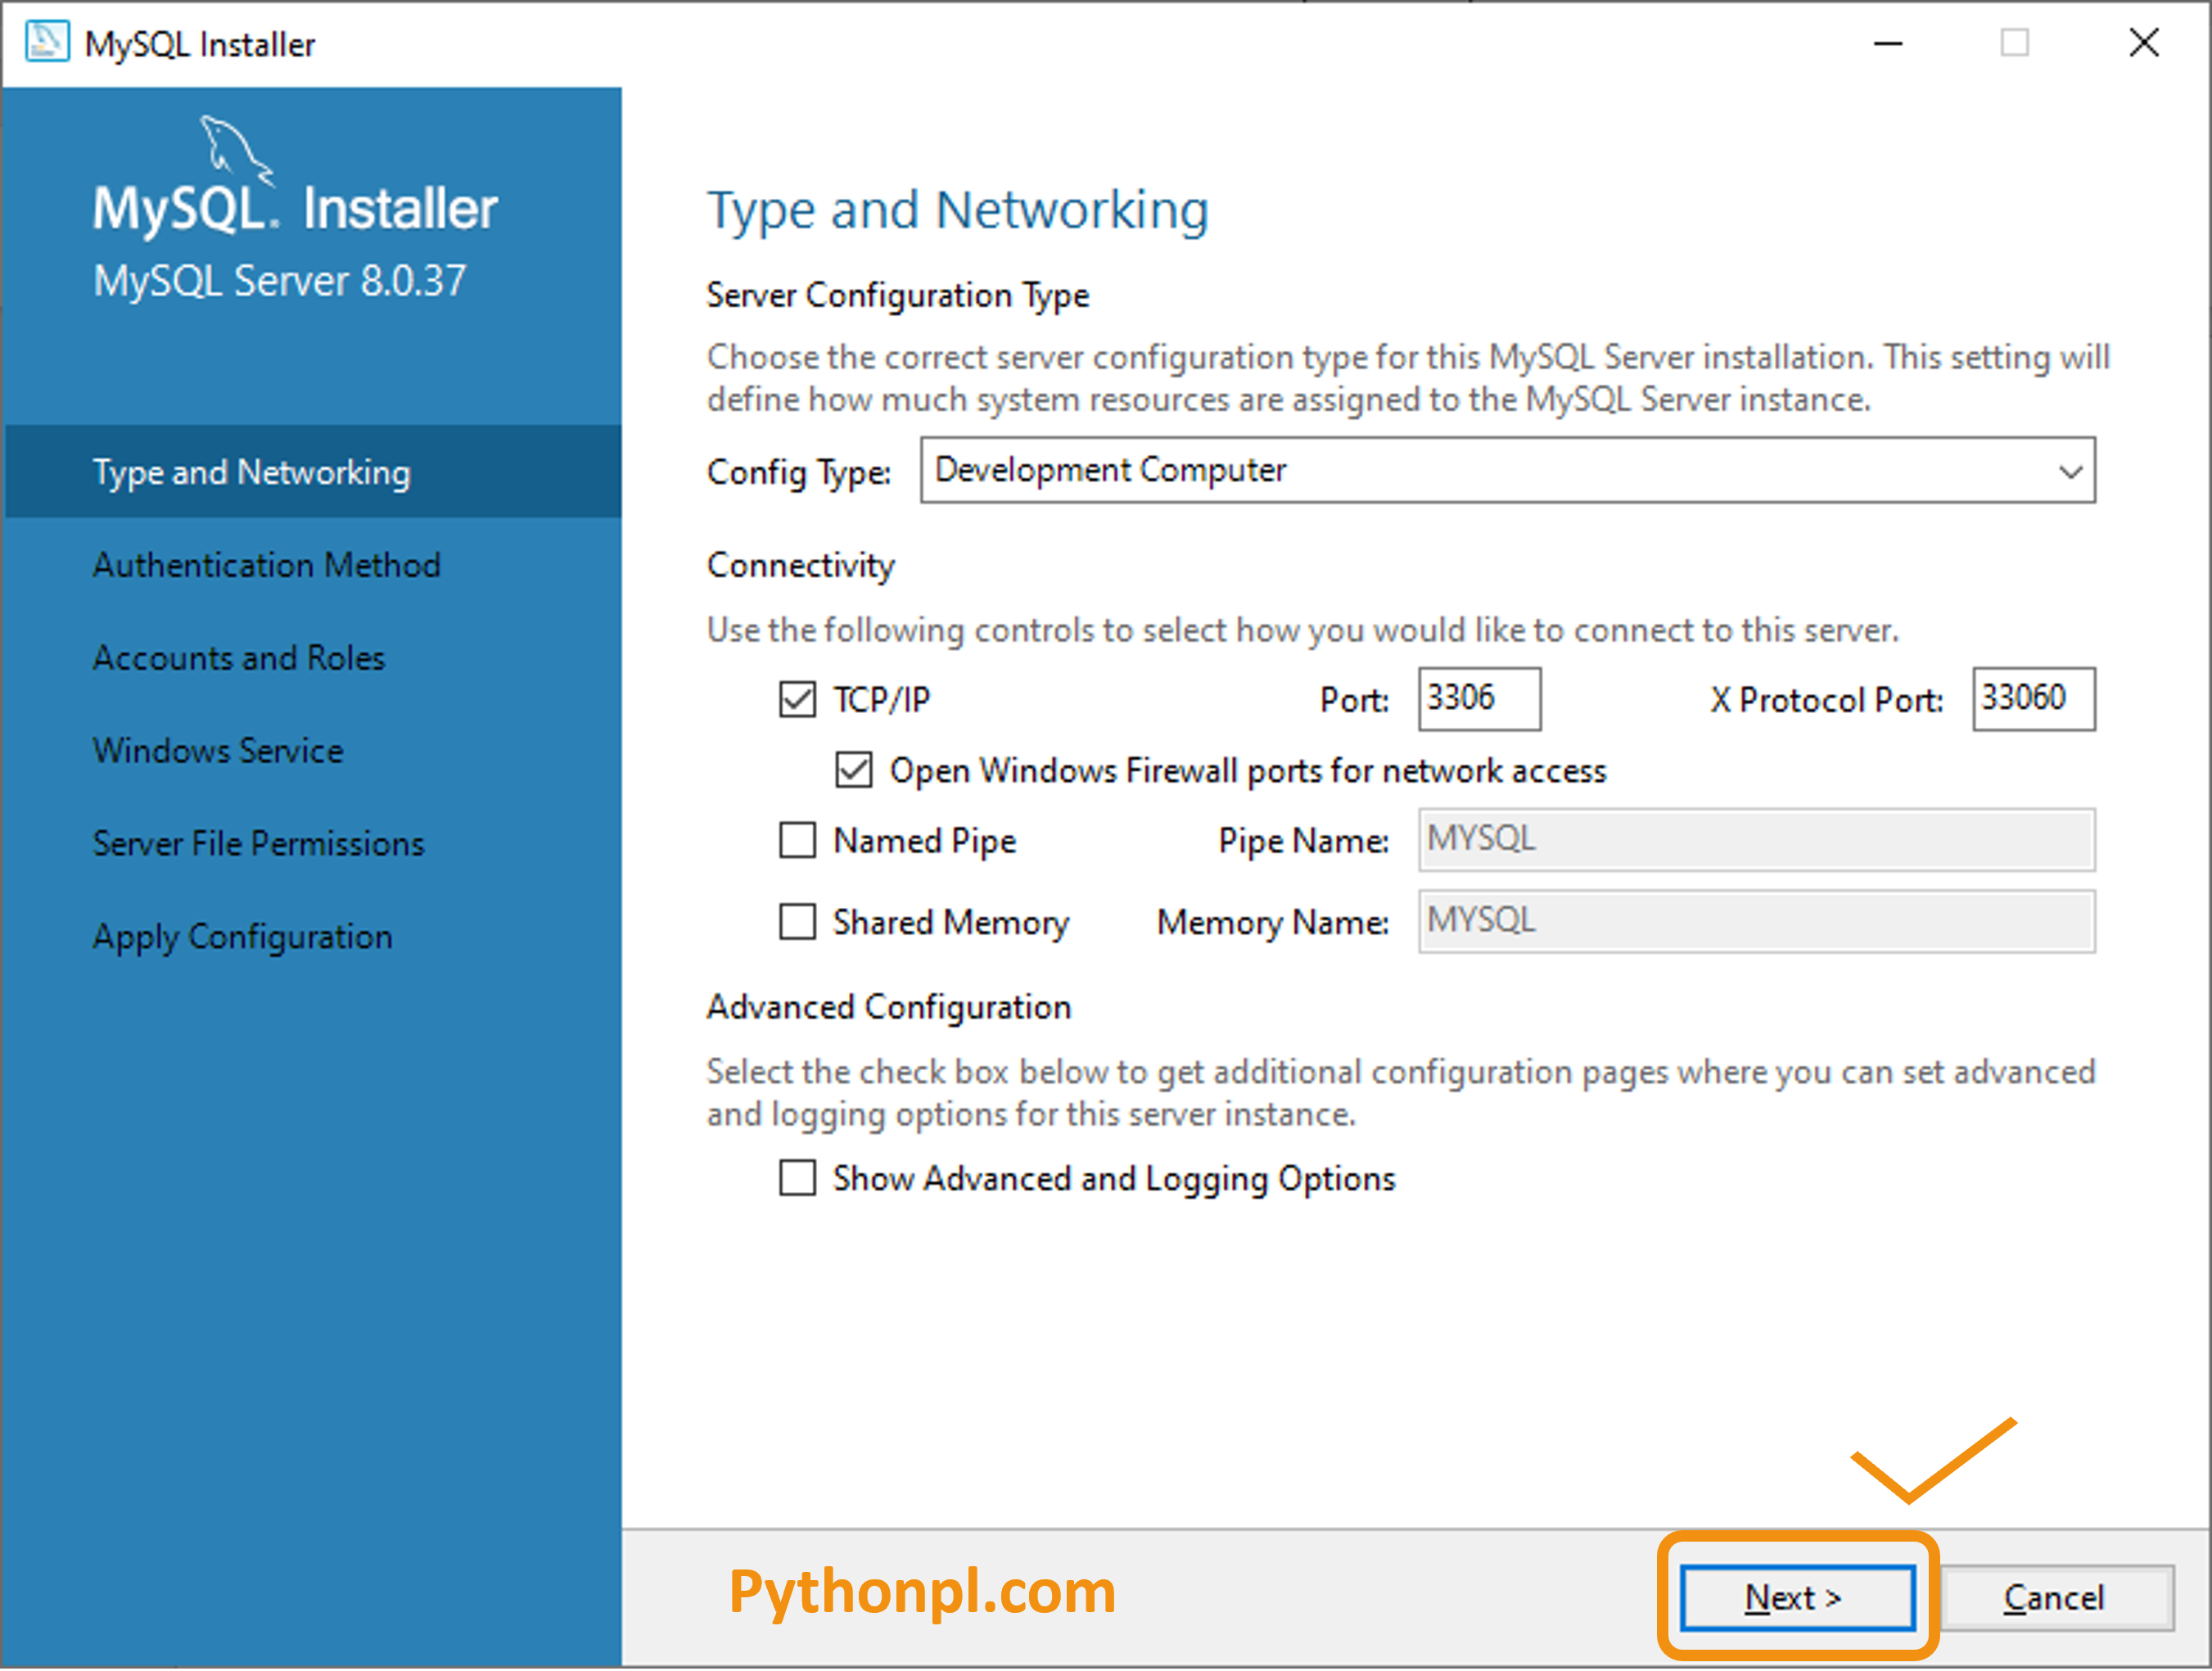
- Click on the Next button.
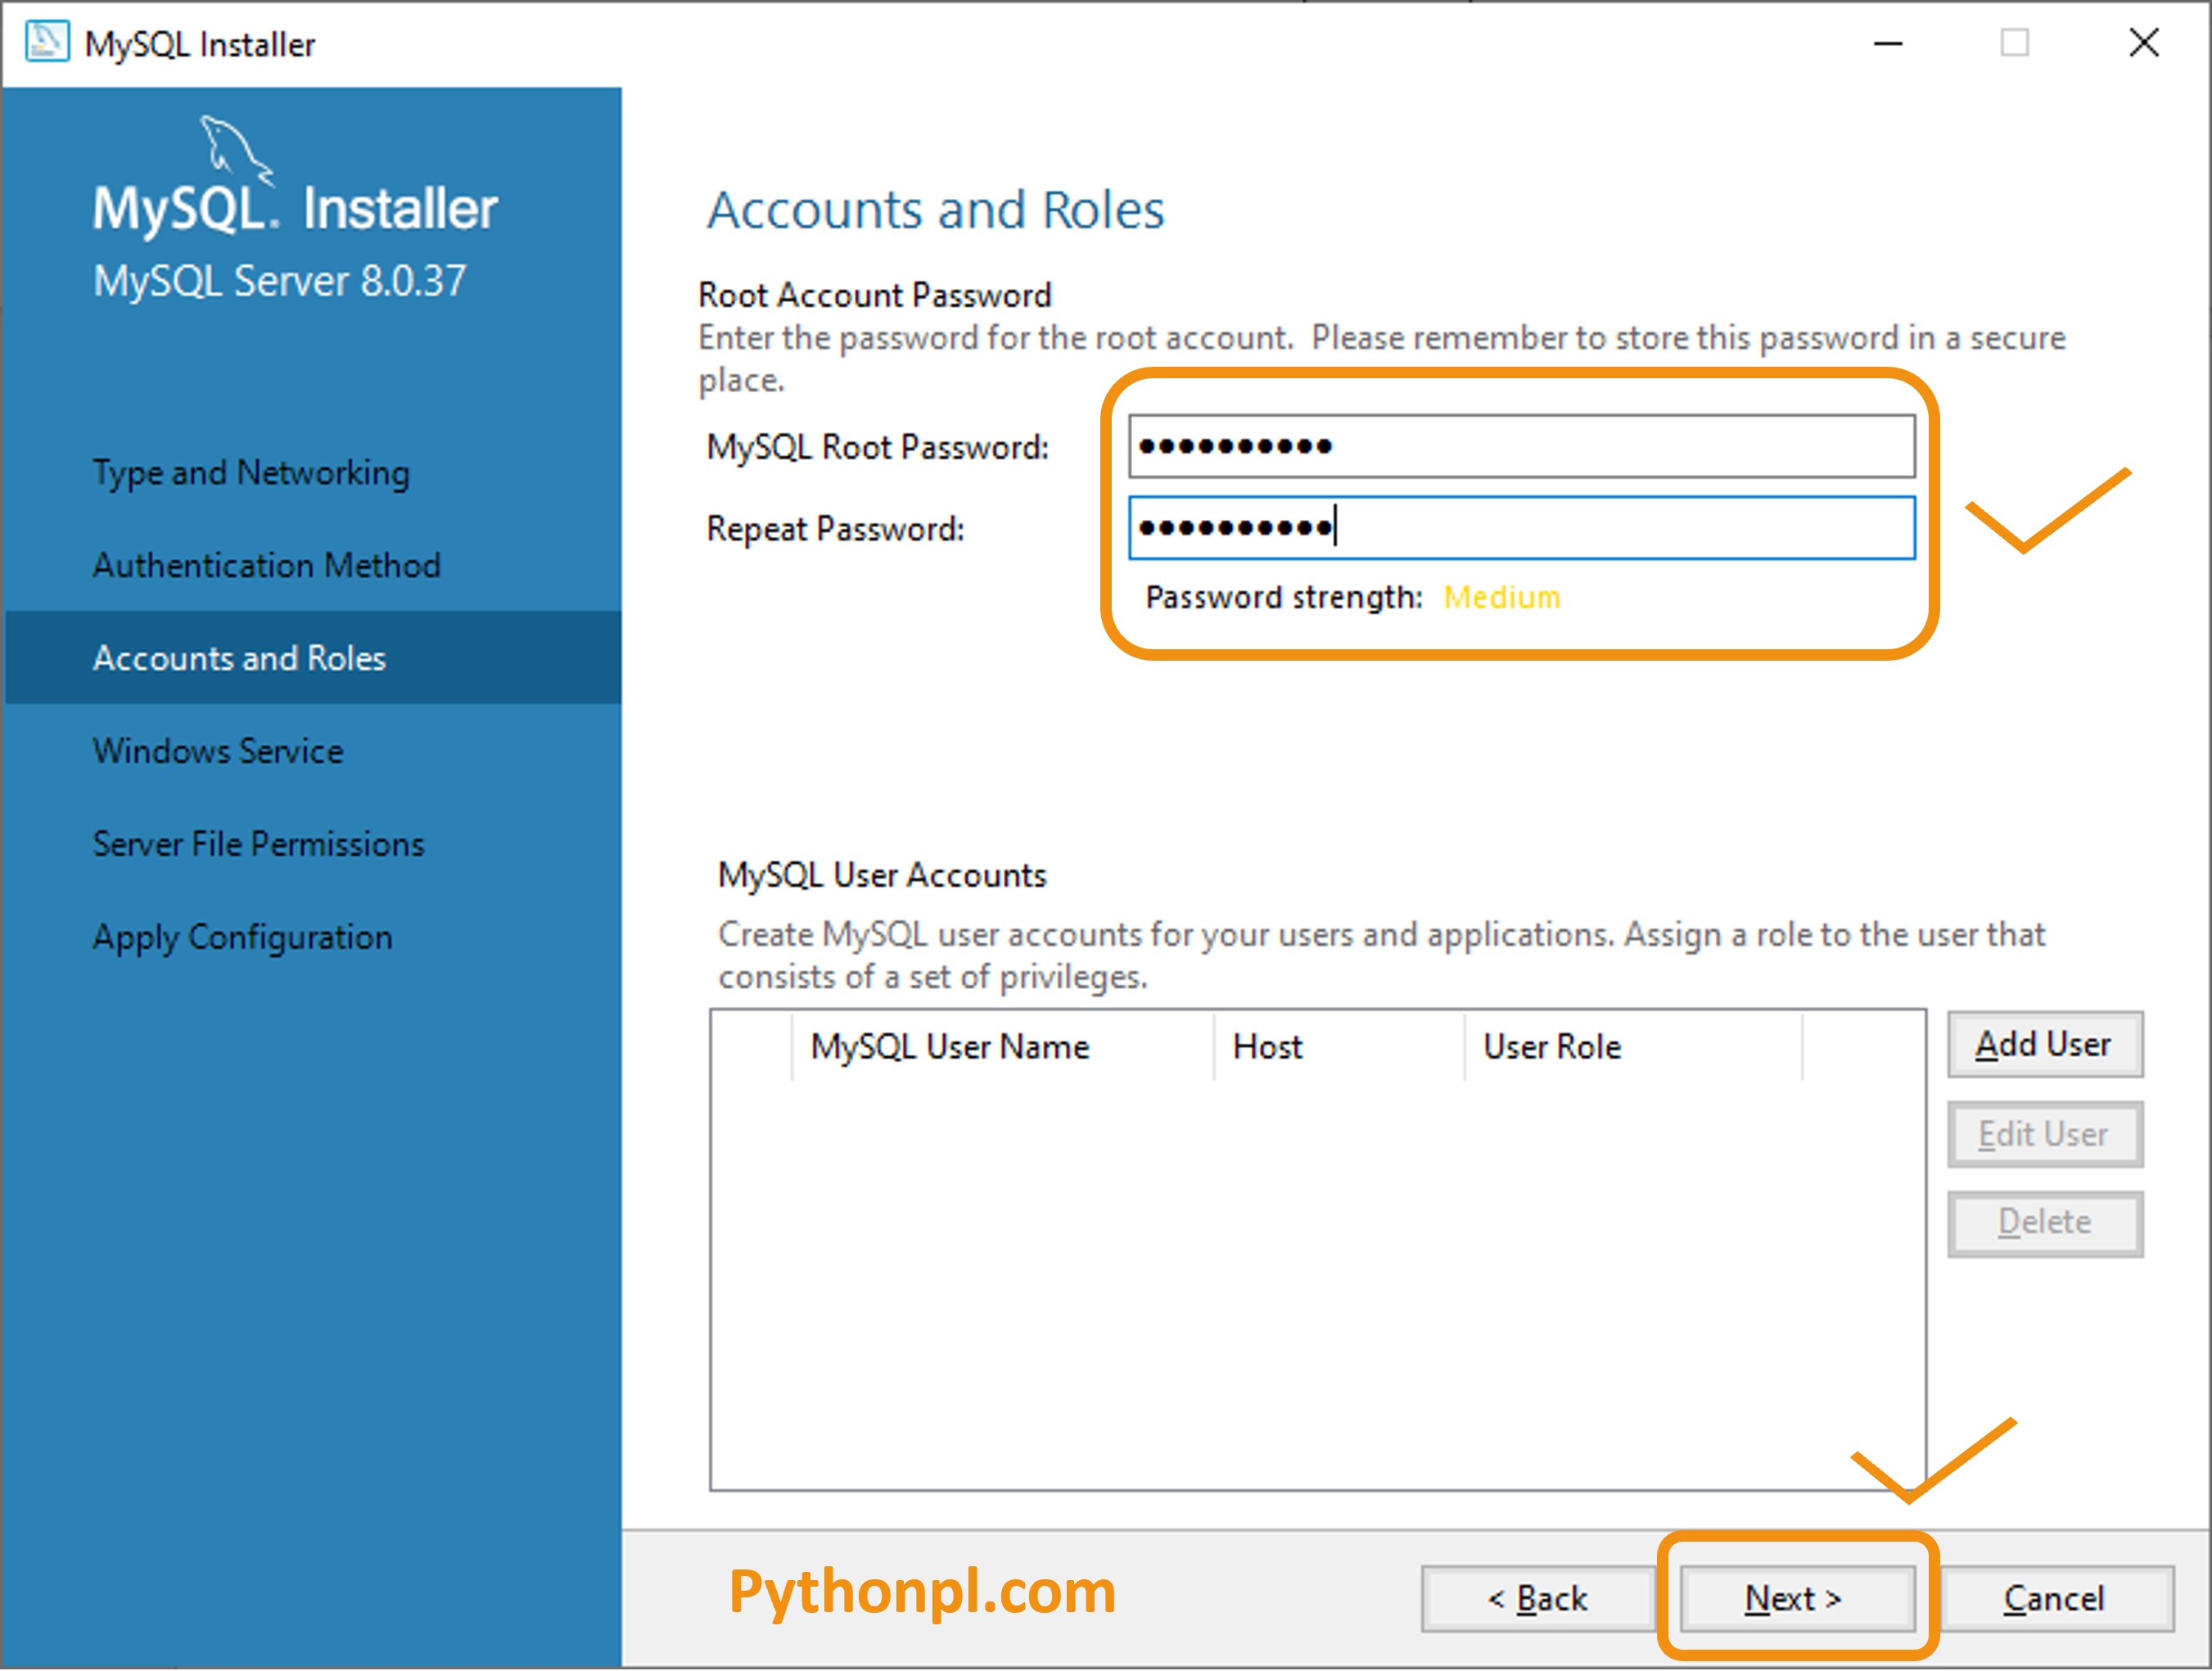
- Enter the Password in your choice for the root account and click on Next. Don’t forget this password. We need to enter this while working in the MySQL. And then click on the Next button.
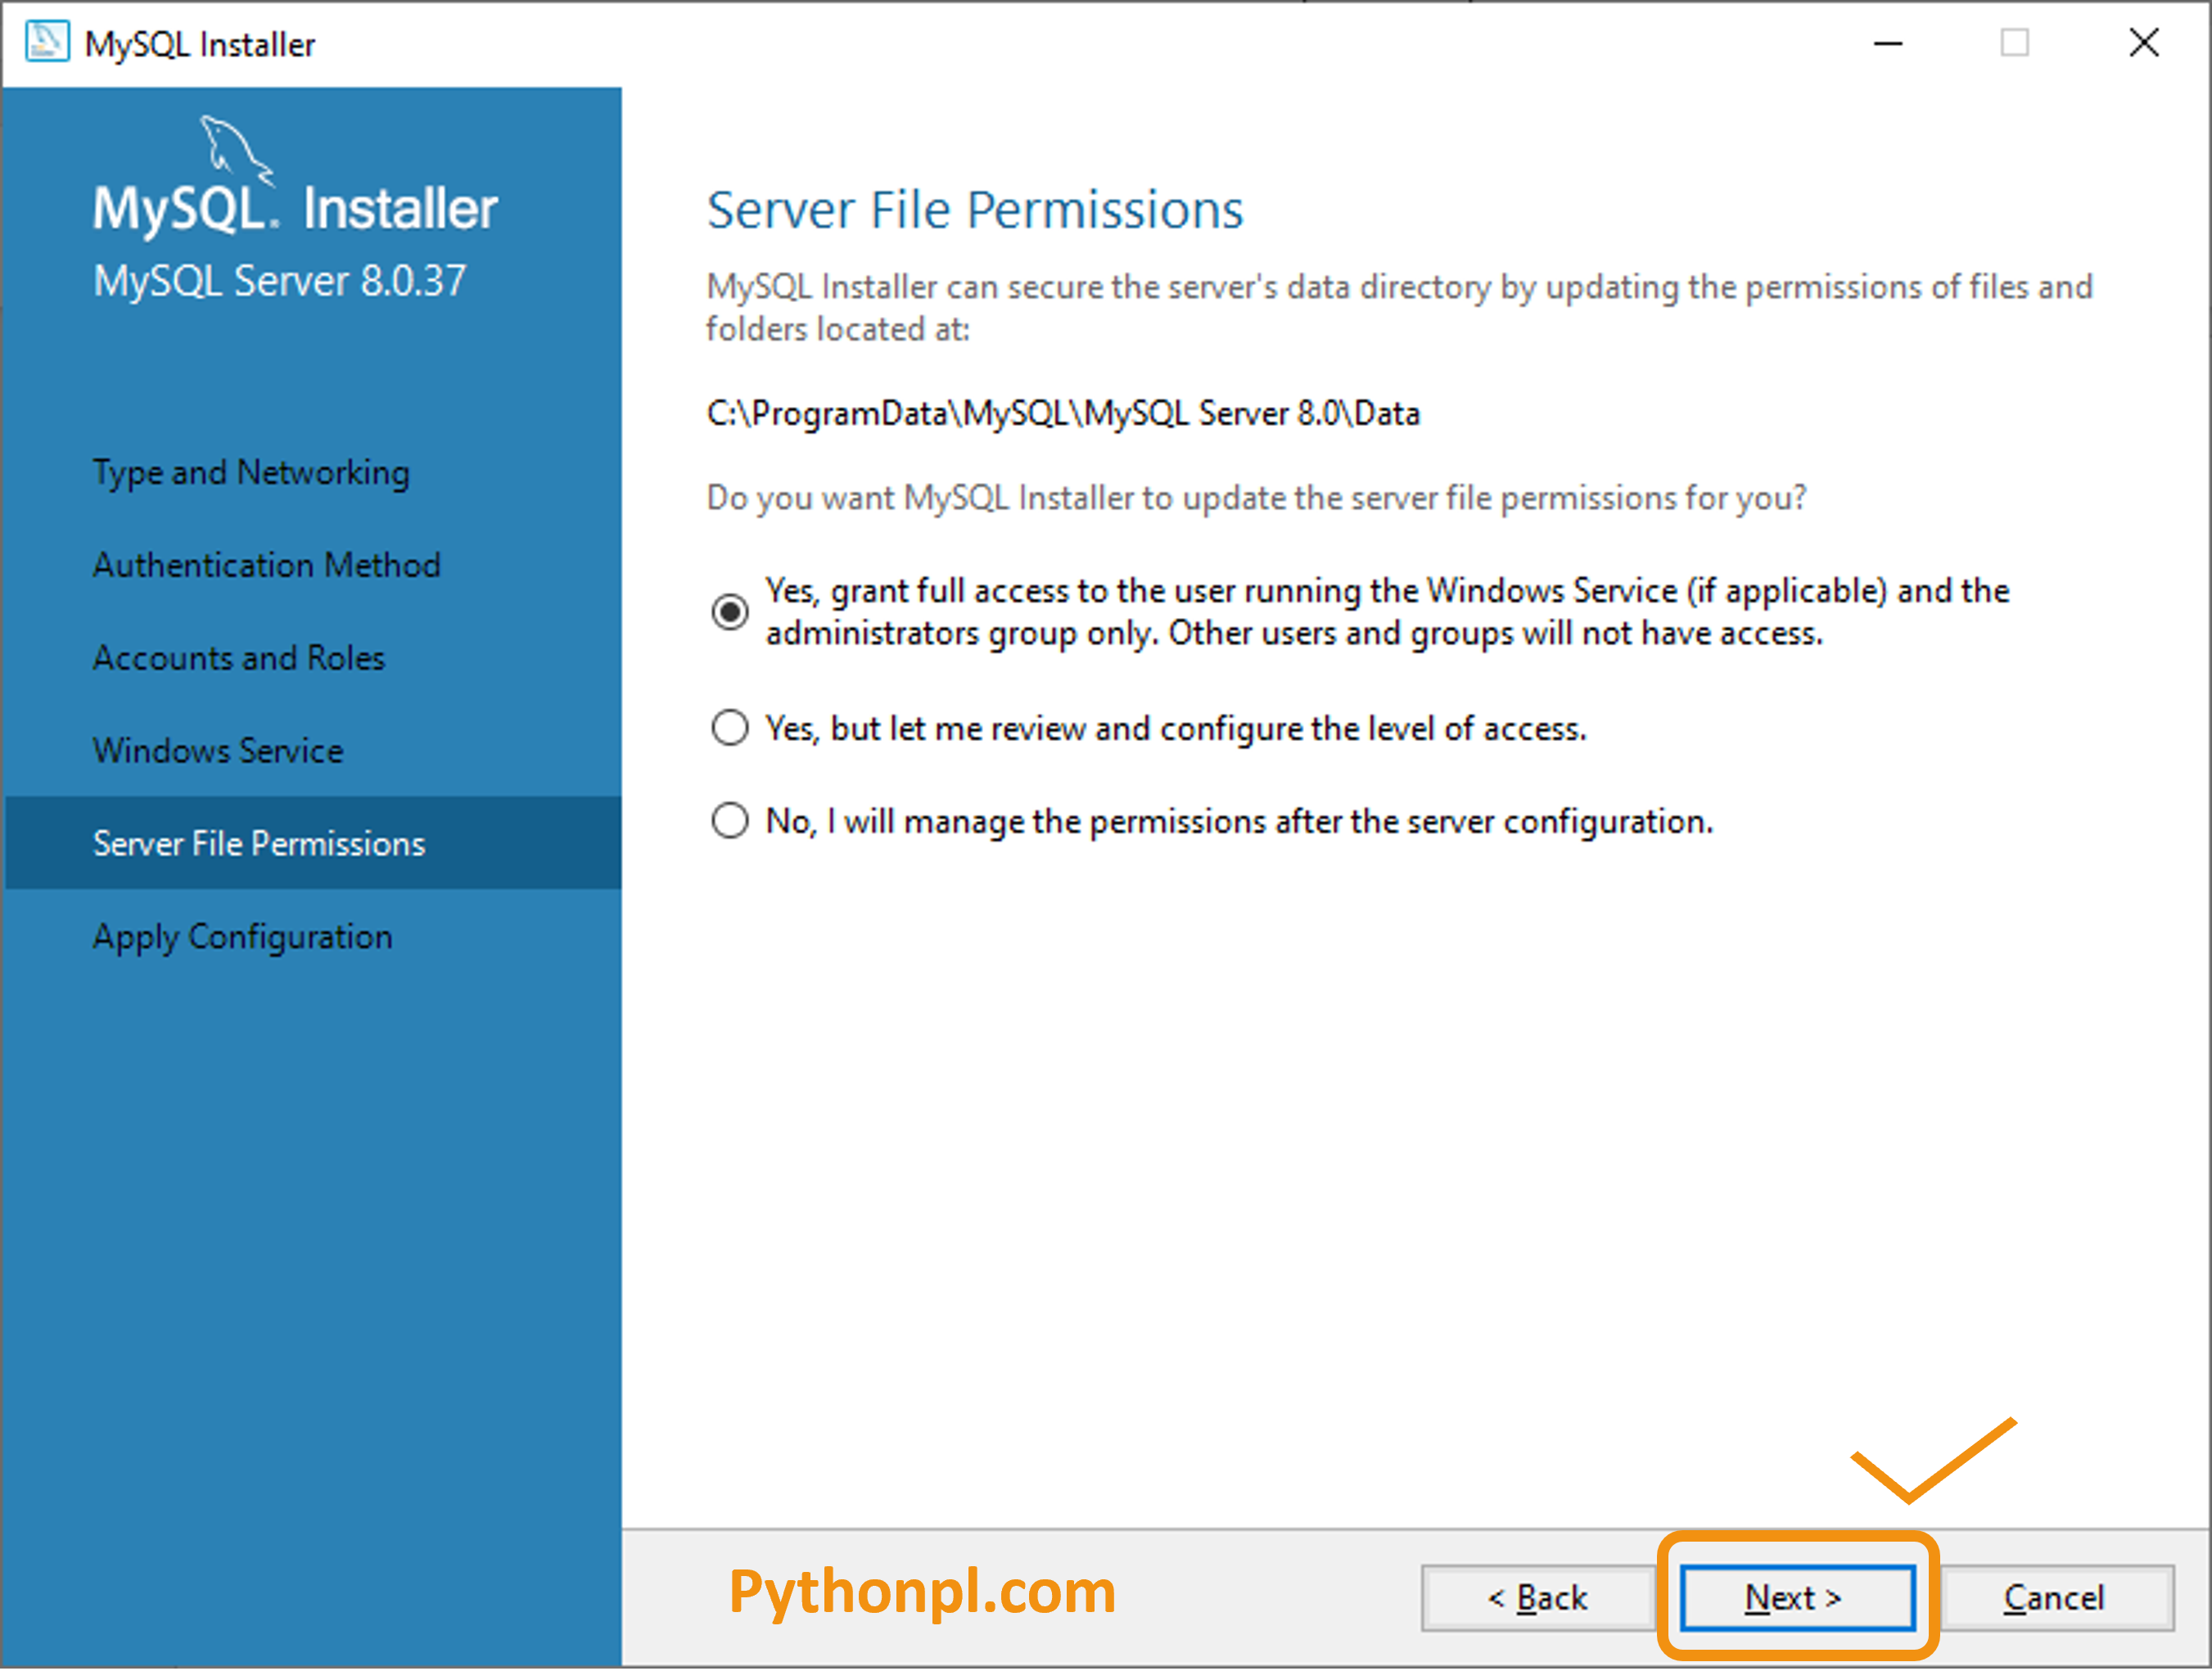
- Click on the Next button.
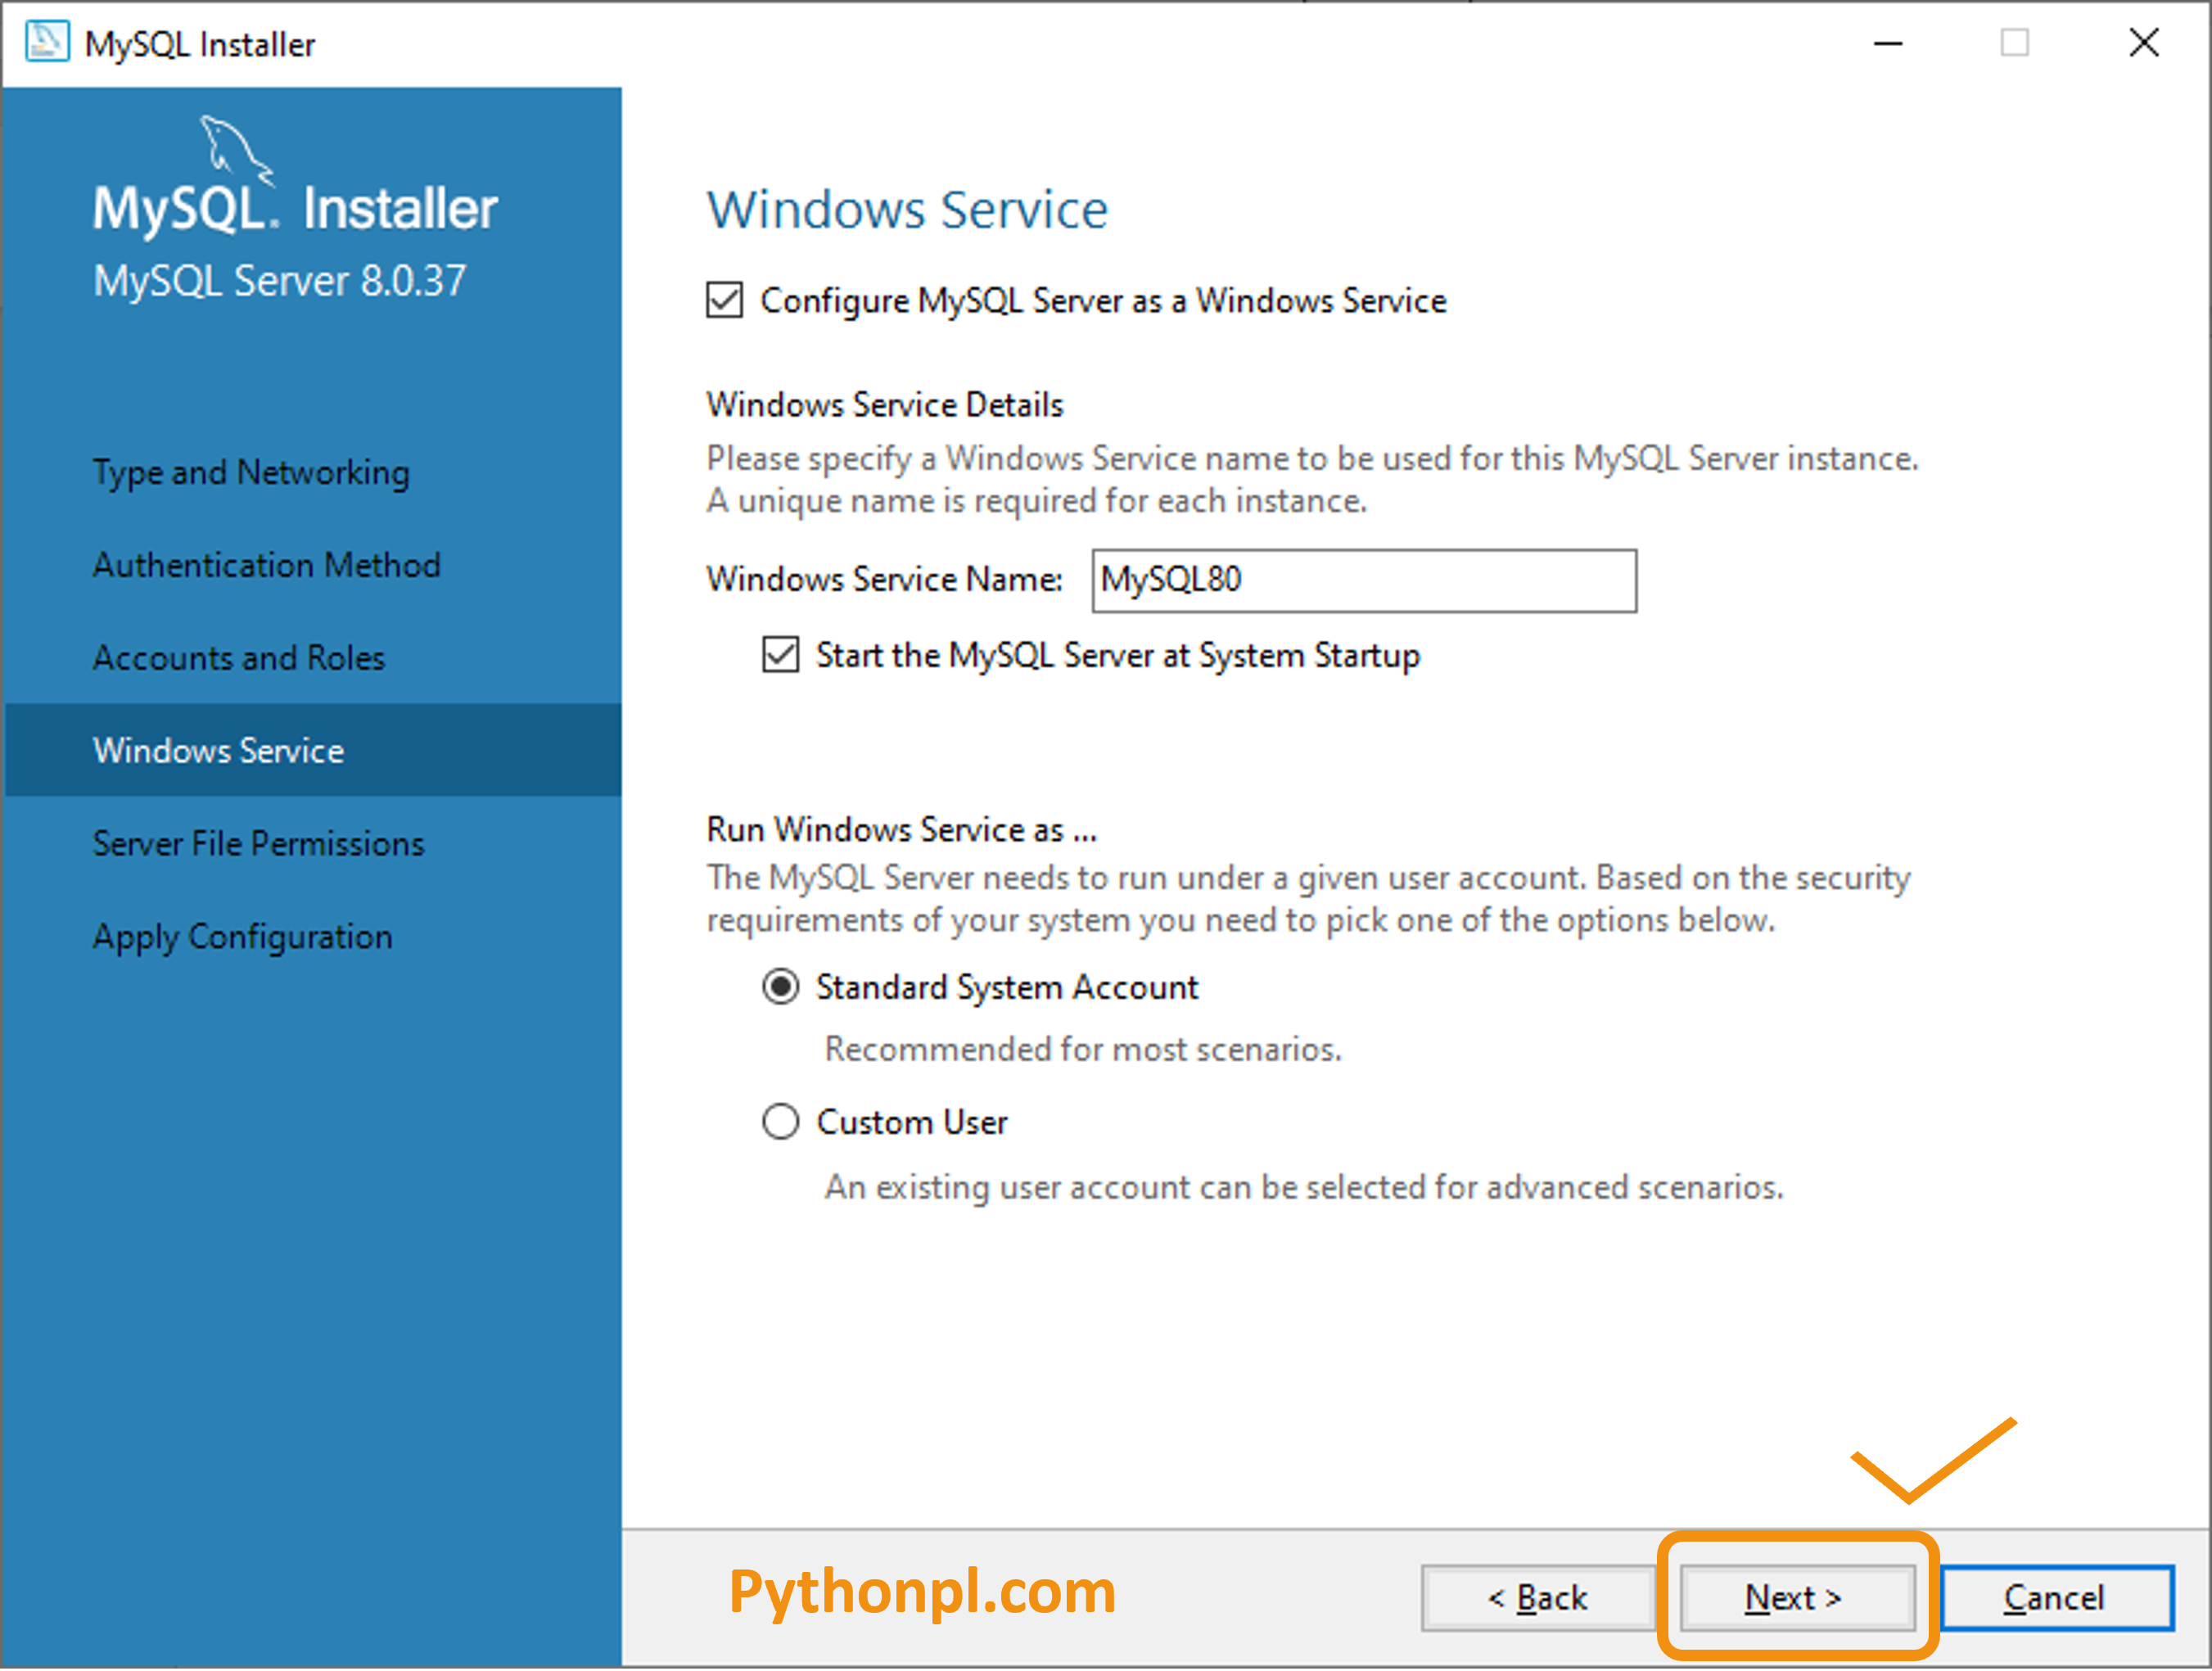
- Click on the Next button.
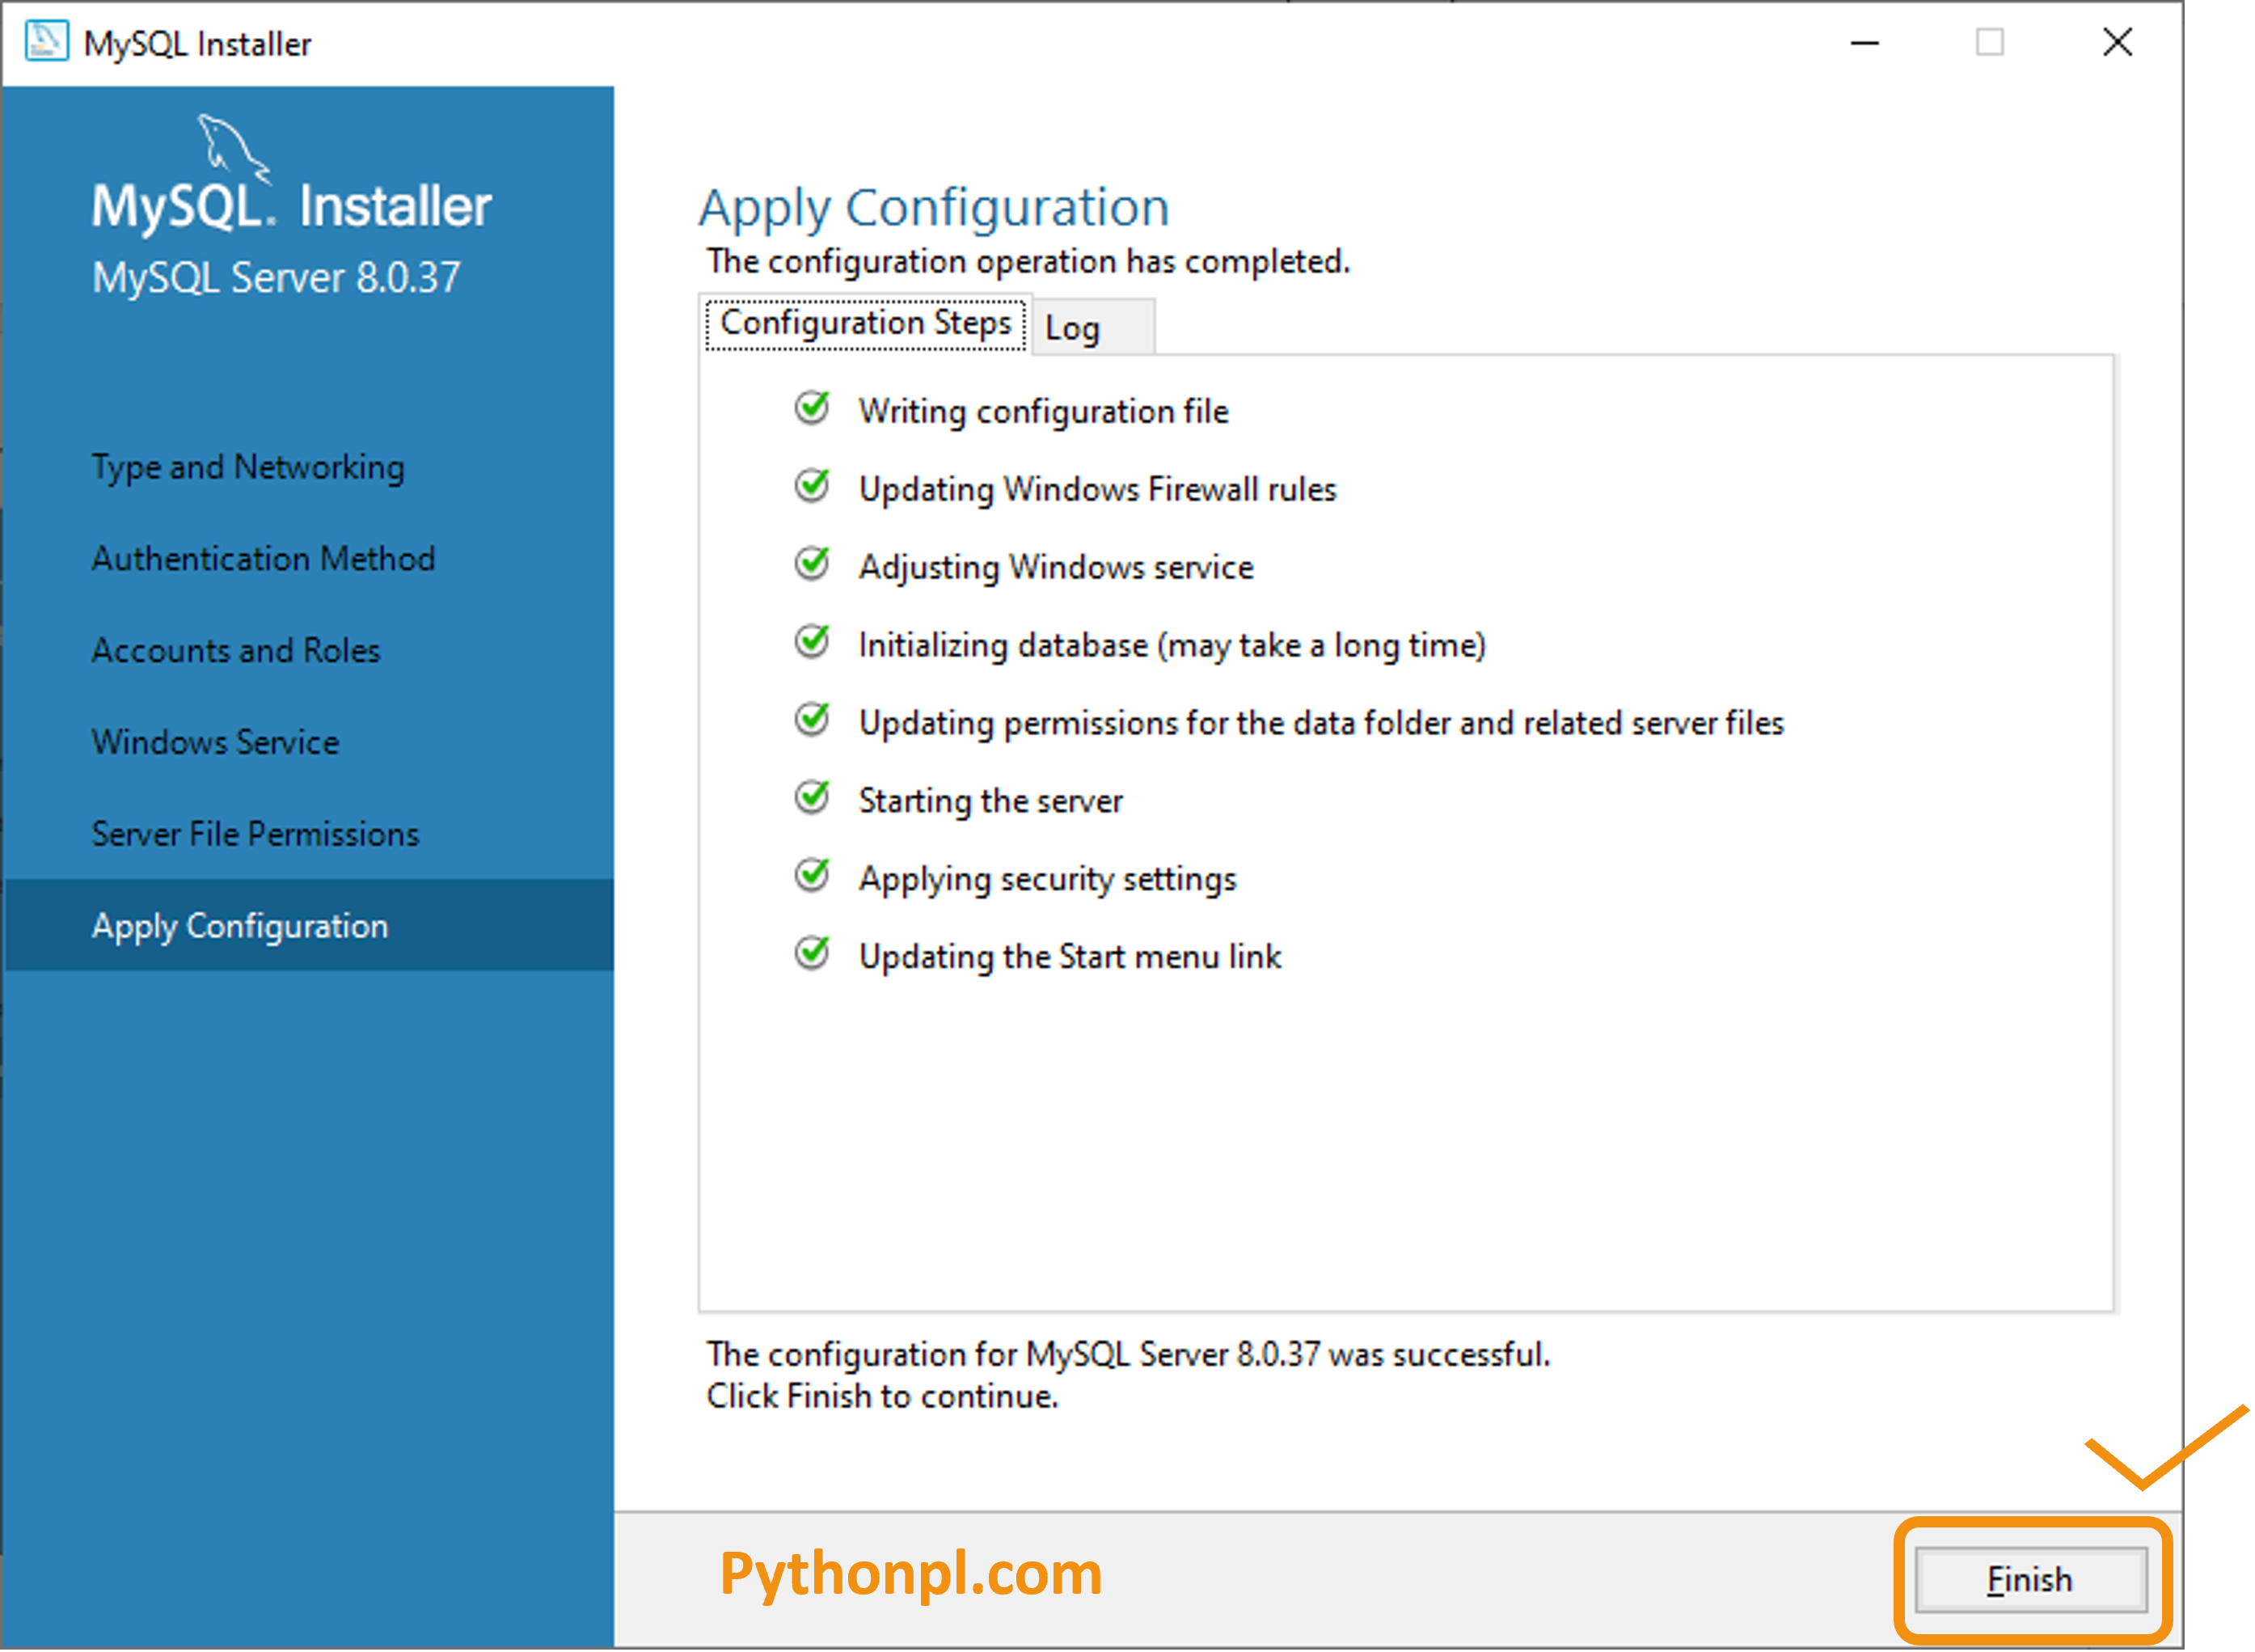
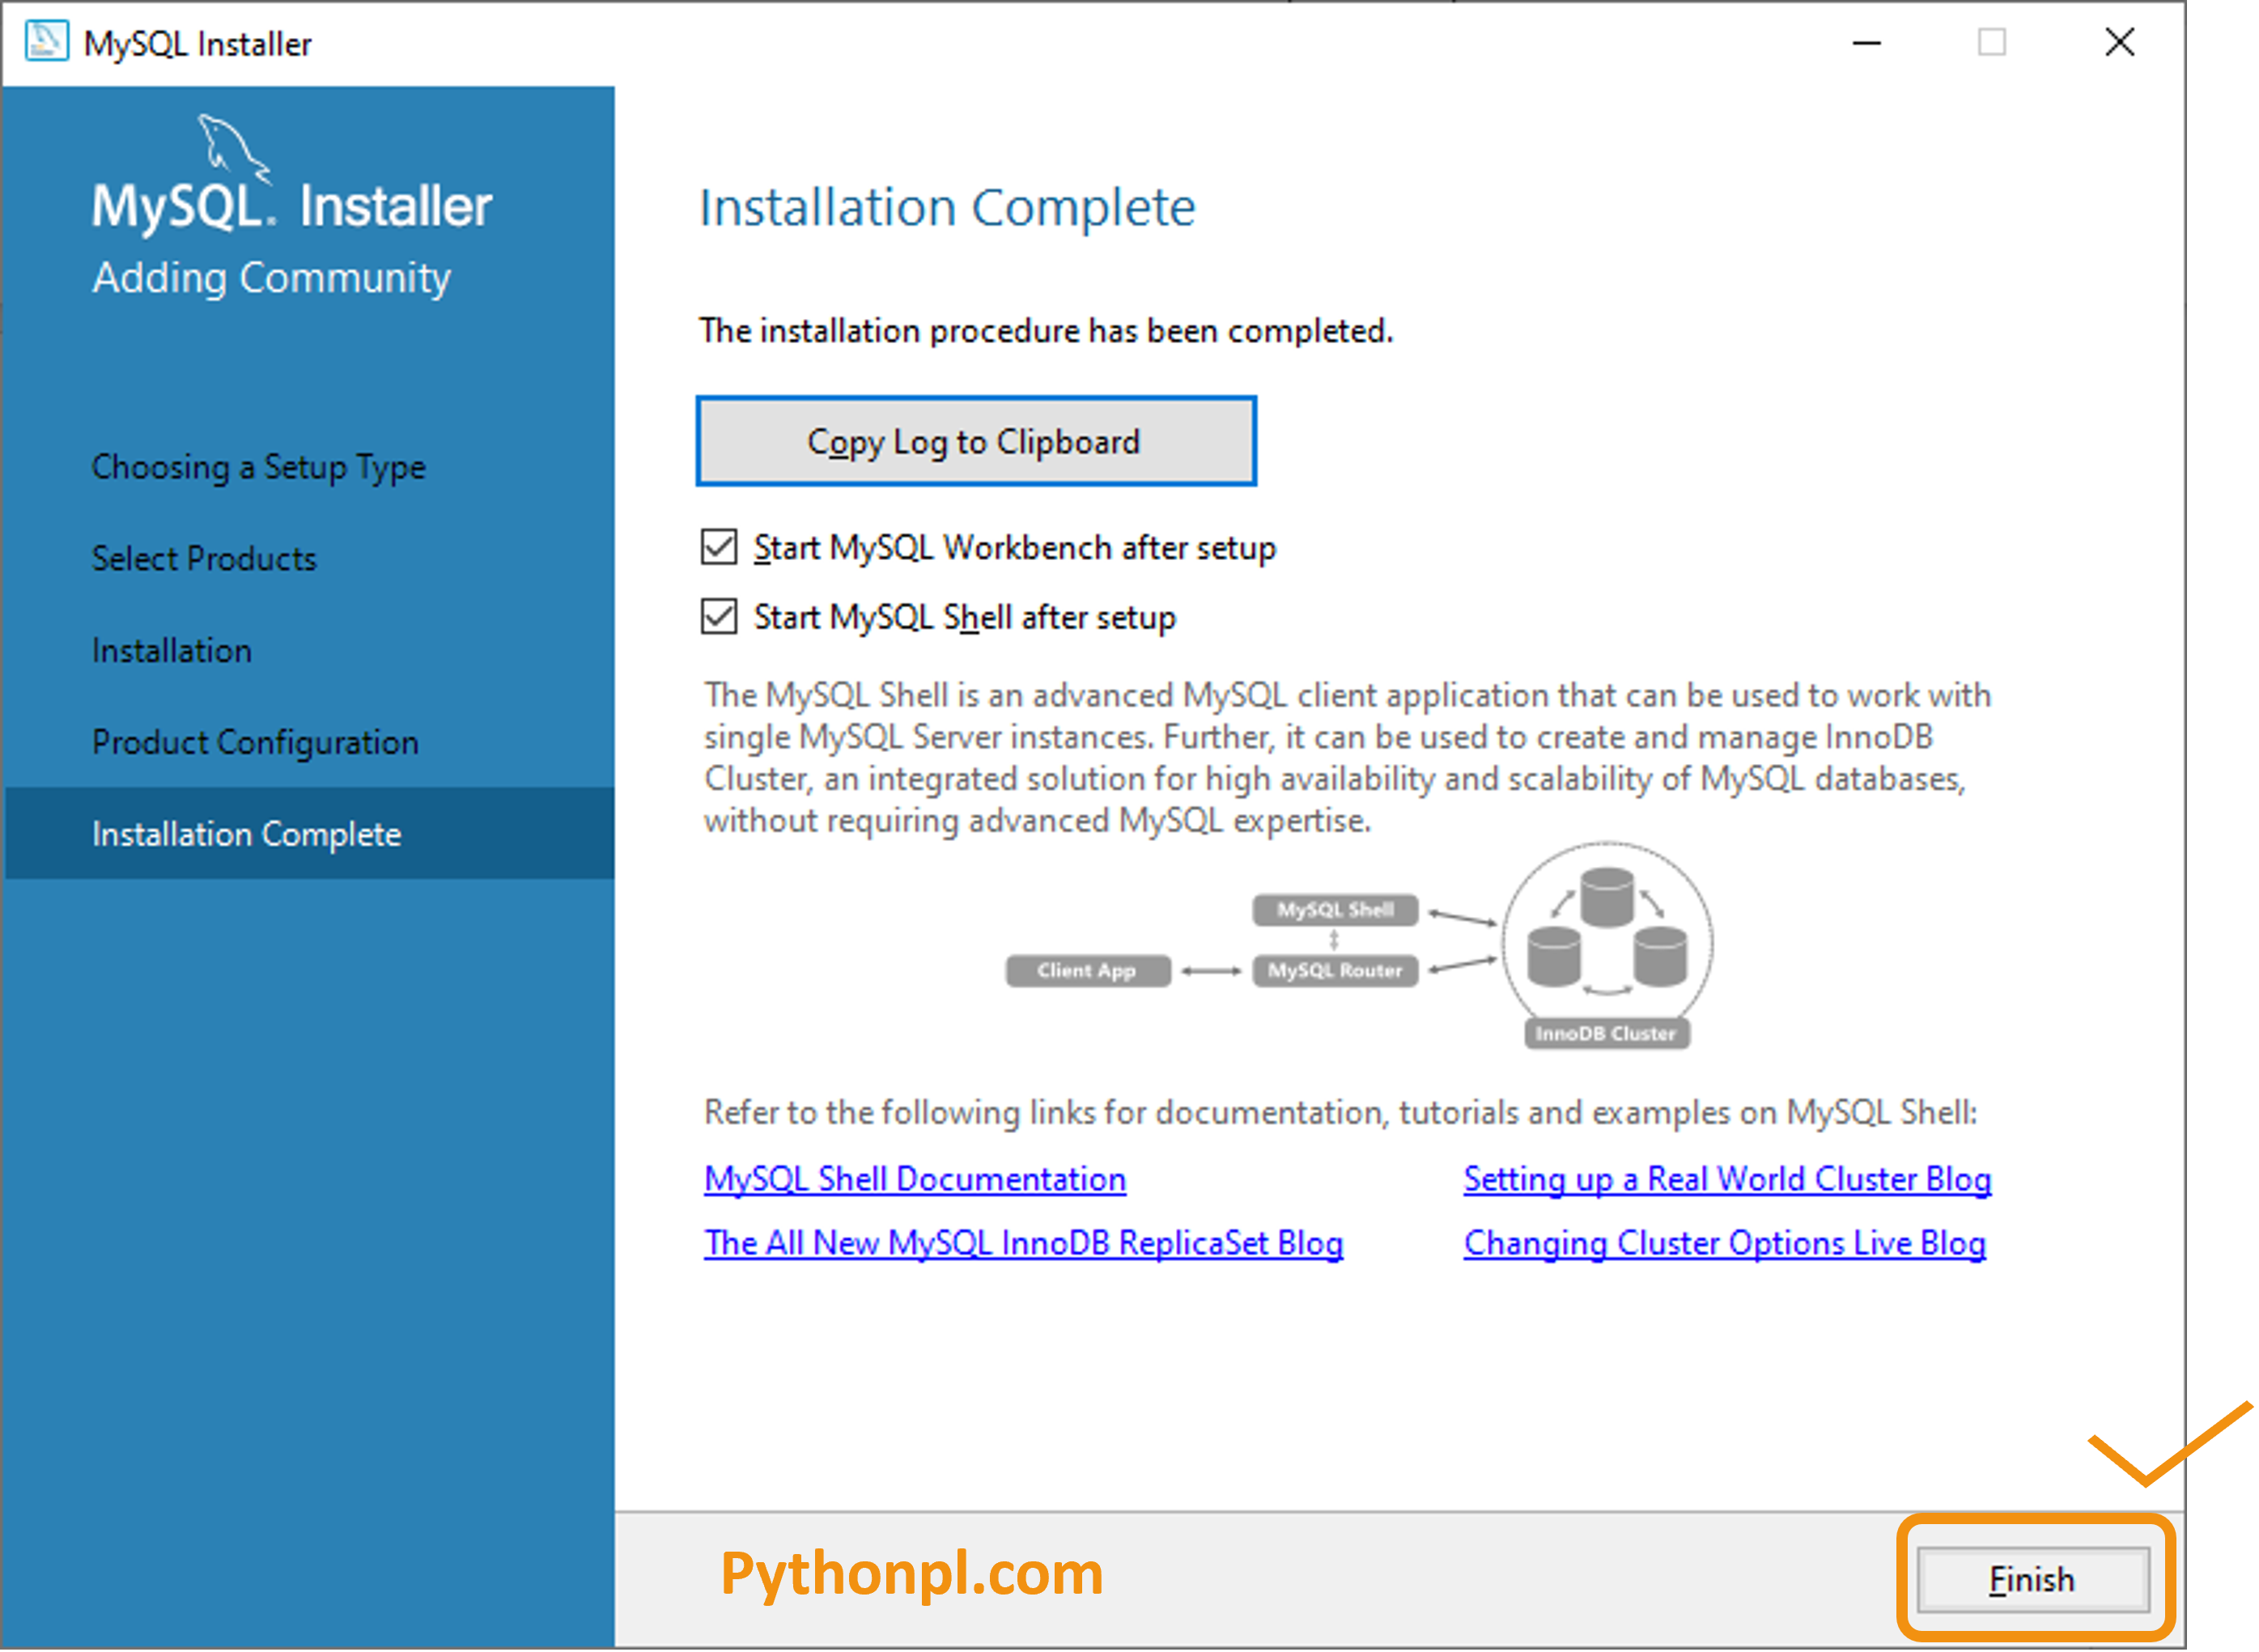
- Click on the Finish button.
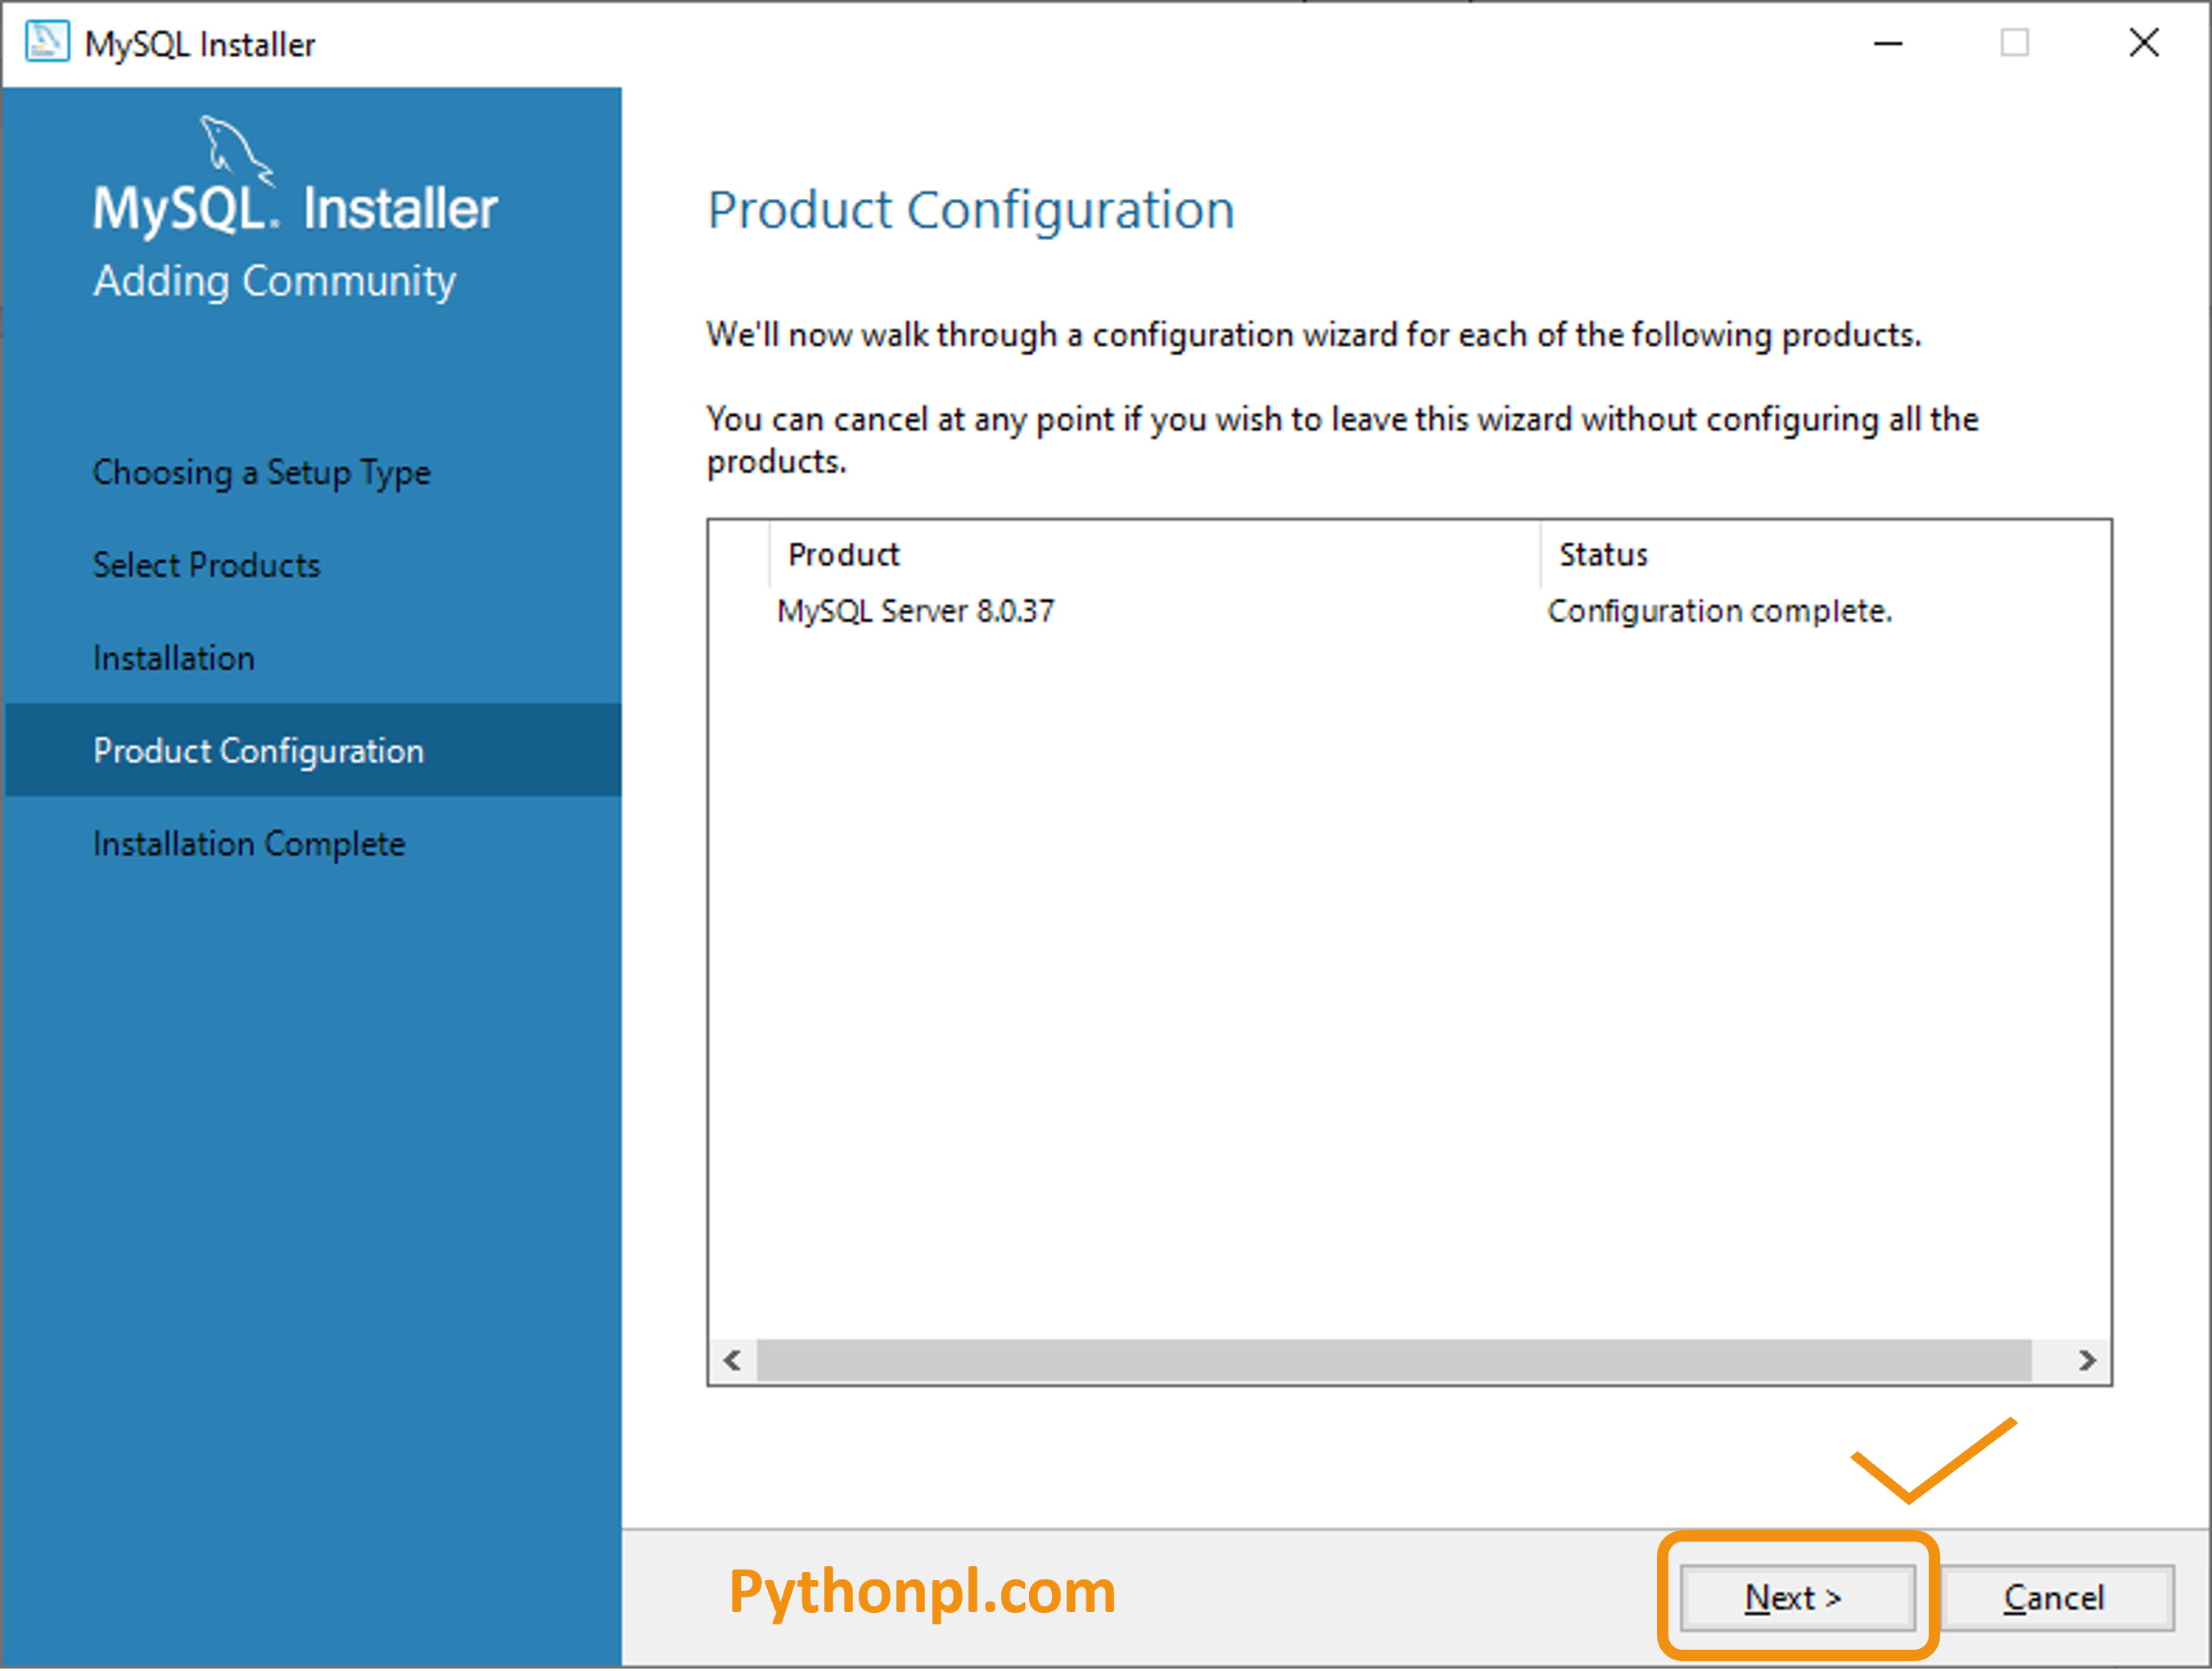
- Click on the Next button.
- Click on the Finish button.
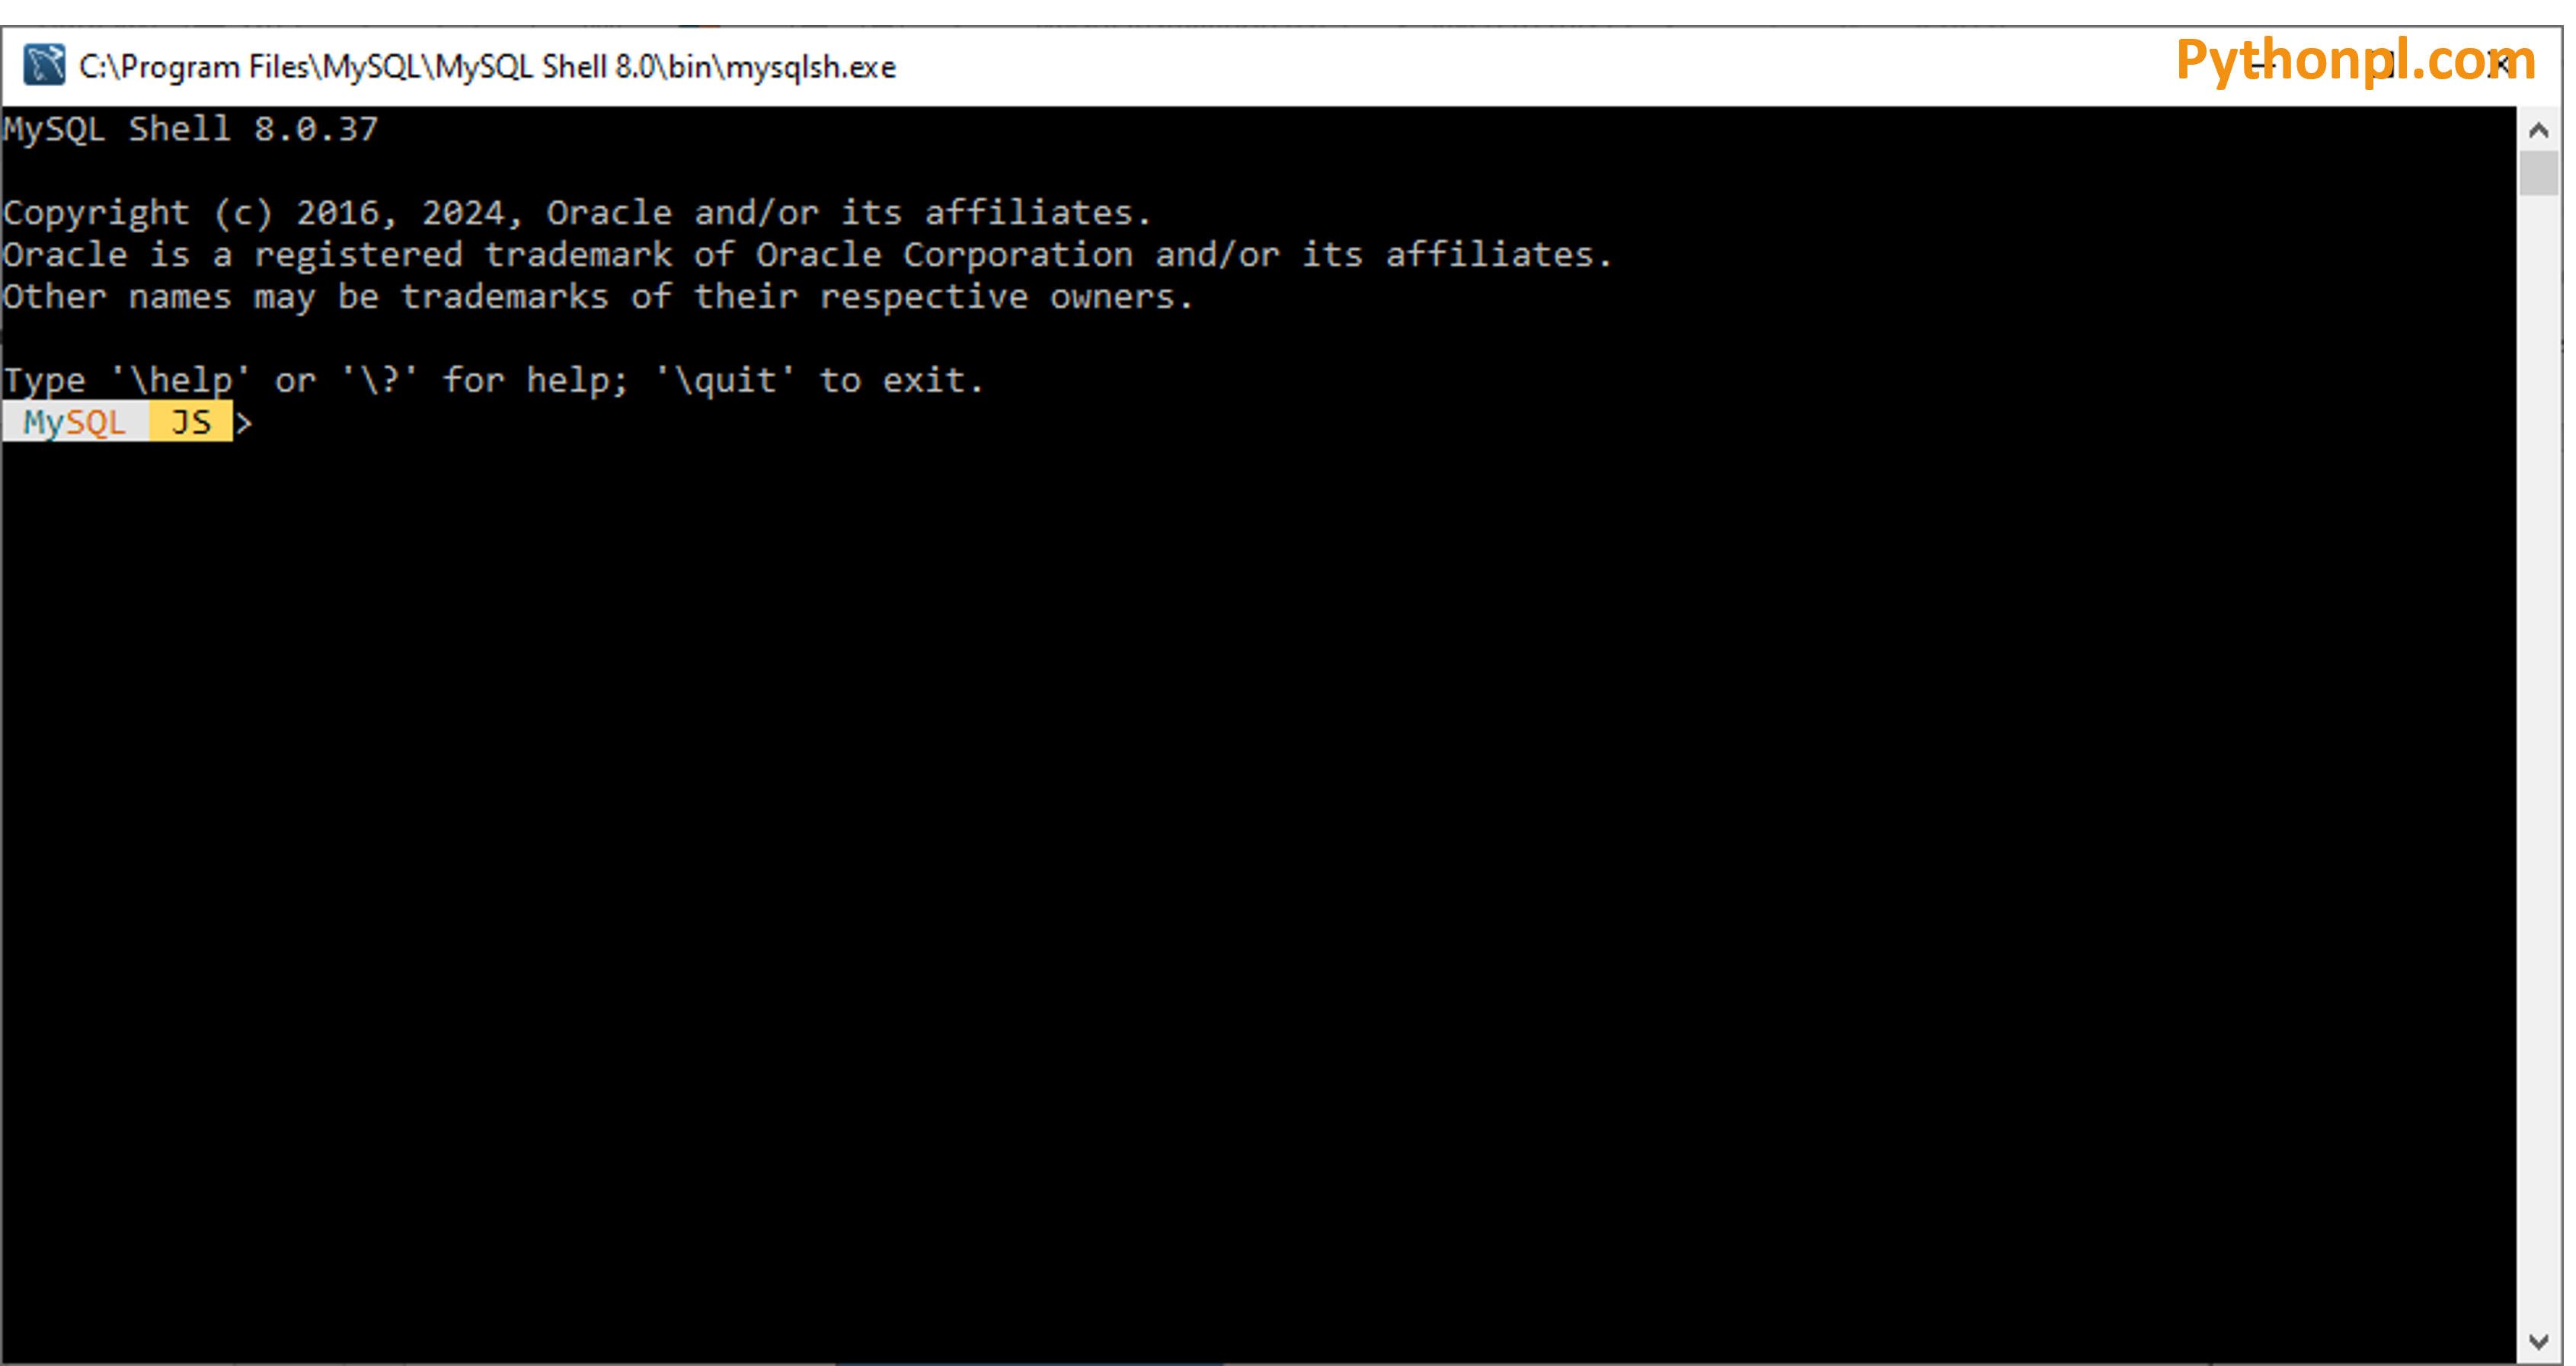
- Now we can see shall command prompt.
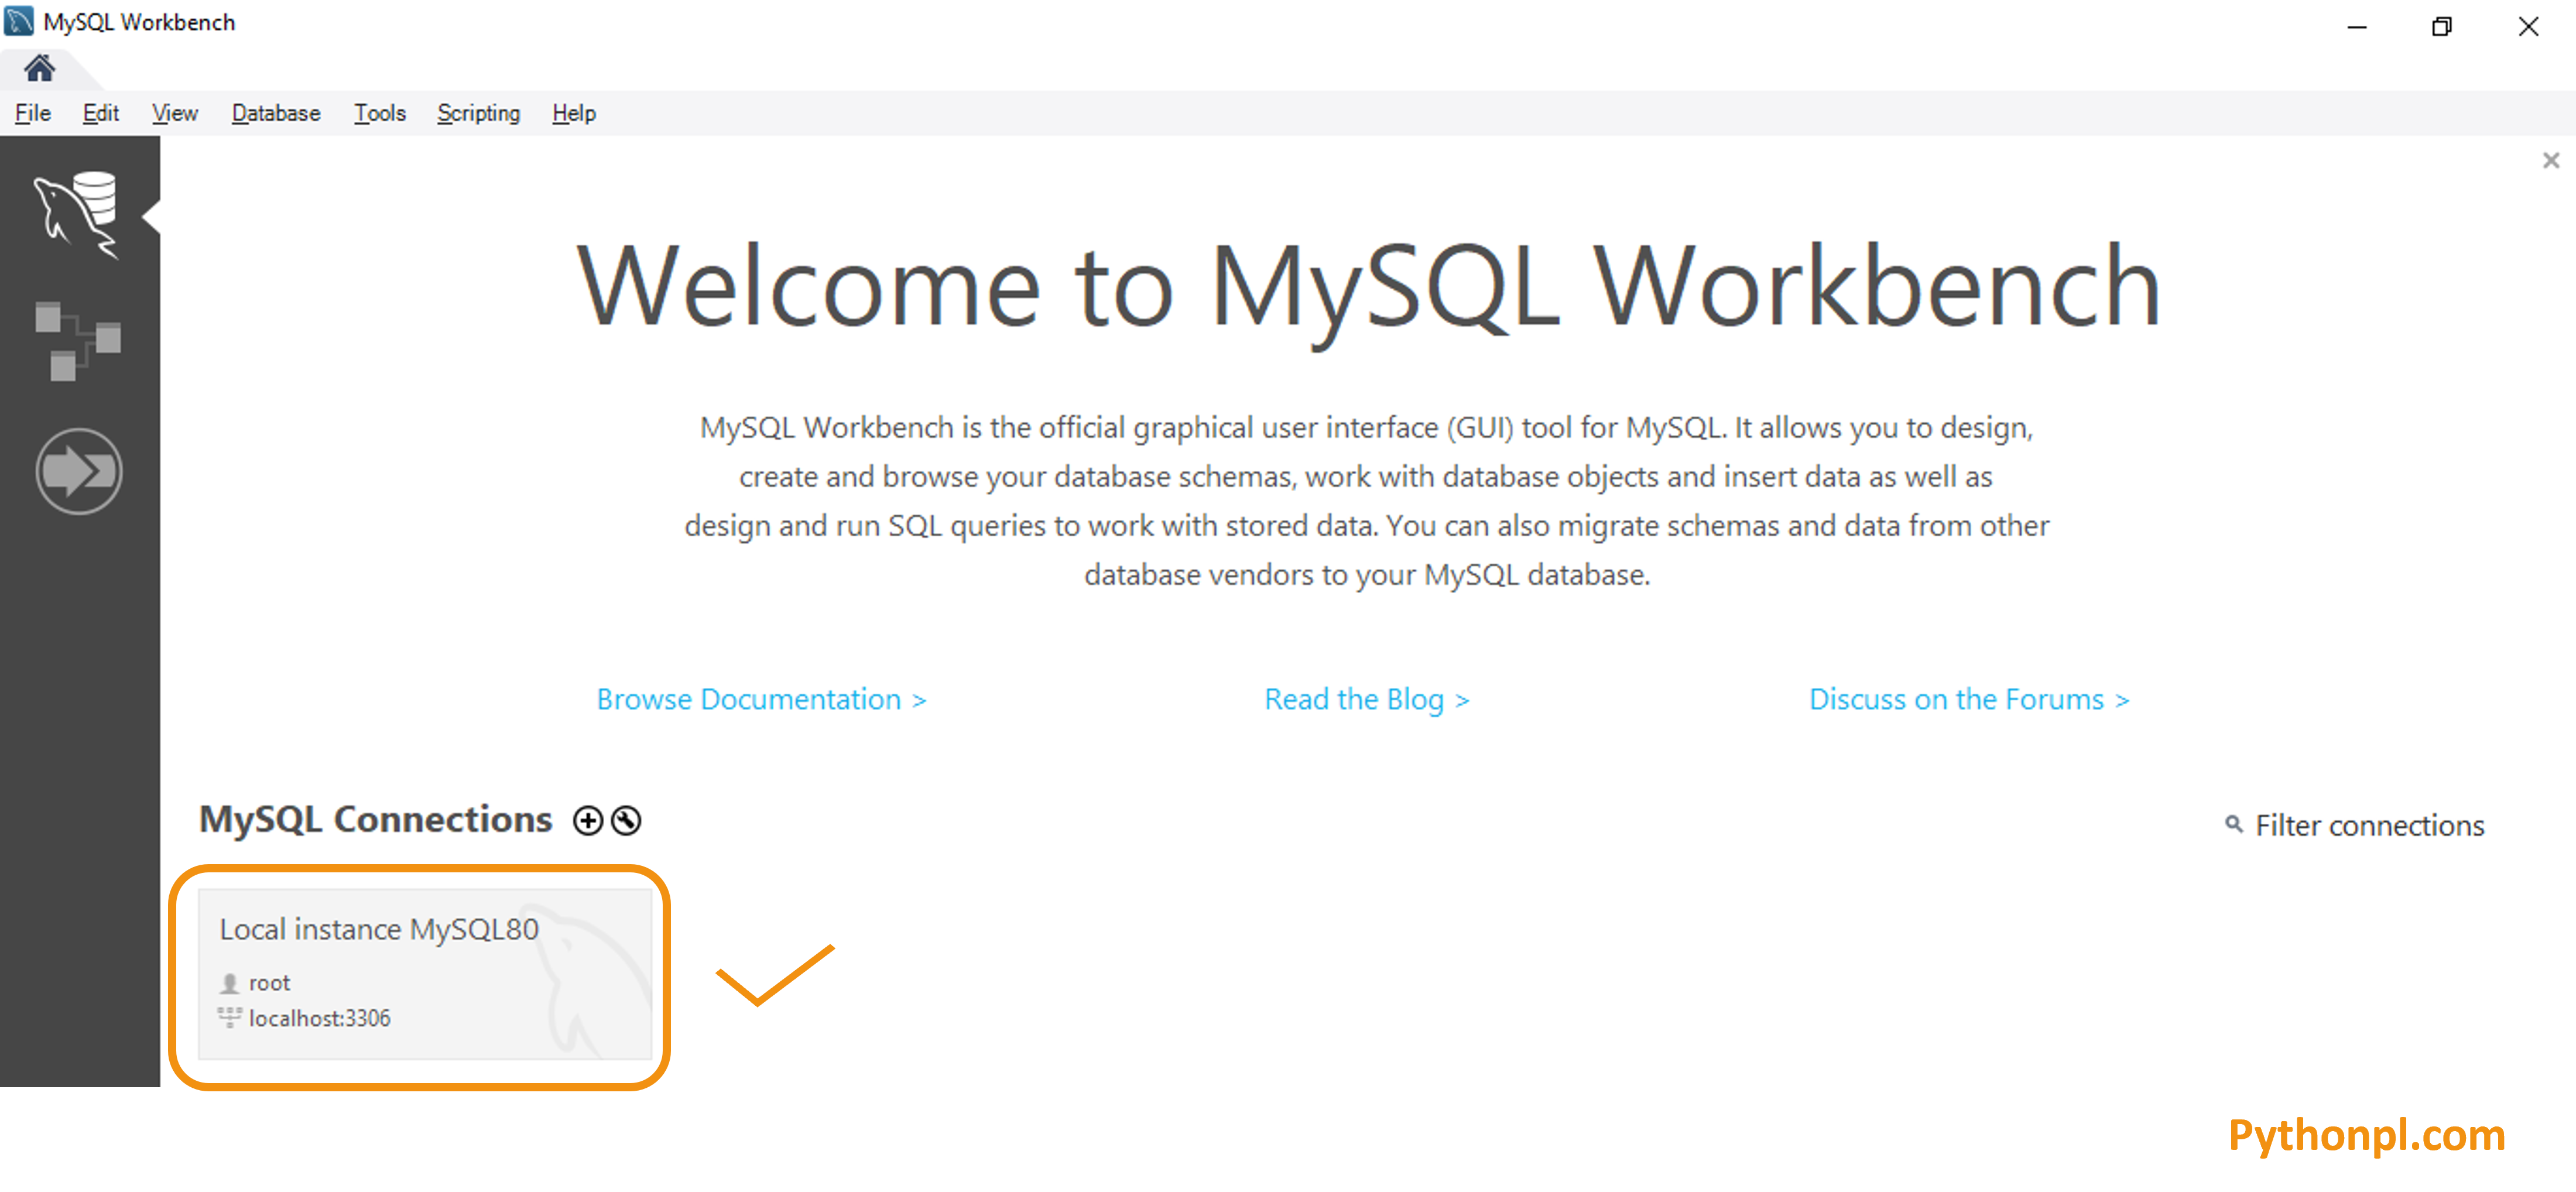
- Click on the Local instance MySQL80.
- Enter root password which we have created in our earlier steps.
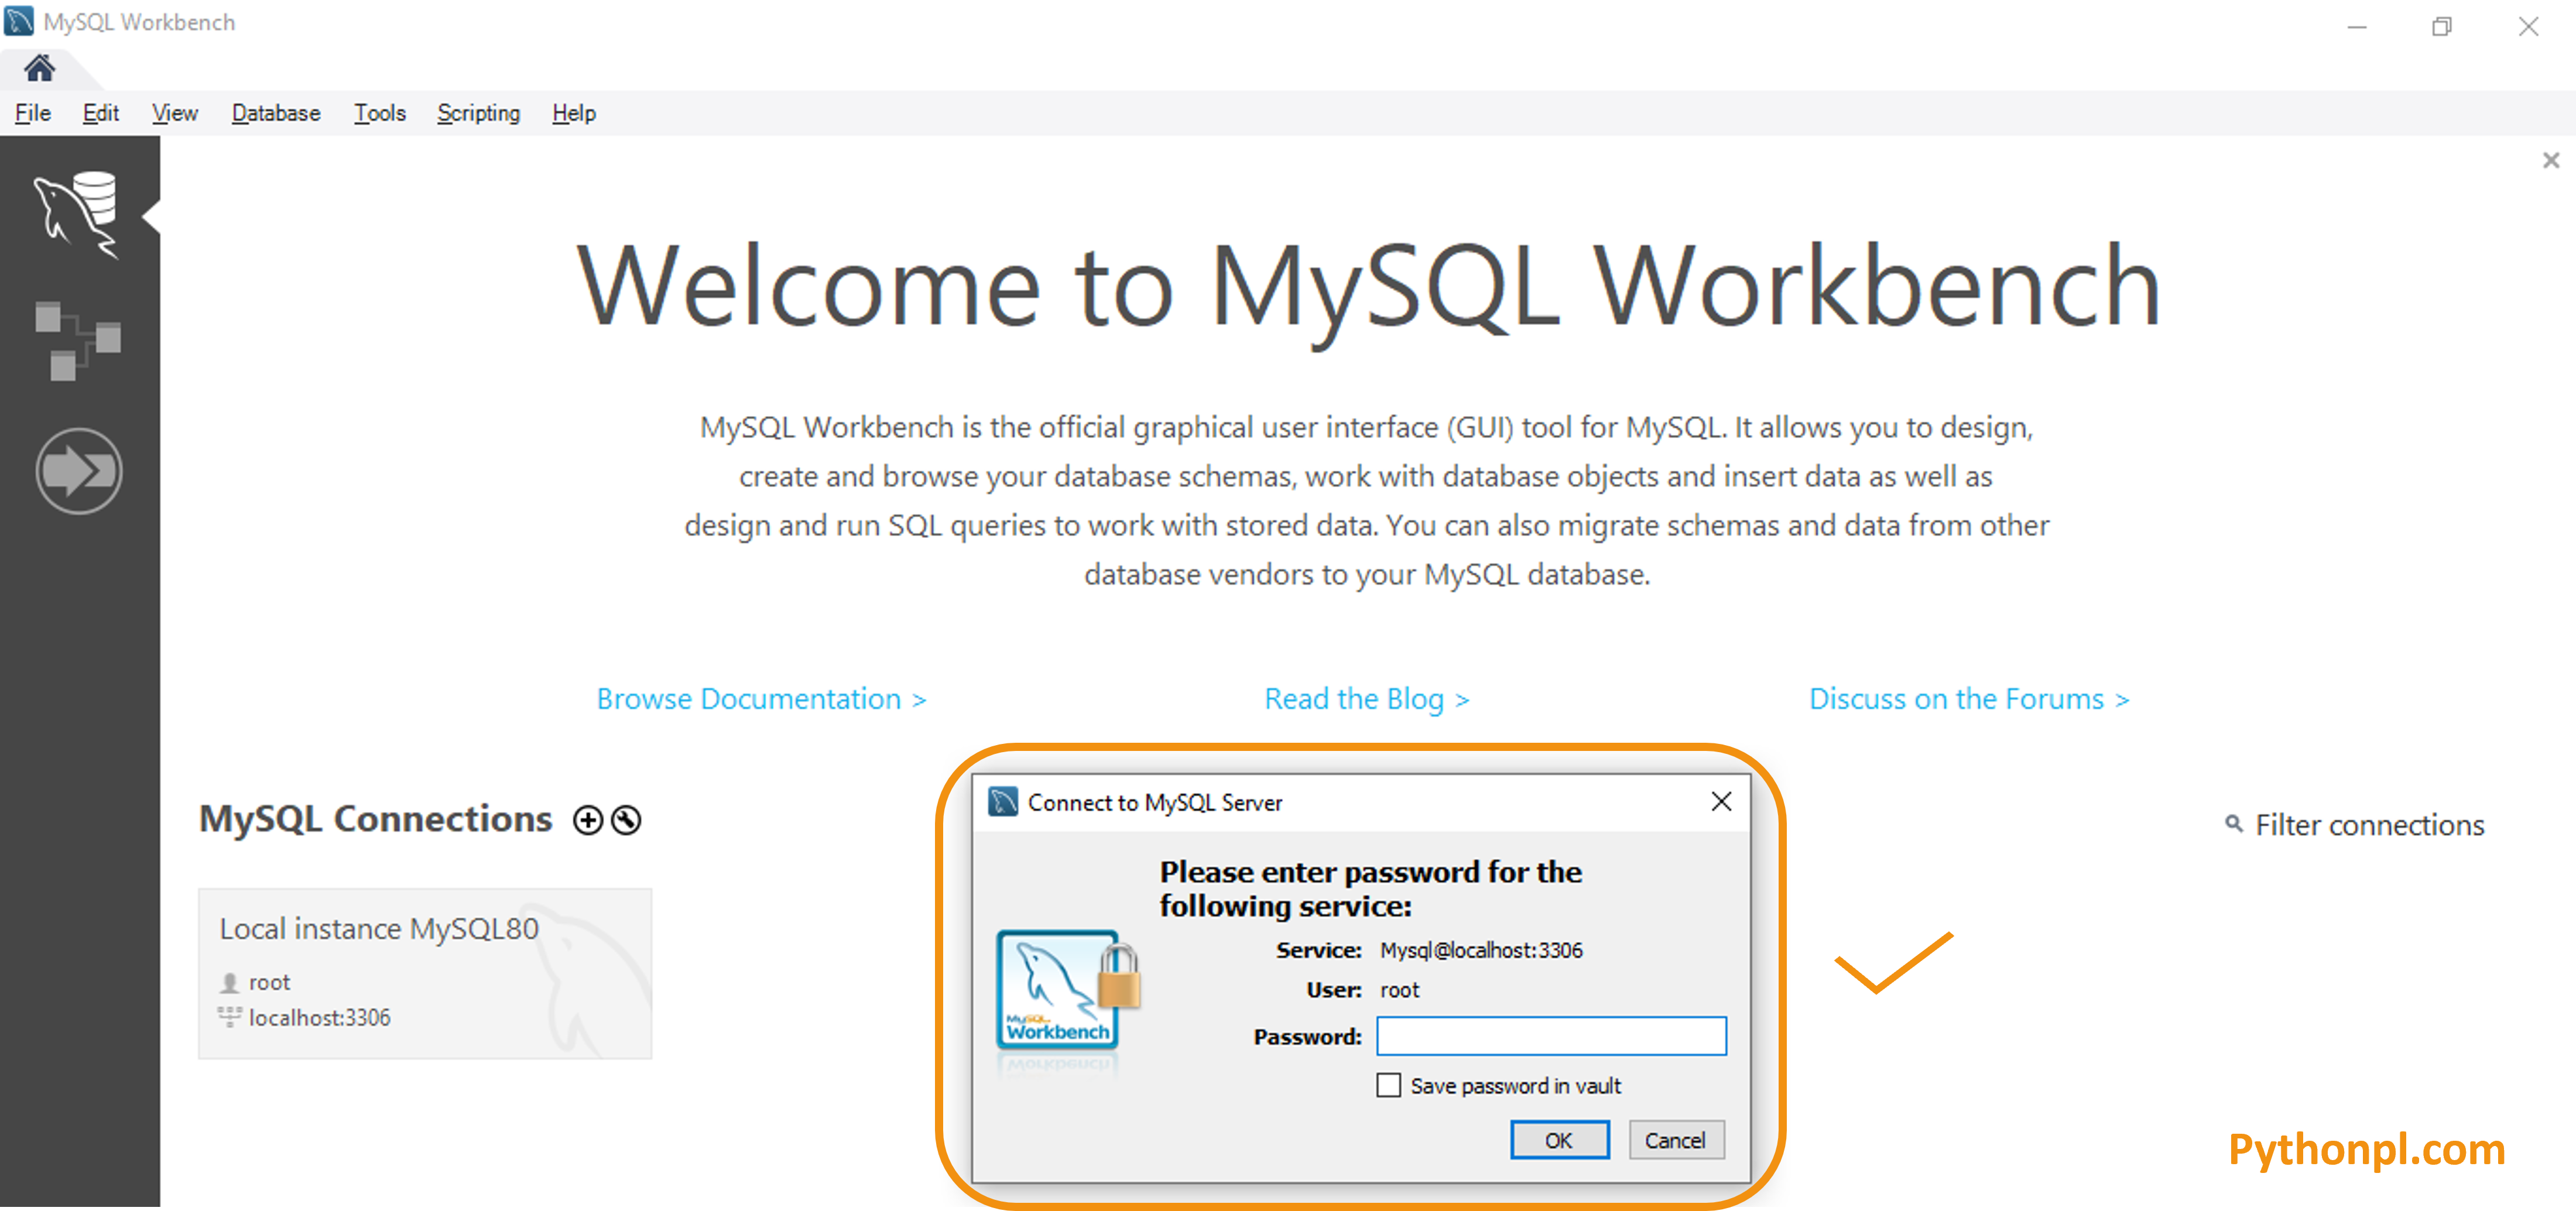
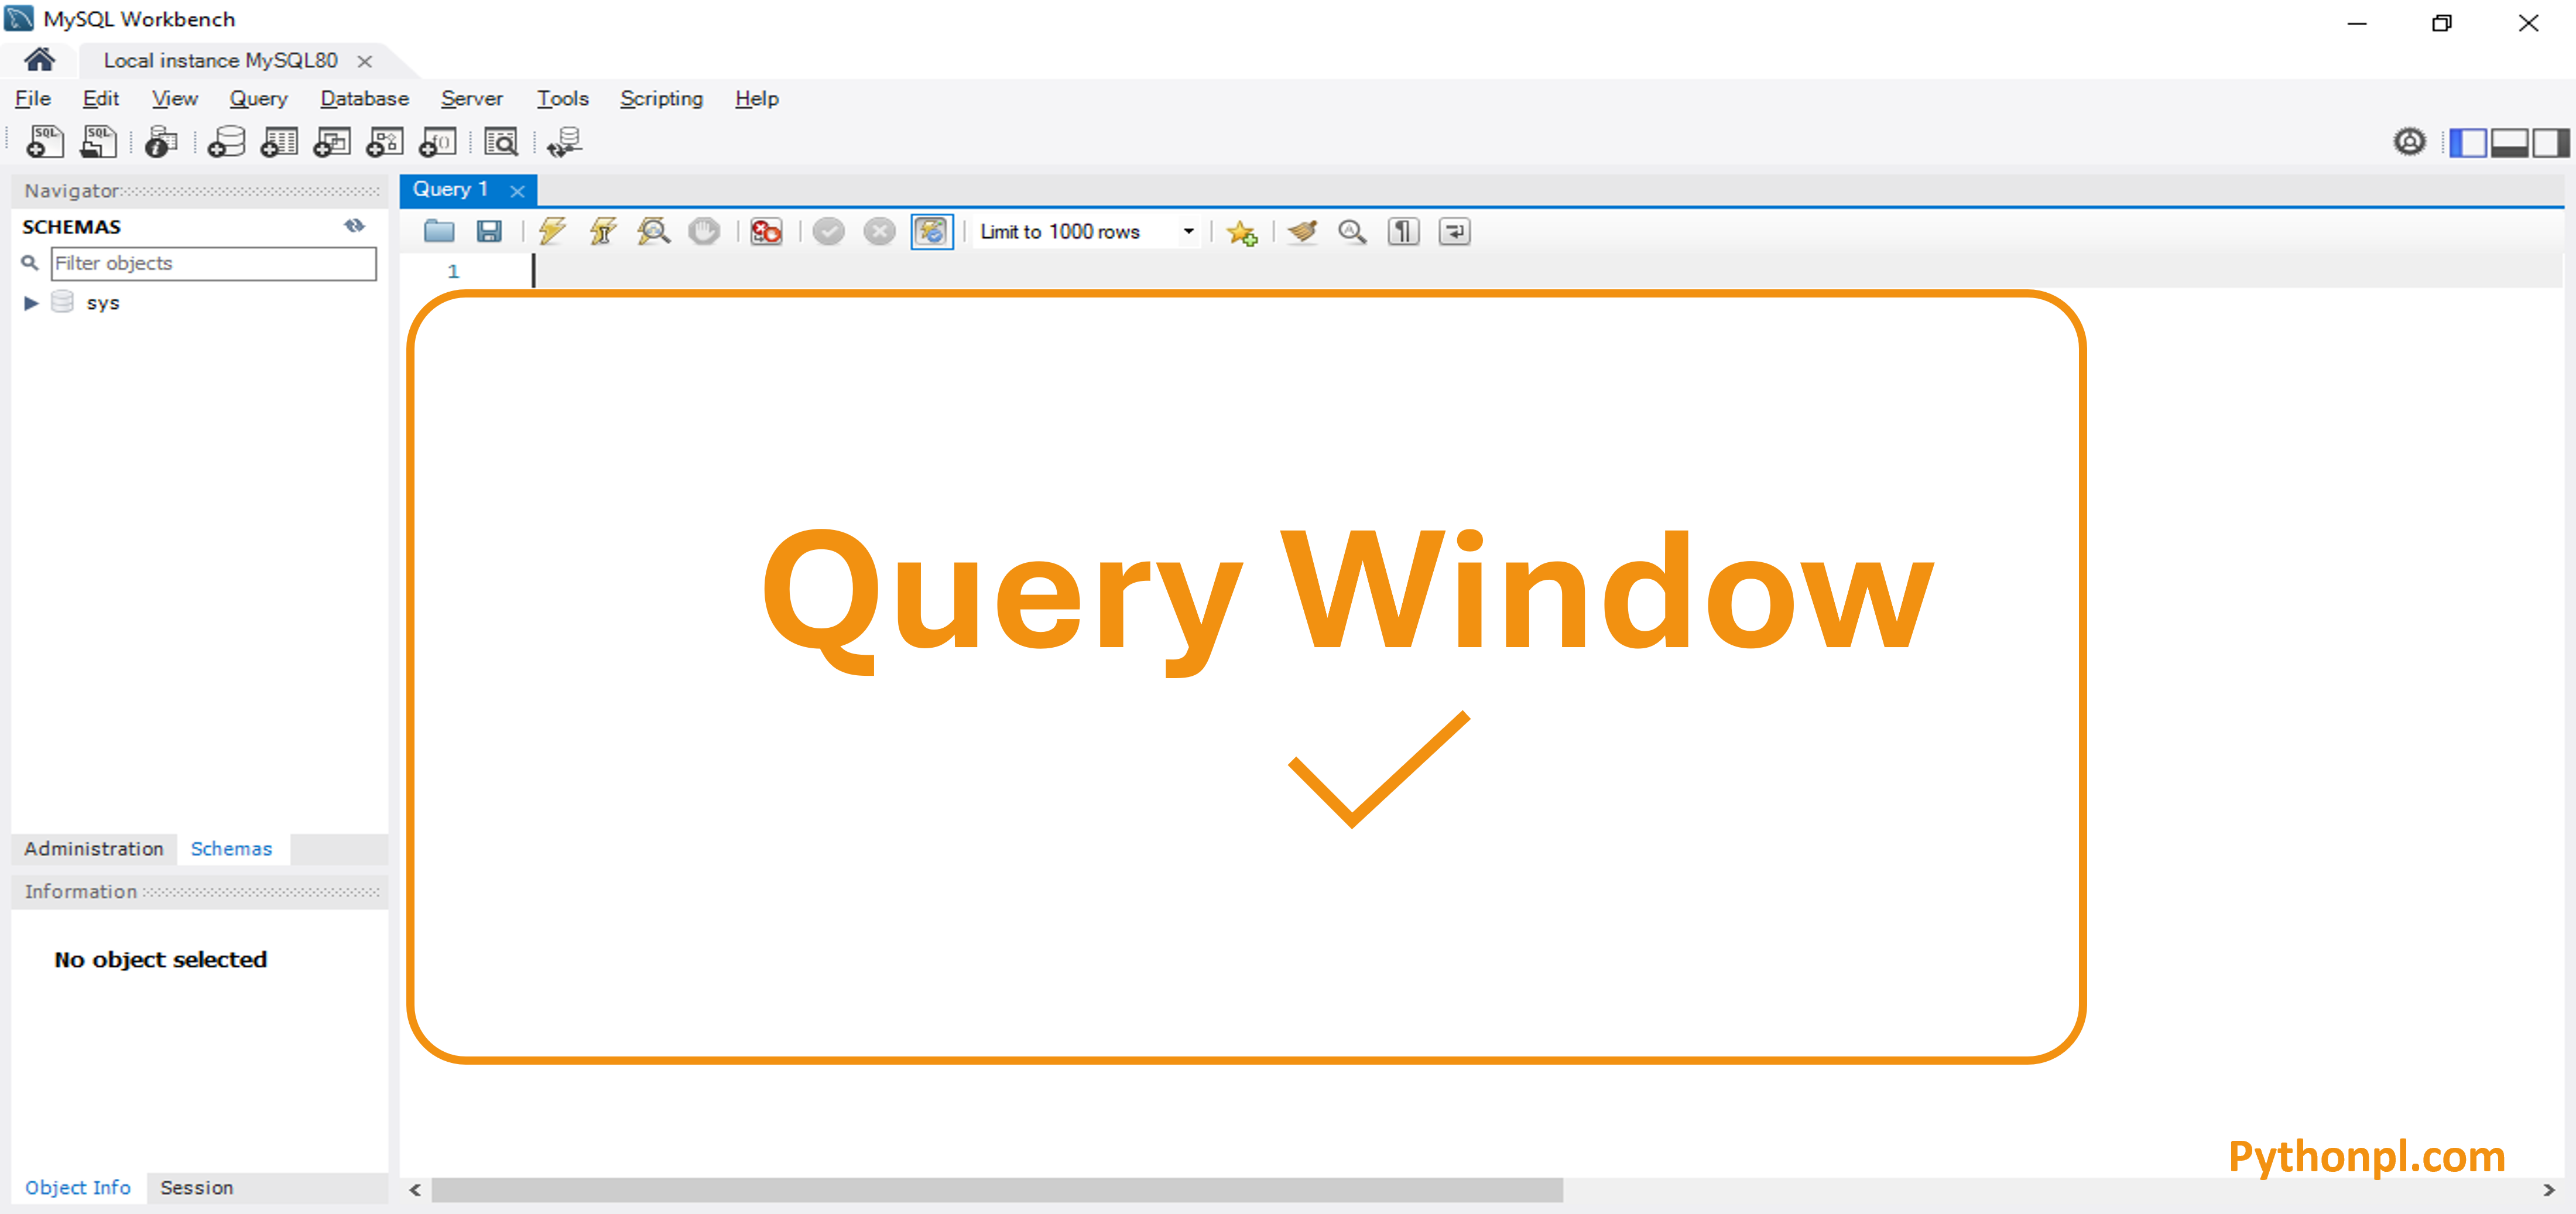
- Now MySQL Environment is ready to write SQL queries.
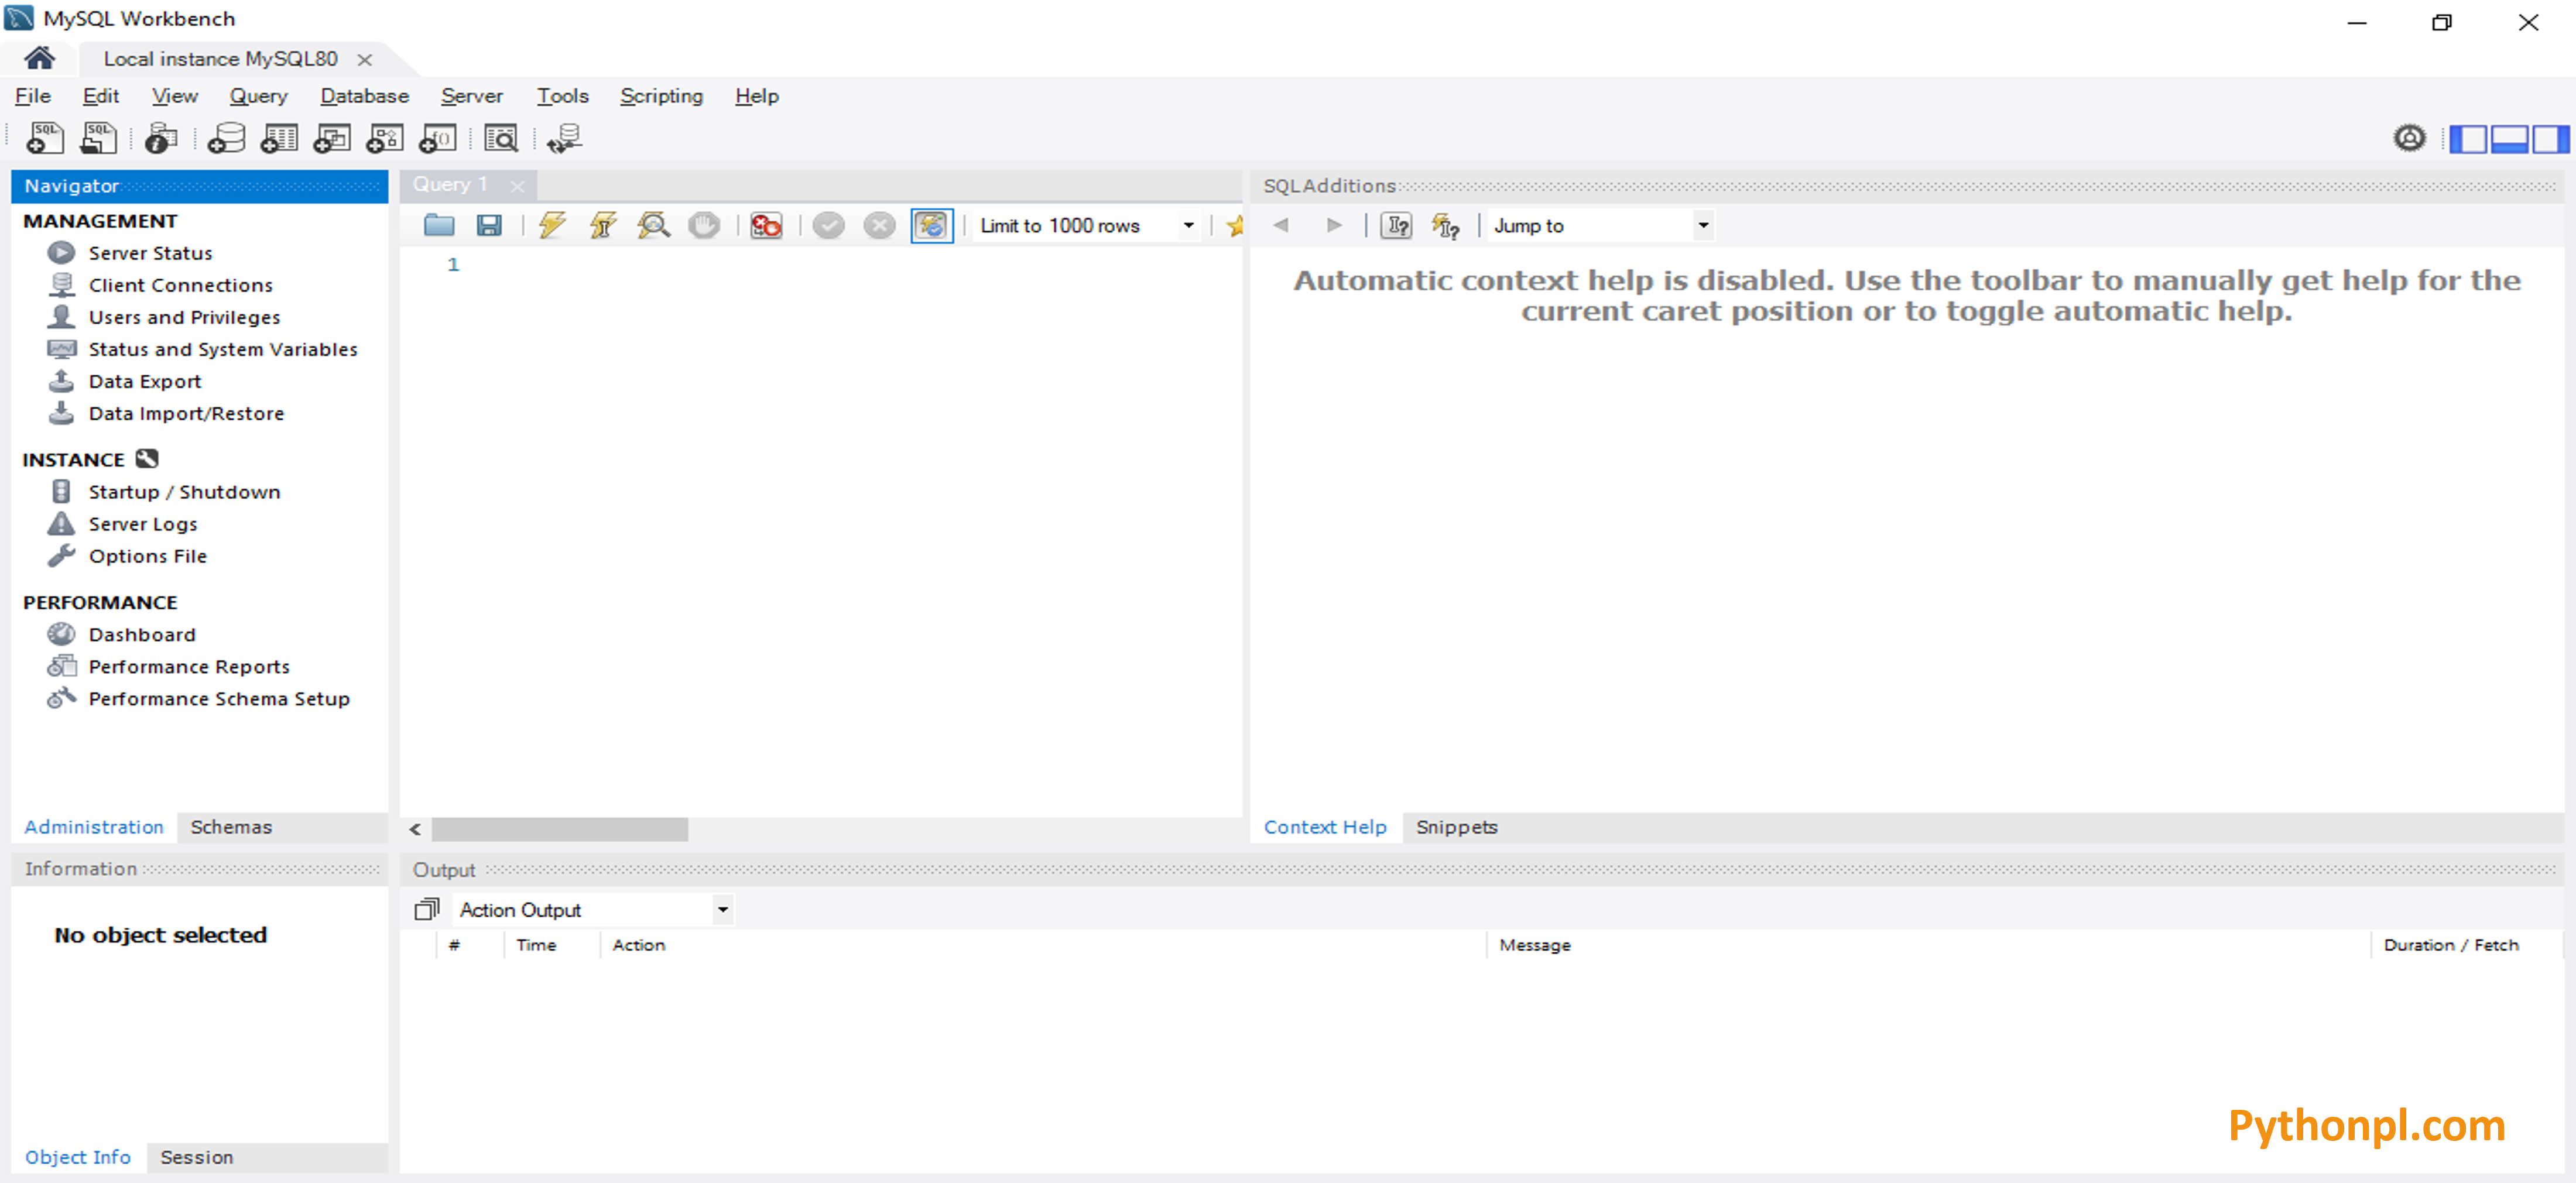
- You can see here the ‘Query Window’.
Beginner’s Guide: Installing MySQL 8.0.37 on Windows 10 and 11 system
Watch at Youtube:
You can also watch at youtube: How to Install MySQL 8.0.37 on Windows 10 or 11
Learn Python Interview Questions & Answers:
Top 100+ Python Interview Questions & Answers : Python Interview Questions & Answers
Thanks for watching!